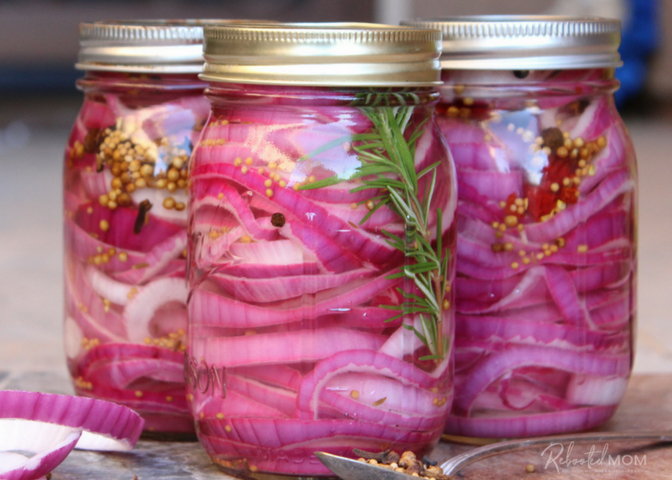
One of my favorite garnishes to add to fish tacos or any Mexican dish for that matter is by far the sweet taste of canned pickled red onions.
Not only are they great for Mexican dishes, but they are amazing on sandwiches and salads, so I wanted to make sure we had these in stock whenever we needed them.
I found a few recipes online and simplified them down to just the onions themselves. We also added in jalapeño slices and peppercorns to some of the jars for my husband since he likes a bit of spicy flavor with his.
What to Do with Pickled Red Onions – 10 Ways To Use
These are how I love to use my pickled red onions:
- in a wrap or sandwich
- great on Mexican, like tacos, fish tacos
- salad topper
- avocado on toast
- pizza topping (after cooked)
- Qdoba bowls
- great with shredded pork
- add zing flavor to any vegetarian dish
- in fresh coleslaw
- on grilled cheese or other panini type sandwich
Basic Canned pickled red onions directions:
- place jars in warm canning water to keep warm
- slice the onions
- heat a simple vinegar brine
- fill the jars
- process in a water bath canner for shelf-stable jars
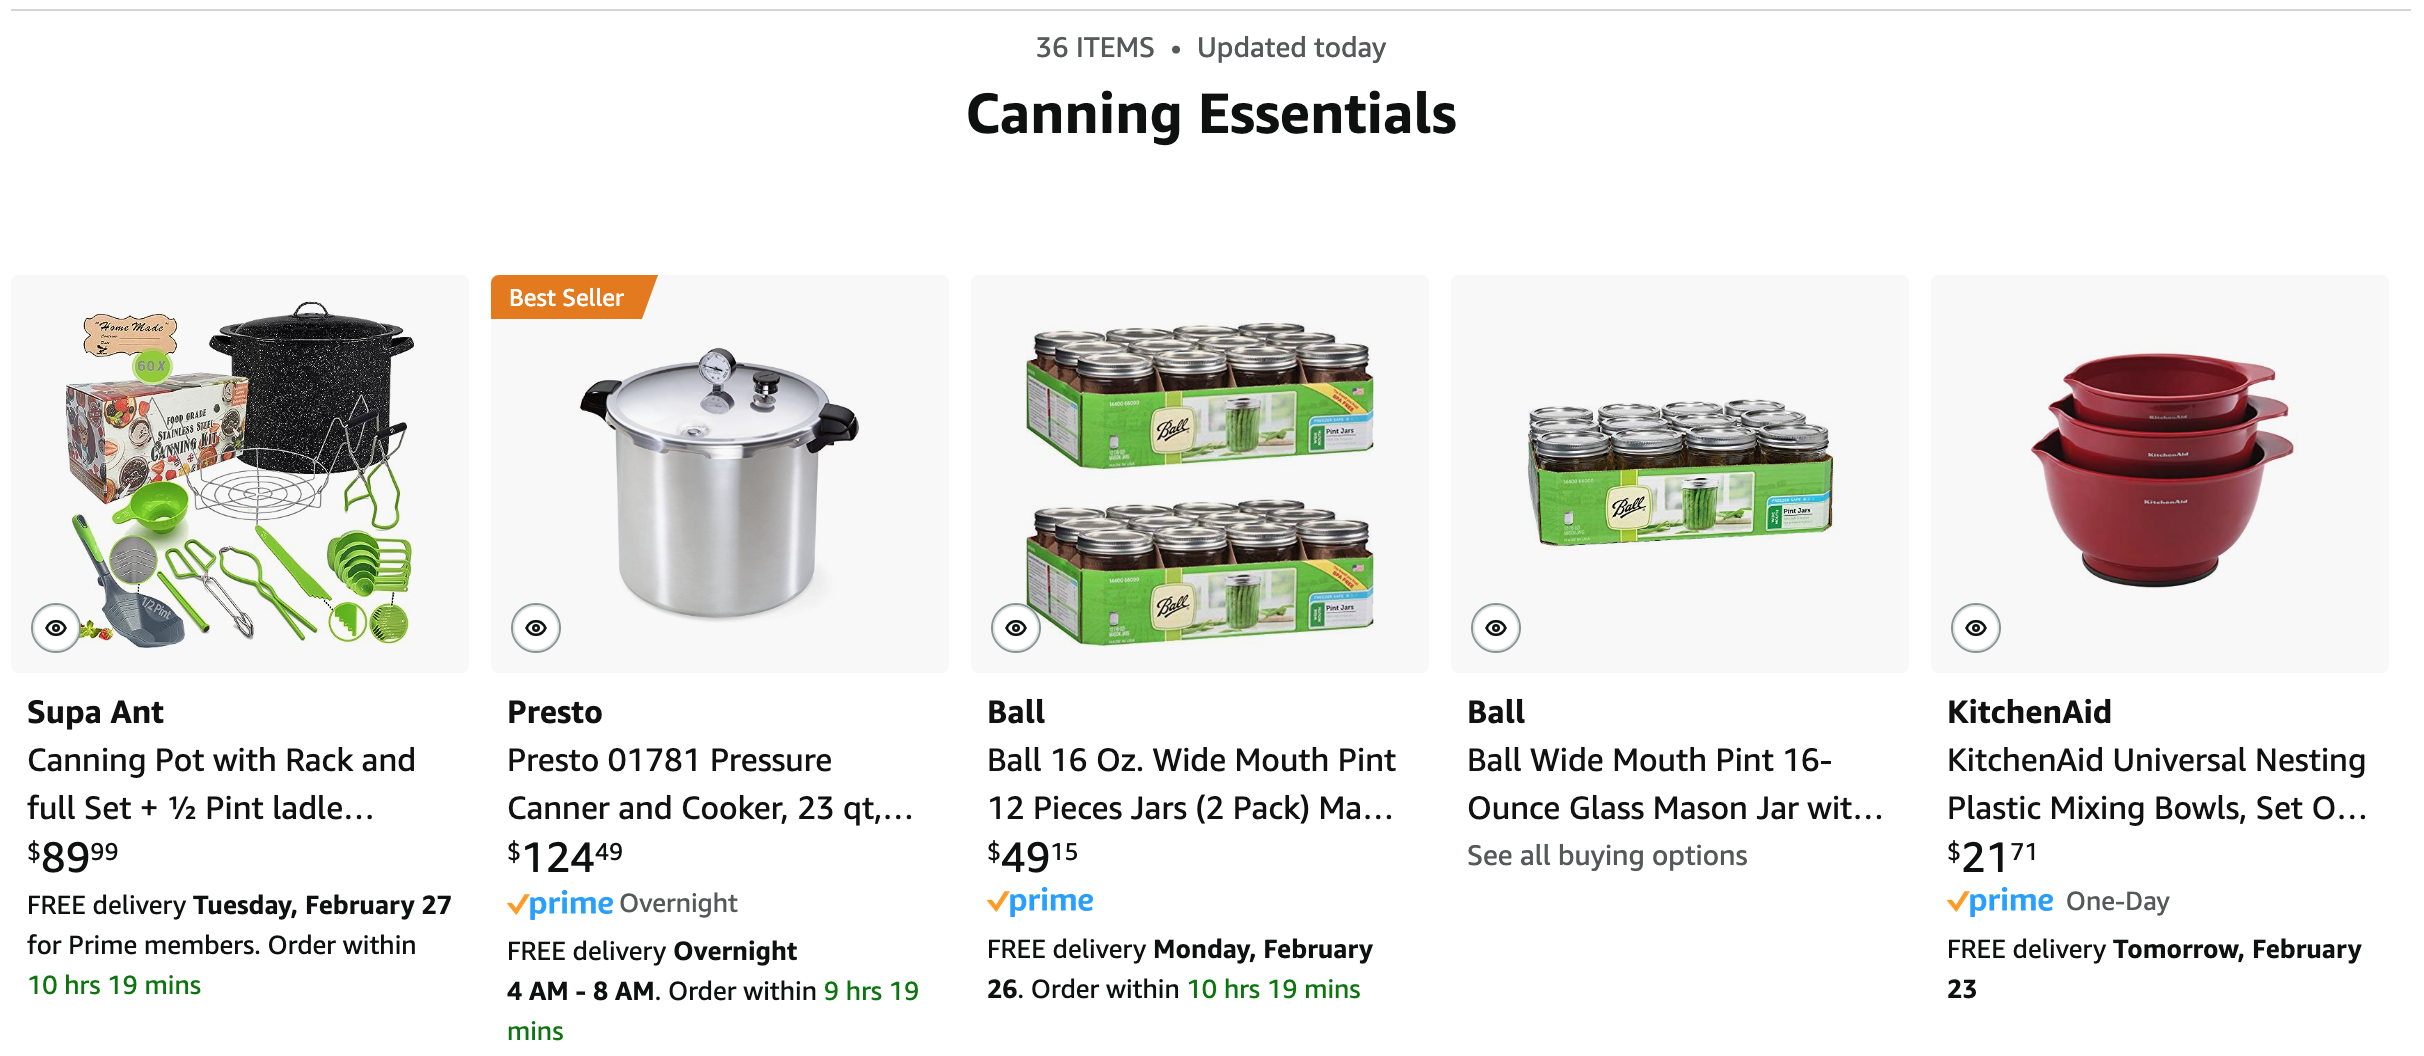
You’ll need:
- Water bath canner and canning rack
- 6 half-pint canning jars
- Canning lids and bands (new lids for each jar, bands can be reused)
- Canning tools: jar lifter, canning ladle, funnel, and bubble popper
- Plus basic kitchen supplies such as a large saucepan, large prep bowl, liquid measuring cup, kitchen towels, tongs, mandoline, or knife and a cutting board.
Ingredients
- 3 pounds red onions
- 3 tablespoons pickling spices (optional)
- 4 cups vinegar at least 5% acidity
- 2 fresh jalapenos sliced (optional for spicy mix)
- peppercorns (optional)
- whole garlic cloves (optional)
Pickled Red Onions Canning Steps
Step 1: Prepare the equipment
- put water into canner for the water bath
- place pint jars in water, making sure the water covers 2 inches over the top of the jars
- heat on medium-high heat to keep jars warm until ready to fill
Step 2: Cut the onions
- Cut the onions into 1/4-inch slices
- place in large bowl to be able to submerge with liquid
Step 3: Heat the brine
- Heat the pickling vinegar by bringing it to boil
- turn down and simmer for at least 5 minutes
Step 4: Process the onions
- Pour the hot vinegar mix over the sliced onions, let sit for 5 minutes
- When ready, remove one hot pint jar and fill with onion & juice, leaving 1 inch headspace at top.
- debubble!
- Wipe the rims with a clean dry towel to clean before adding lids to ensure a tight seal
- Place lids on and tighten rings to finger tight
- Place jars into water bath canner, water should cover jars by 2 inches
- Bring the canner to a boil and process the jars for the times indicated in the recipe – for small 1/2 pints and under 1000 SL, I processed for 20 minutes.
- Once processing time is complete, remove the jars, and let them cool undisturbed for 12 to 24 hours. After cooling for at least 12 hours, test the seals. Refrigerate any that did not seal, and use up within a week.
Thoroughly clean the jars with warm soapy water, dry, label, and date the jars, and store in a cool, dark location for 12 to 18 months. Wait several weeks for the onions to develop their flavor before opening a jar.


Different types of vinegar for pickling the onions.
I used white vinegar for this recipe because it has a crisp, sharp flavored pickled onion taste. The apple cider works well too, with just a bit of a tart. And the red wine vinegar is actually my favorite, it has a nice, slightly sweeter flavor.
- White vinegar is clear vinegar made by distilling corn and rye. It tastes more sour and acidic, but this may be just what you love about pickled vegetables. Choose an organic brand to avoid genetically modified corn.
- Apple cider vinegar is made from fermented apples. It has a fruity tart flavor that blends well with vegetables. The color is amber brown and may darken your pickles slightly.
- Red wine vinegar is made from fermented red wine, and adds a slightly sweet fruity flavor to the onions.
Useful canning resources:
The canning recipe is based accumulated from my own recipe, plus others including Grow a Good life and also from the “Vinegared Red Onions” from the Ball Blue Book Guide to Preserving. It has been adapted slightly to add more flavors to the brine with pickling spices.
If this is your first time canning, or maybe it’s been a while, check out these helpful articles on Principles of Home Canning and Using Boiling Water Canners at the National Center for Home Food Preservation website.
Grow a Good Life – Pickled Red Onions
*We sometimes use affiliate links on our site for items that I use, recommend, and love. The links are free for you to use and it helps support my site by providing a commission for the recommendation. I greatly appreciate you clicking on any recommended links I provide.*
Grab some of my favorite items mentioned in this article:
Check out my Amazon storefront with ALL MY FAVORITE THINGS! >
Or, go directly to my full list of Canning Tools & Essentials >
Related Articles
Canned Bread – Quick White Bread In a Jar – Variations
Hot Pack Vs Raw Pack: Pressure Canning & Water Bath
12 Must Have Kitchen Favorite Things
Canned Chicken Fajita Recipe – Meal In A Jar
Canned Pickled Red Onions – Water Bath & How to Use Them
Canning Beef Meat in Pressure Canner – Canned Meat
Canning Tomatoes Old Fashion Grandma Way [Open Kettle] – My First Time Experience


