The day we looked at our house, we knew we found what we were looking for…. it was incredibly clean, had plenty of inside space, there were 2 garages, had a spacious .65 acre yard with at least a house between us and the neighbors.
While the house had amazing bones and nothing wrong, there were some aesthetic changes we immediately knew we wanted to do.
Here are the kitchen projects we wanted to do:
- remove kitchen wall and put up solid beam
- put a pantry & doors into the weird opening in foyer
- add gas line and move stove in middle of cabinet area
- replace window with sliding glass doors in the foyer to backyard
- add an island for storage
- update cabinets to shaker style
- replace counters & sink
We’ve now completed 75% of the above list, and we are getting close to a beautifully finished kitchen.
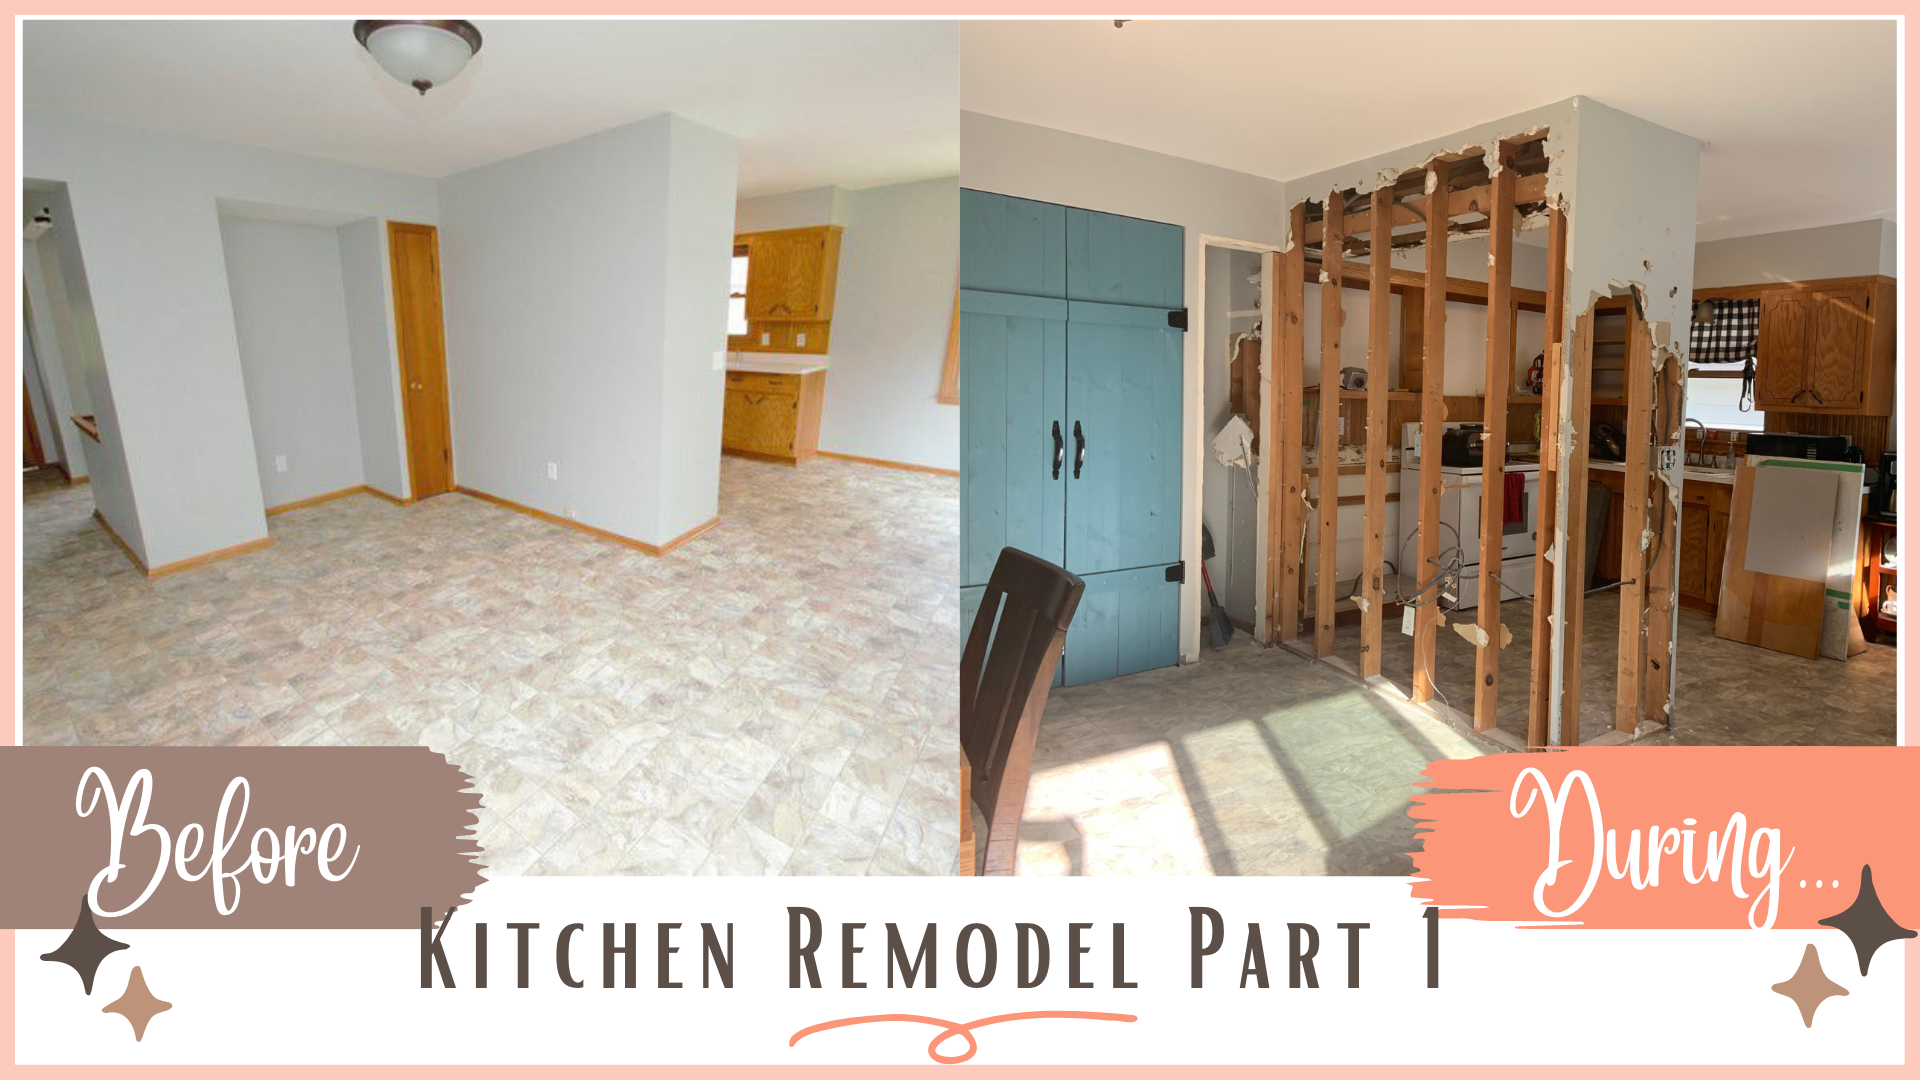
Take a look at images from before and after during the kitchen remodel. We will add part 2 once it is complete!
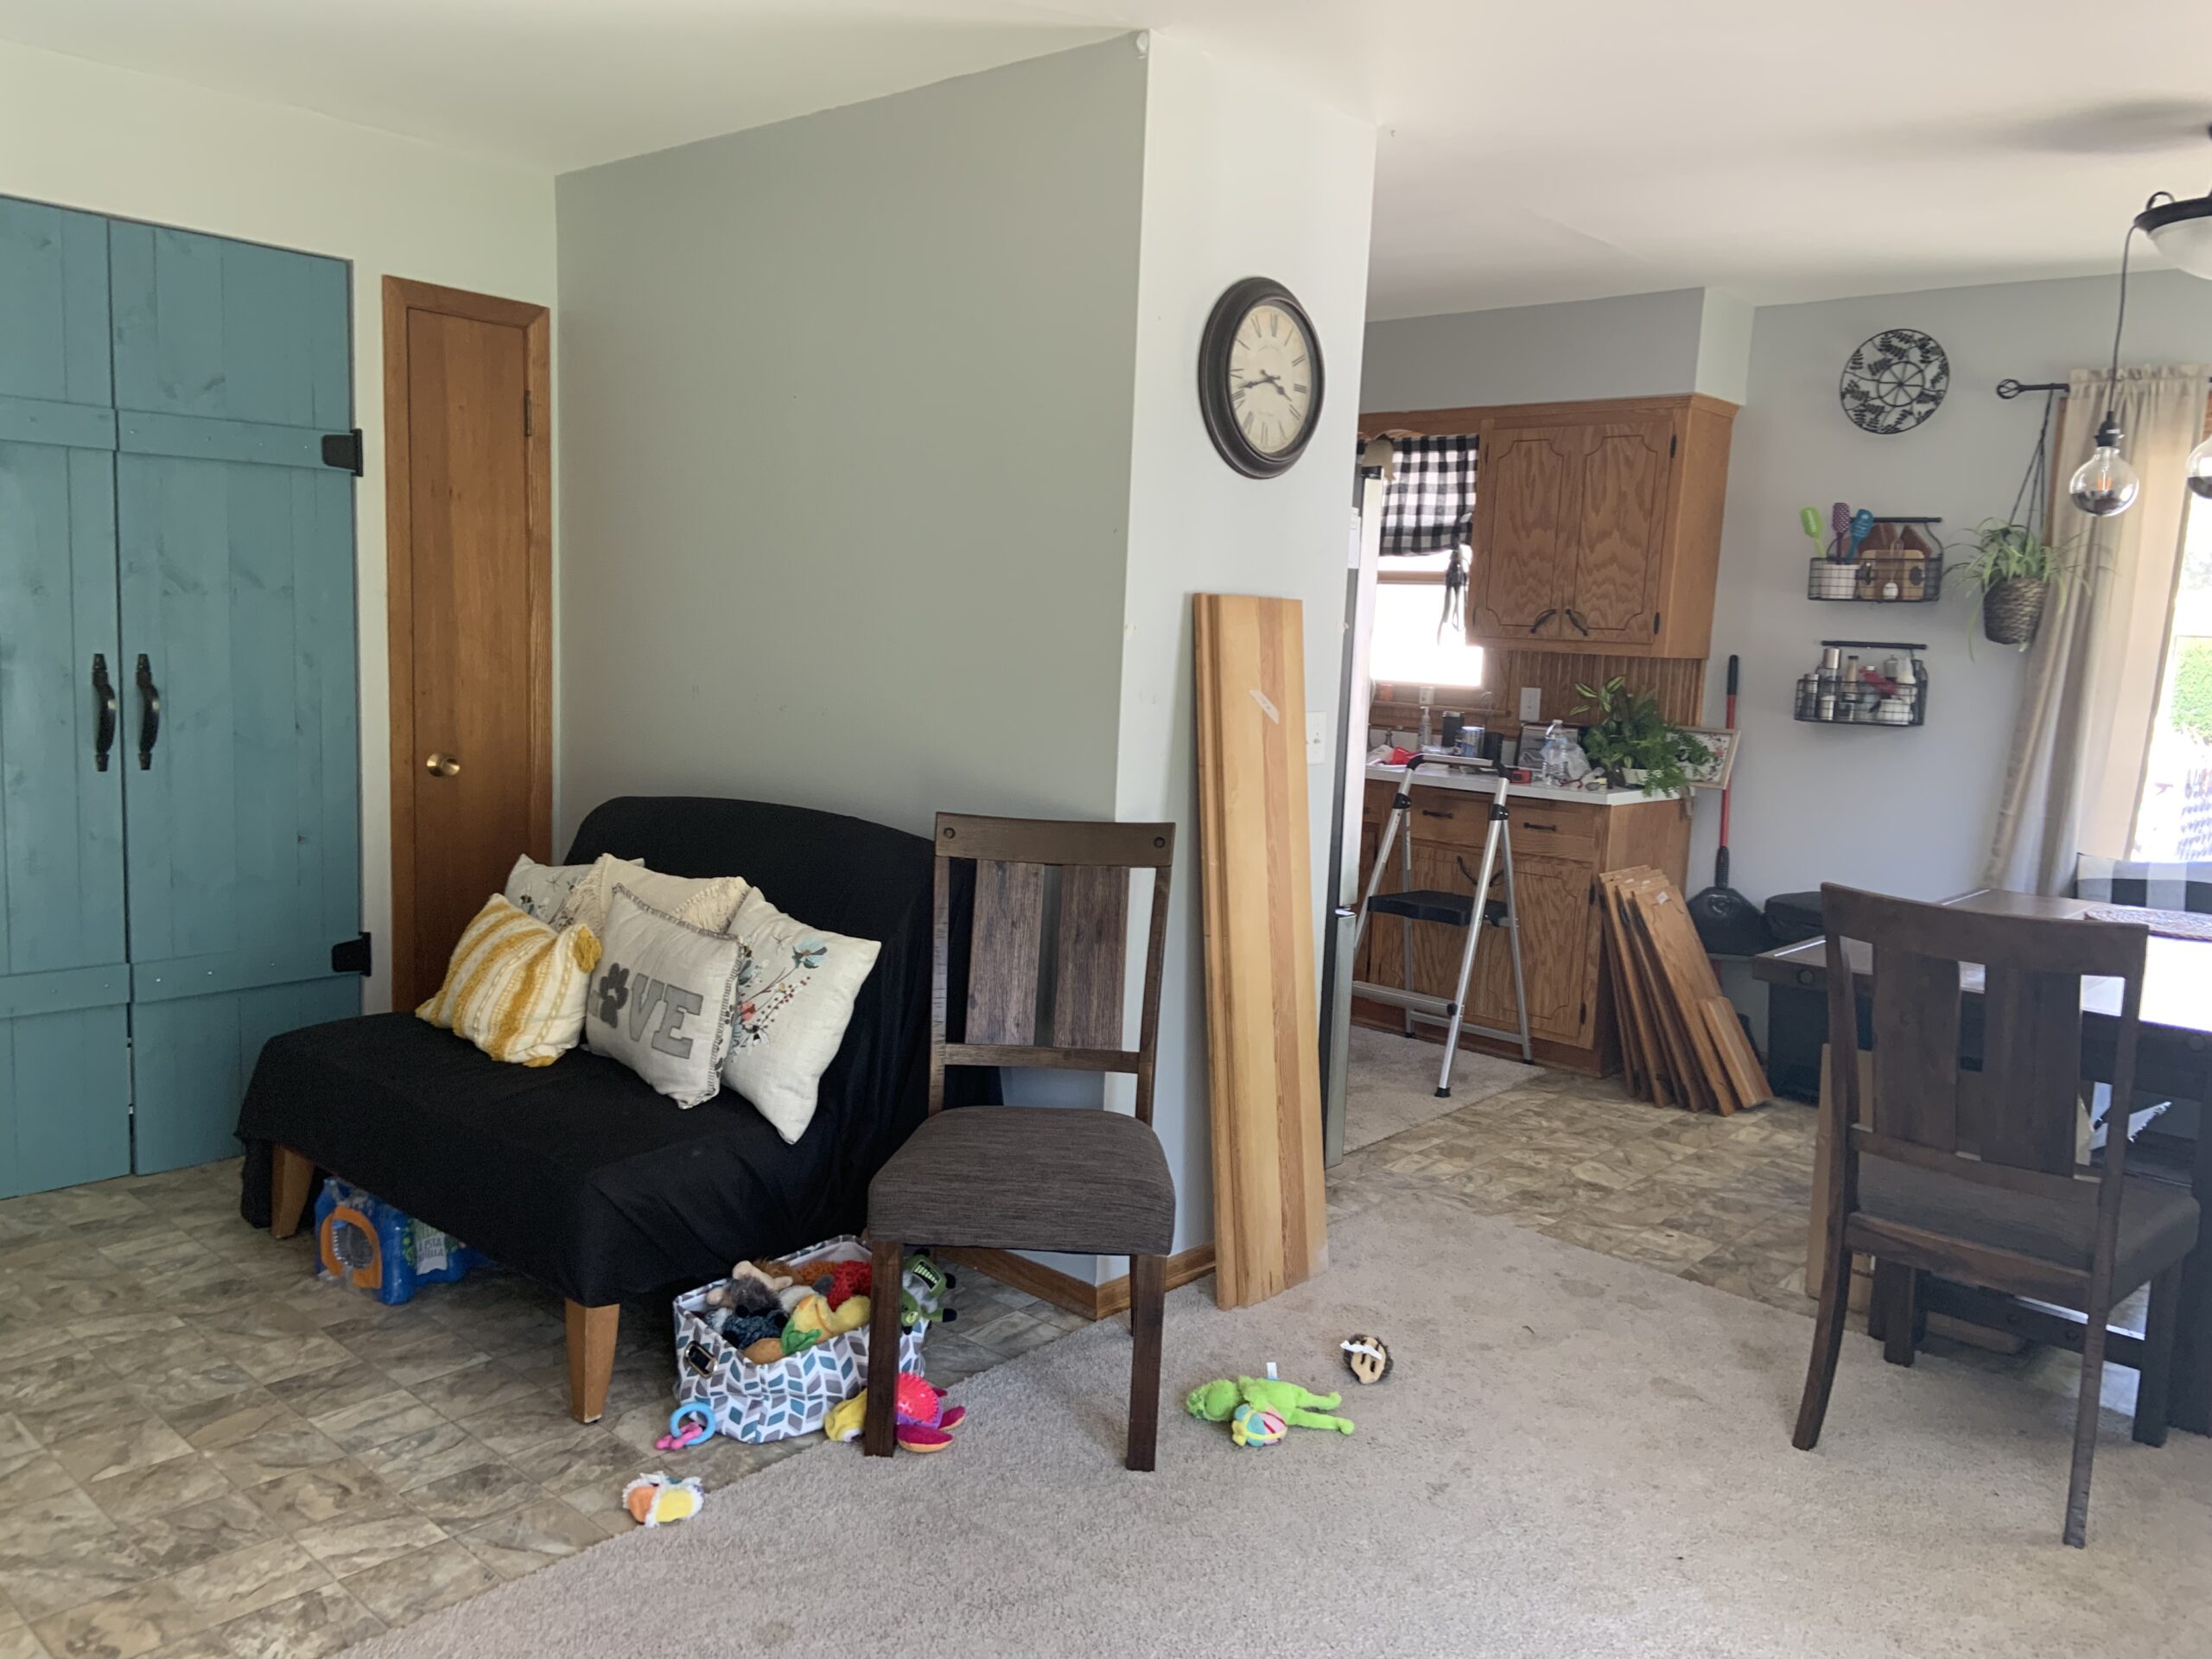
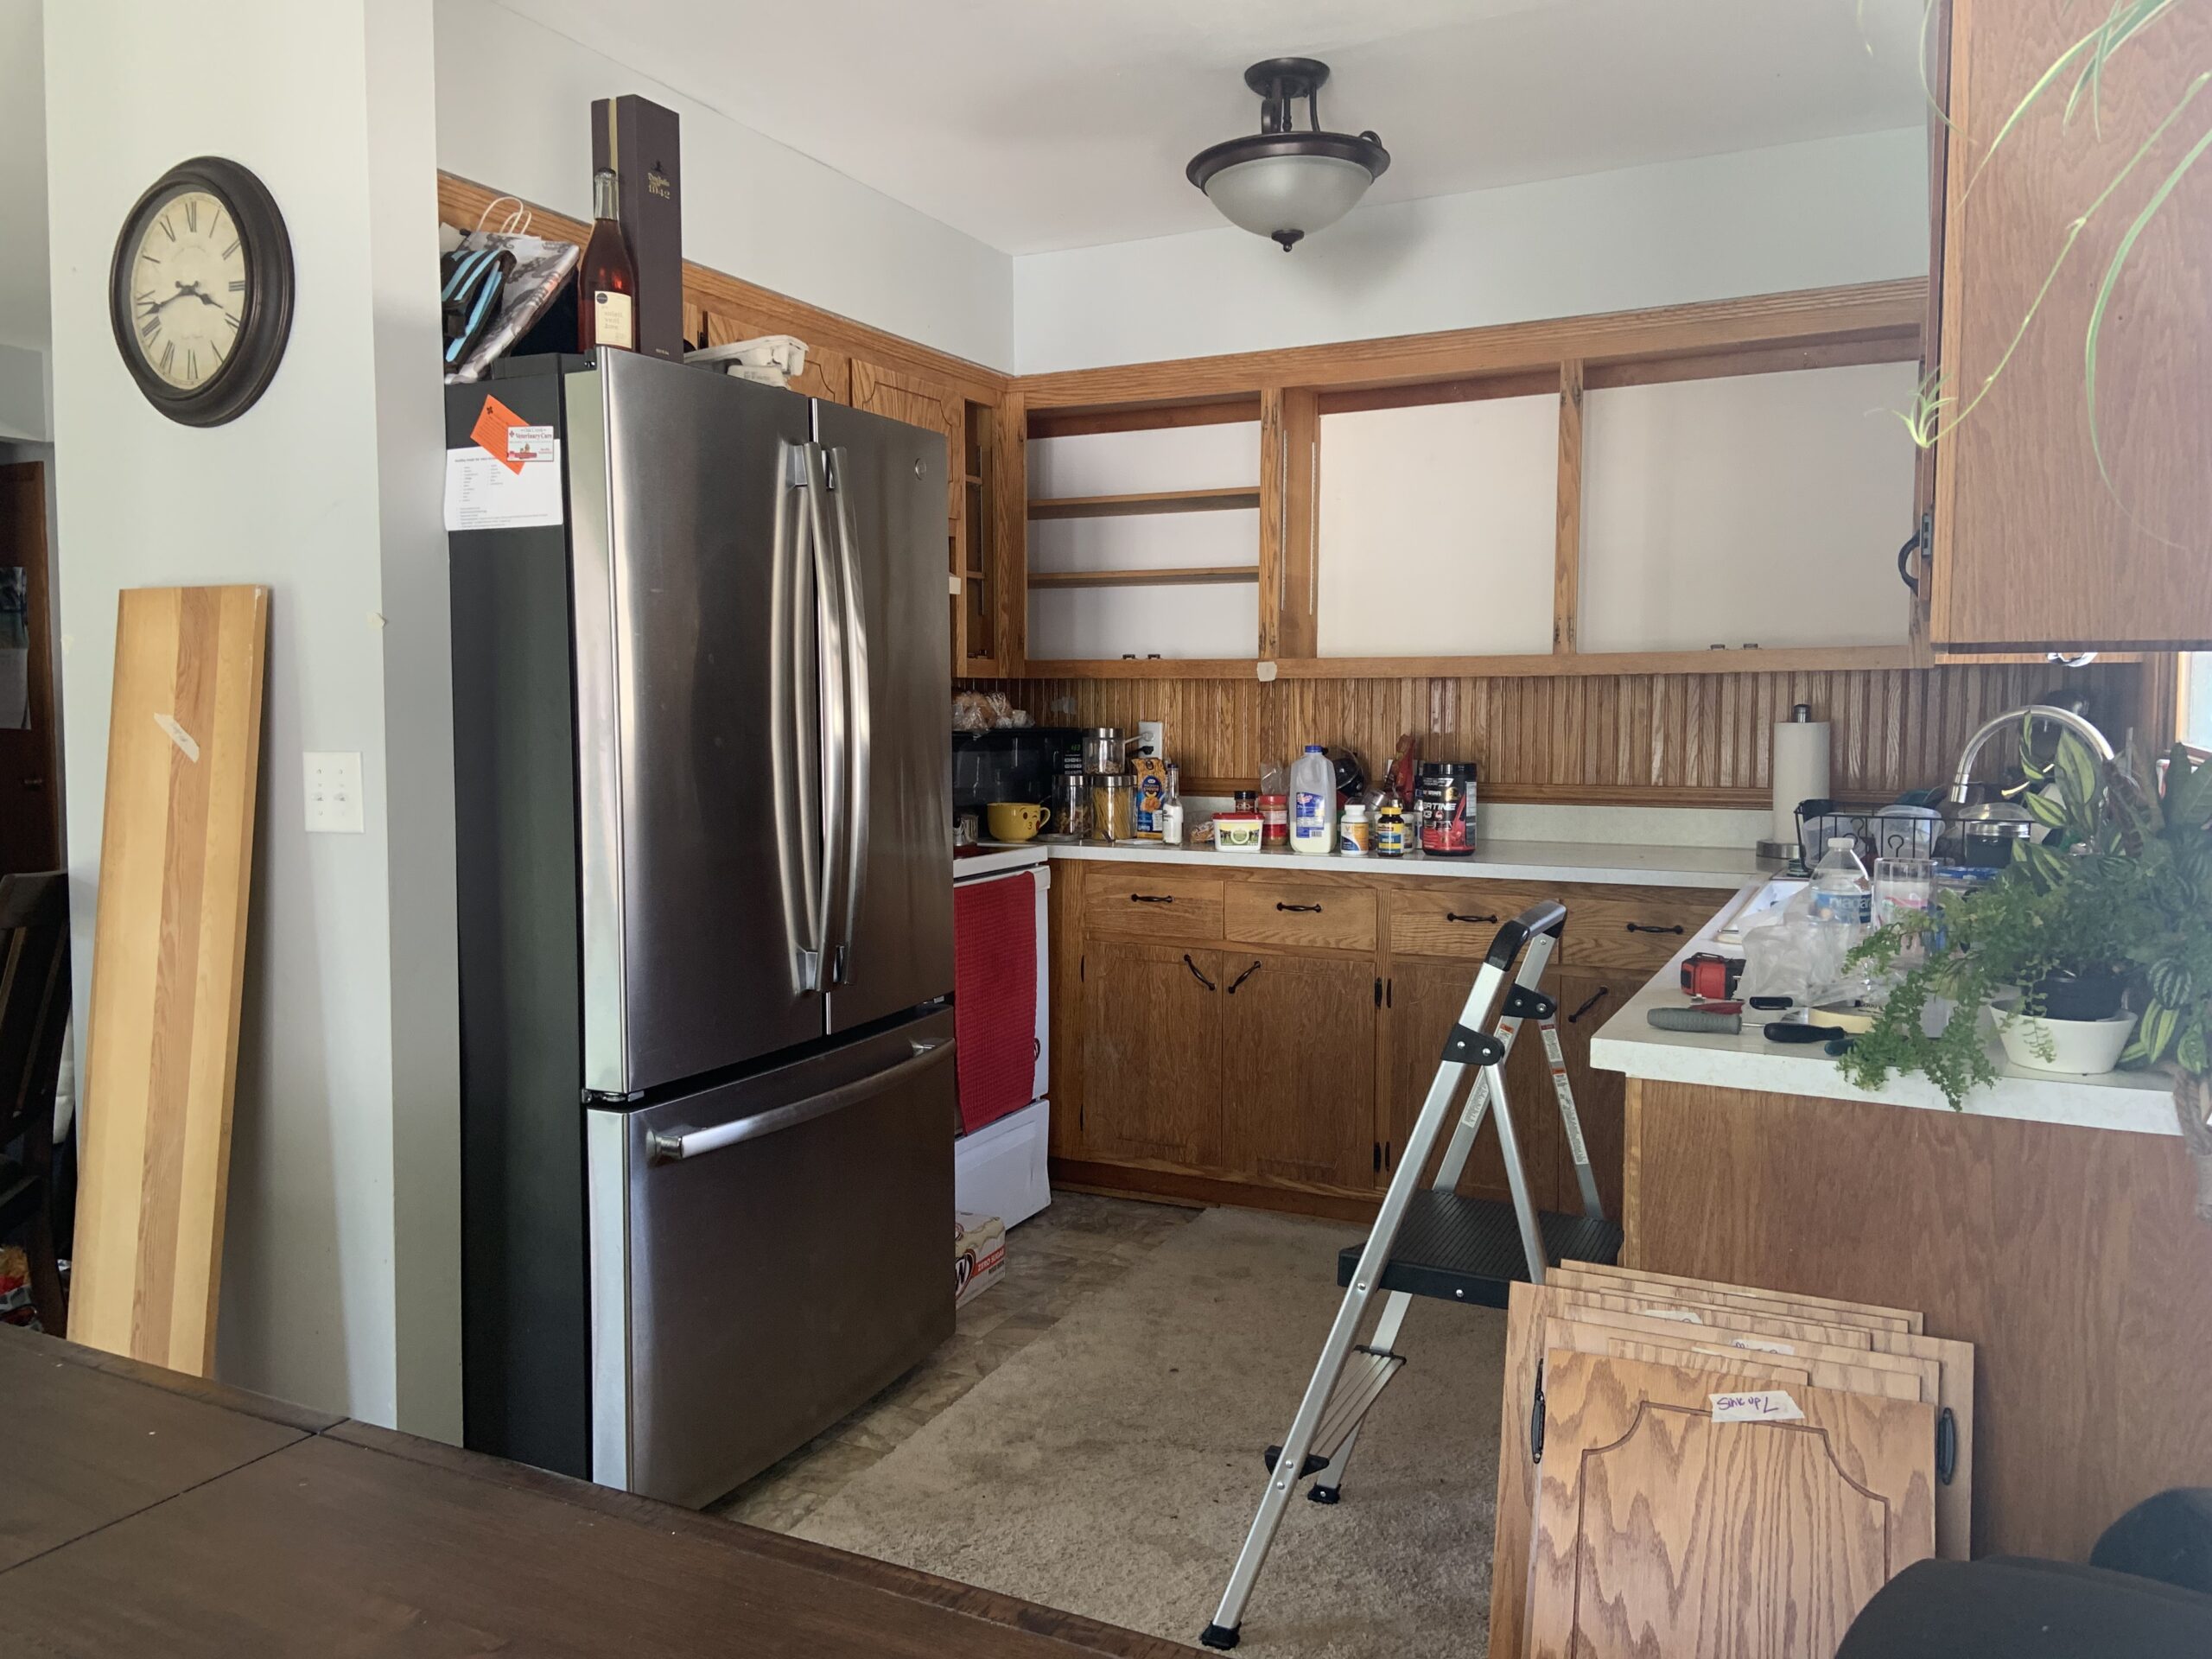
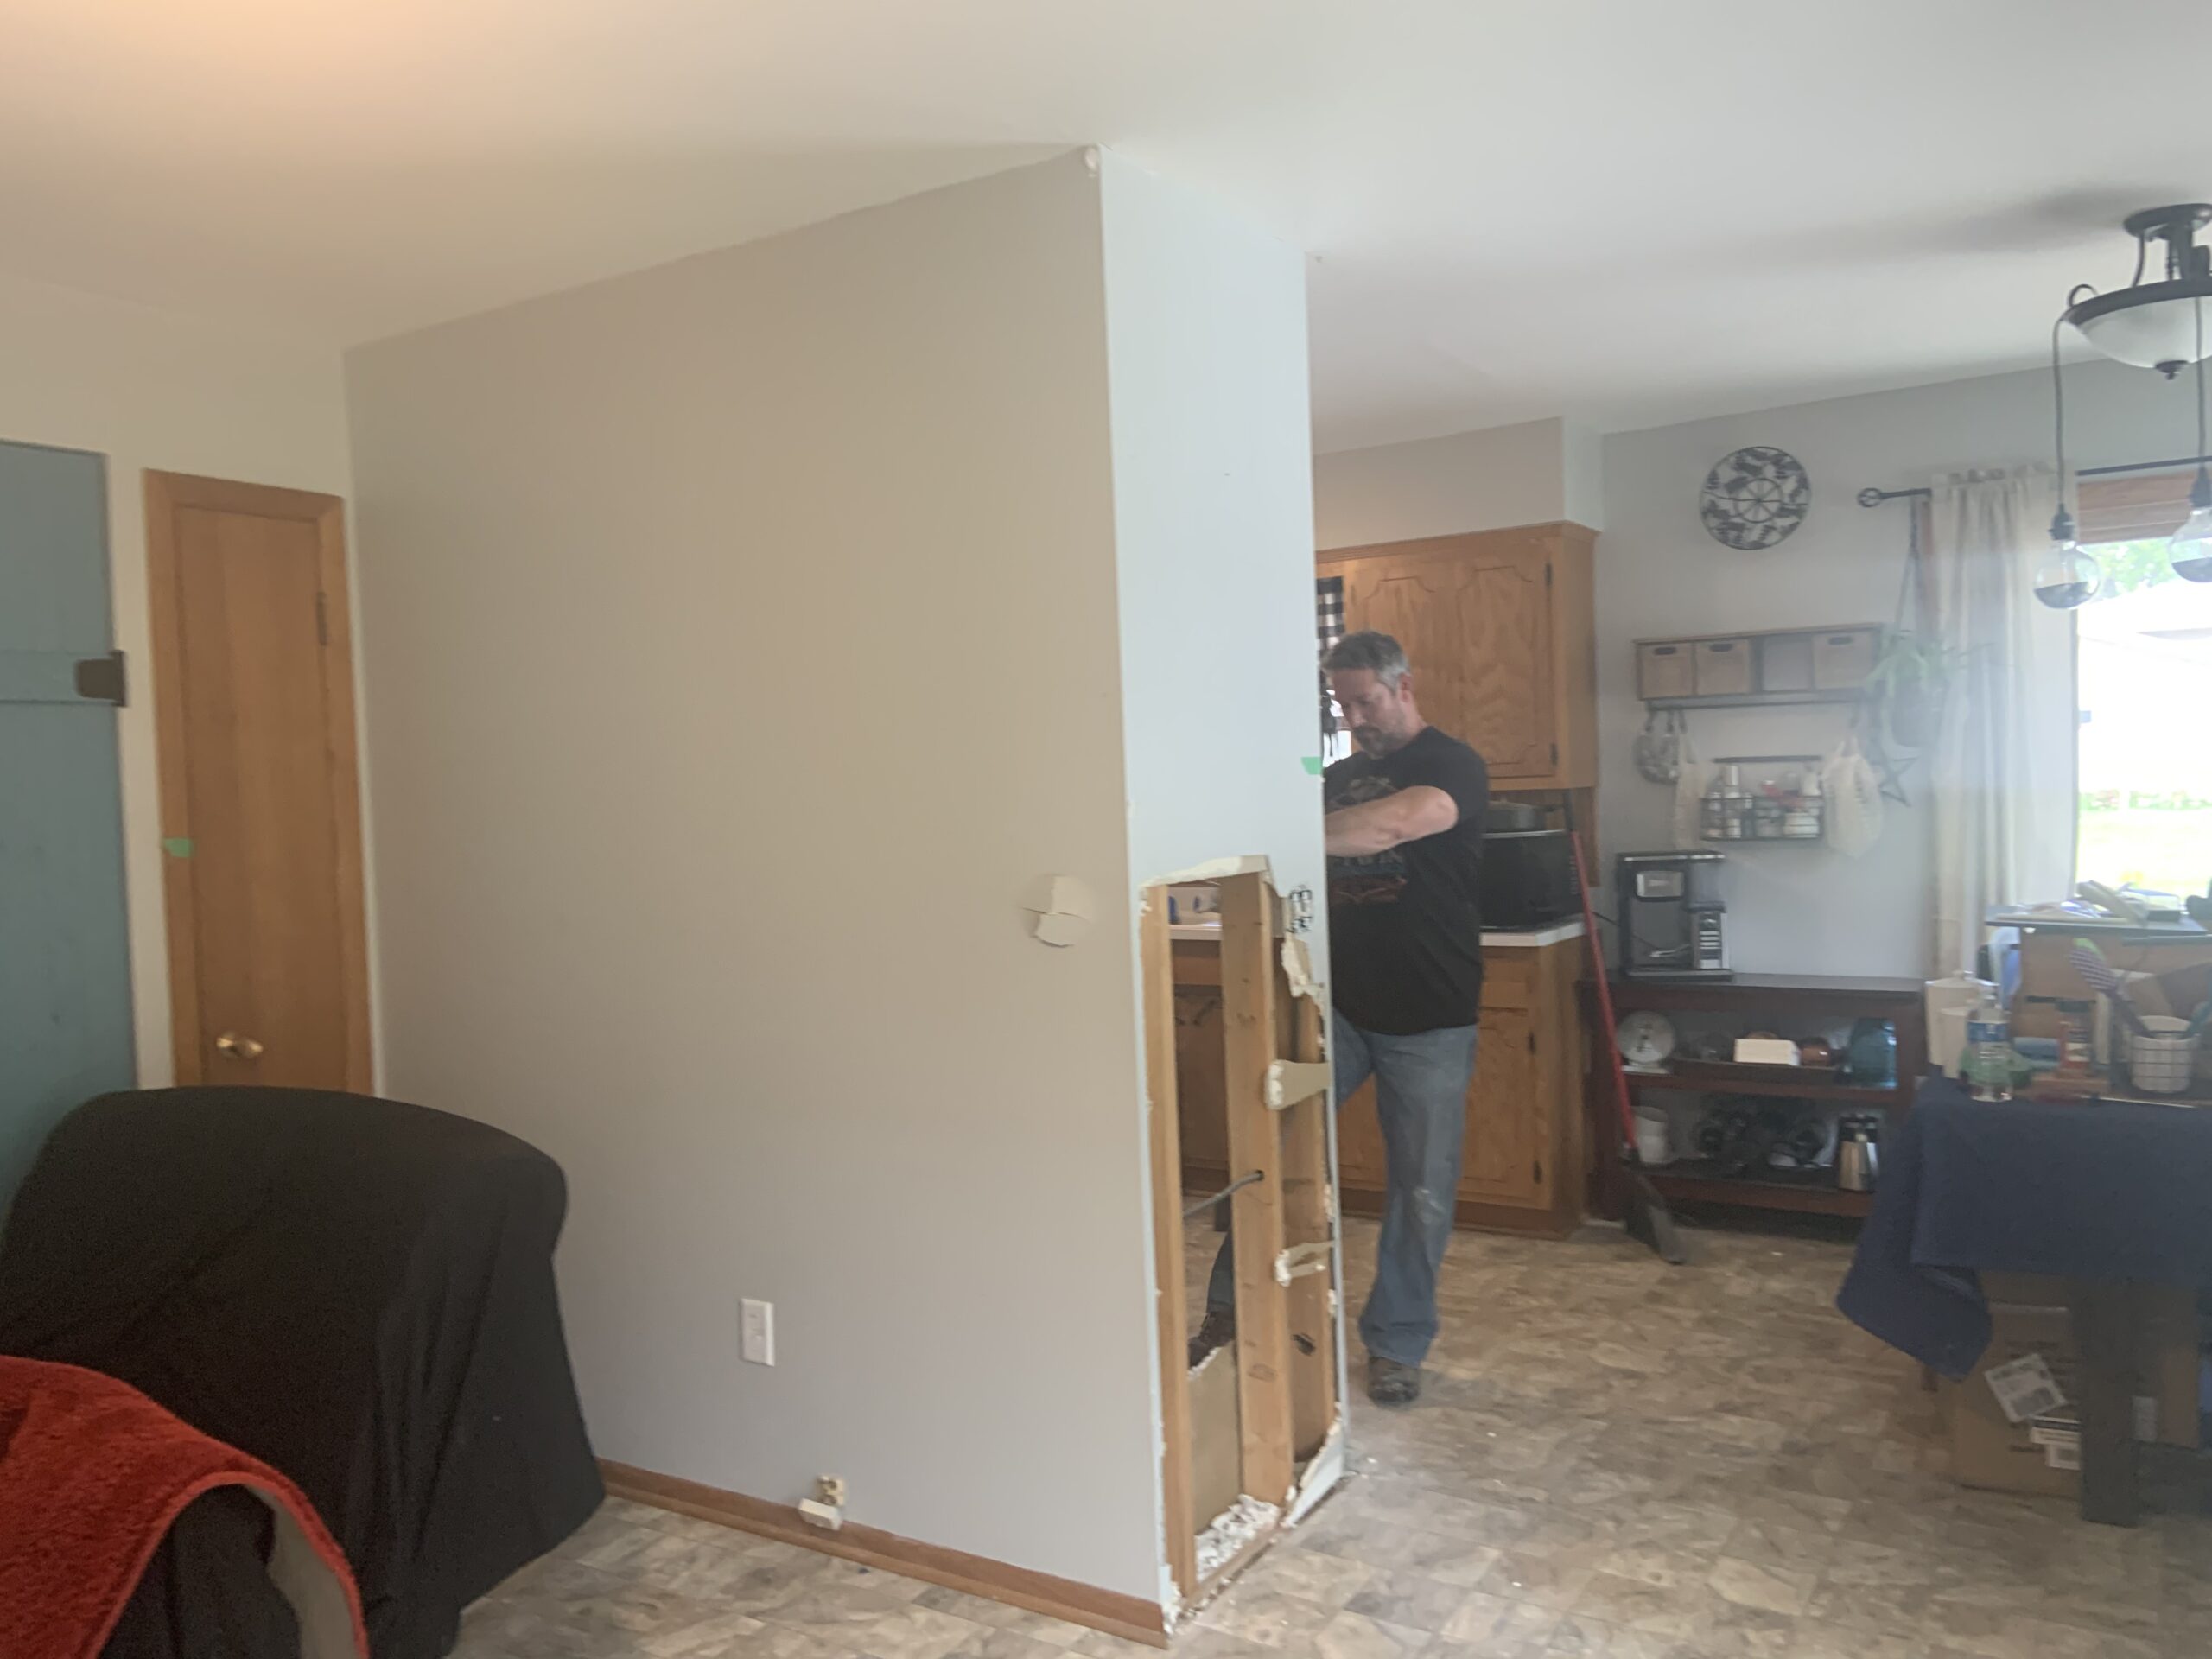
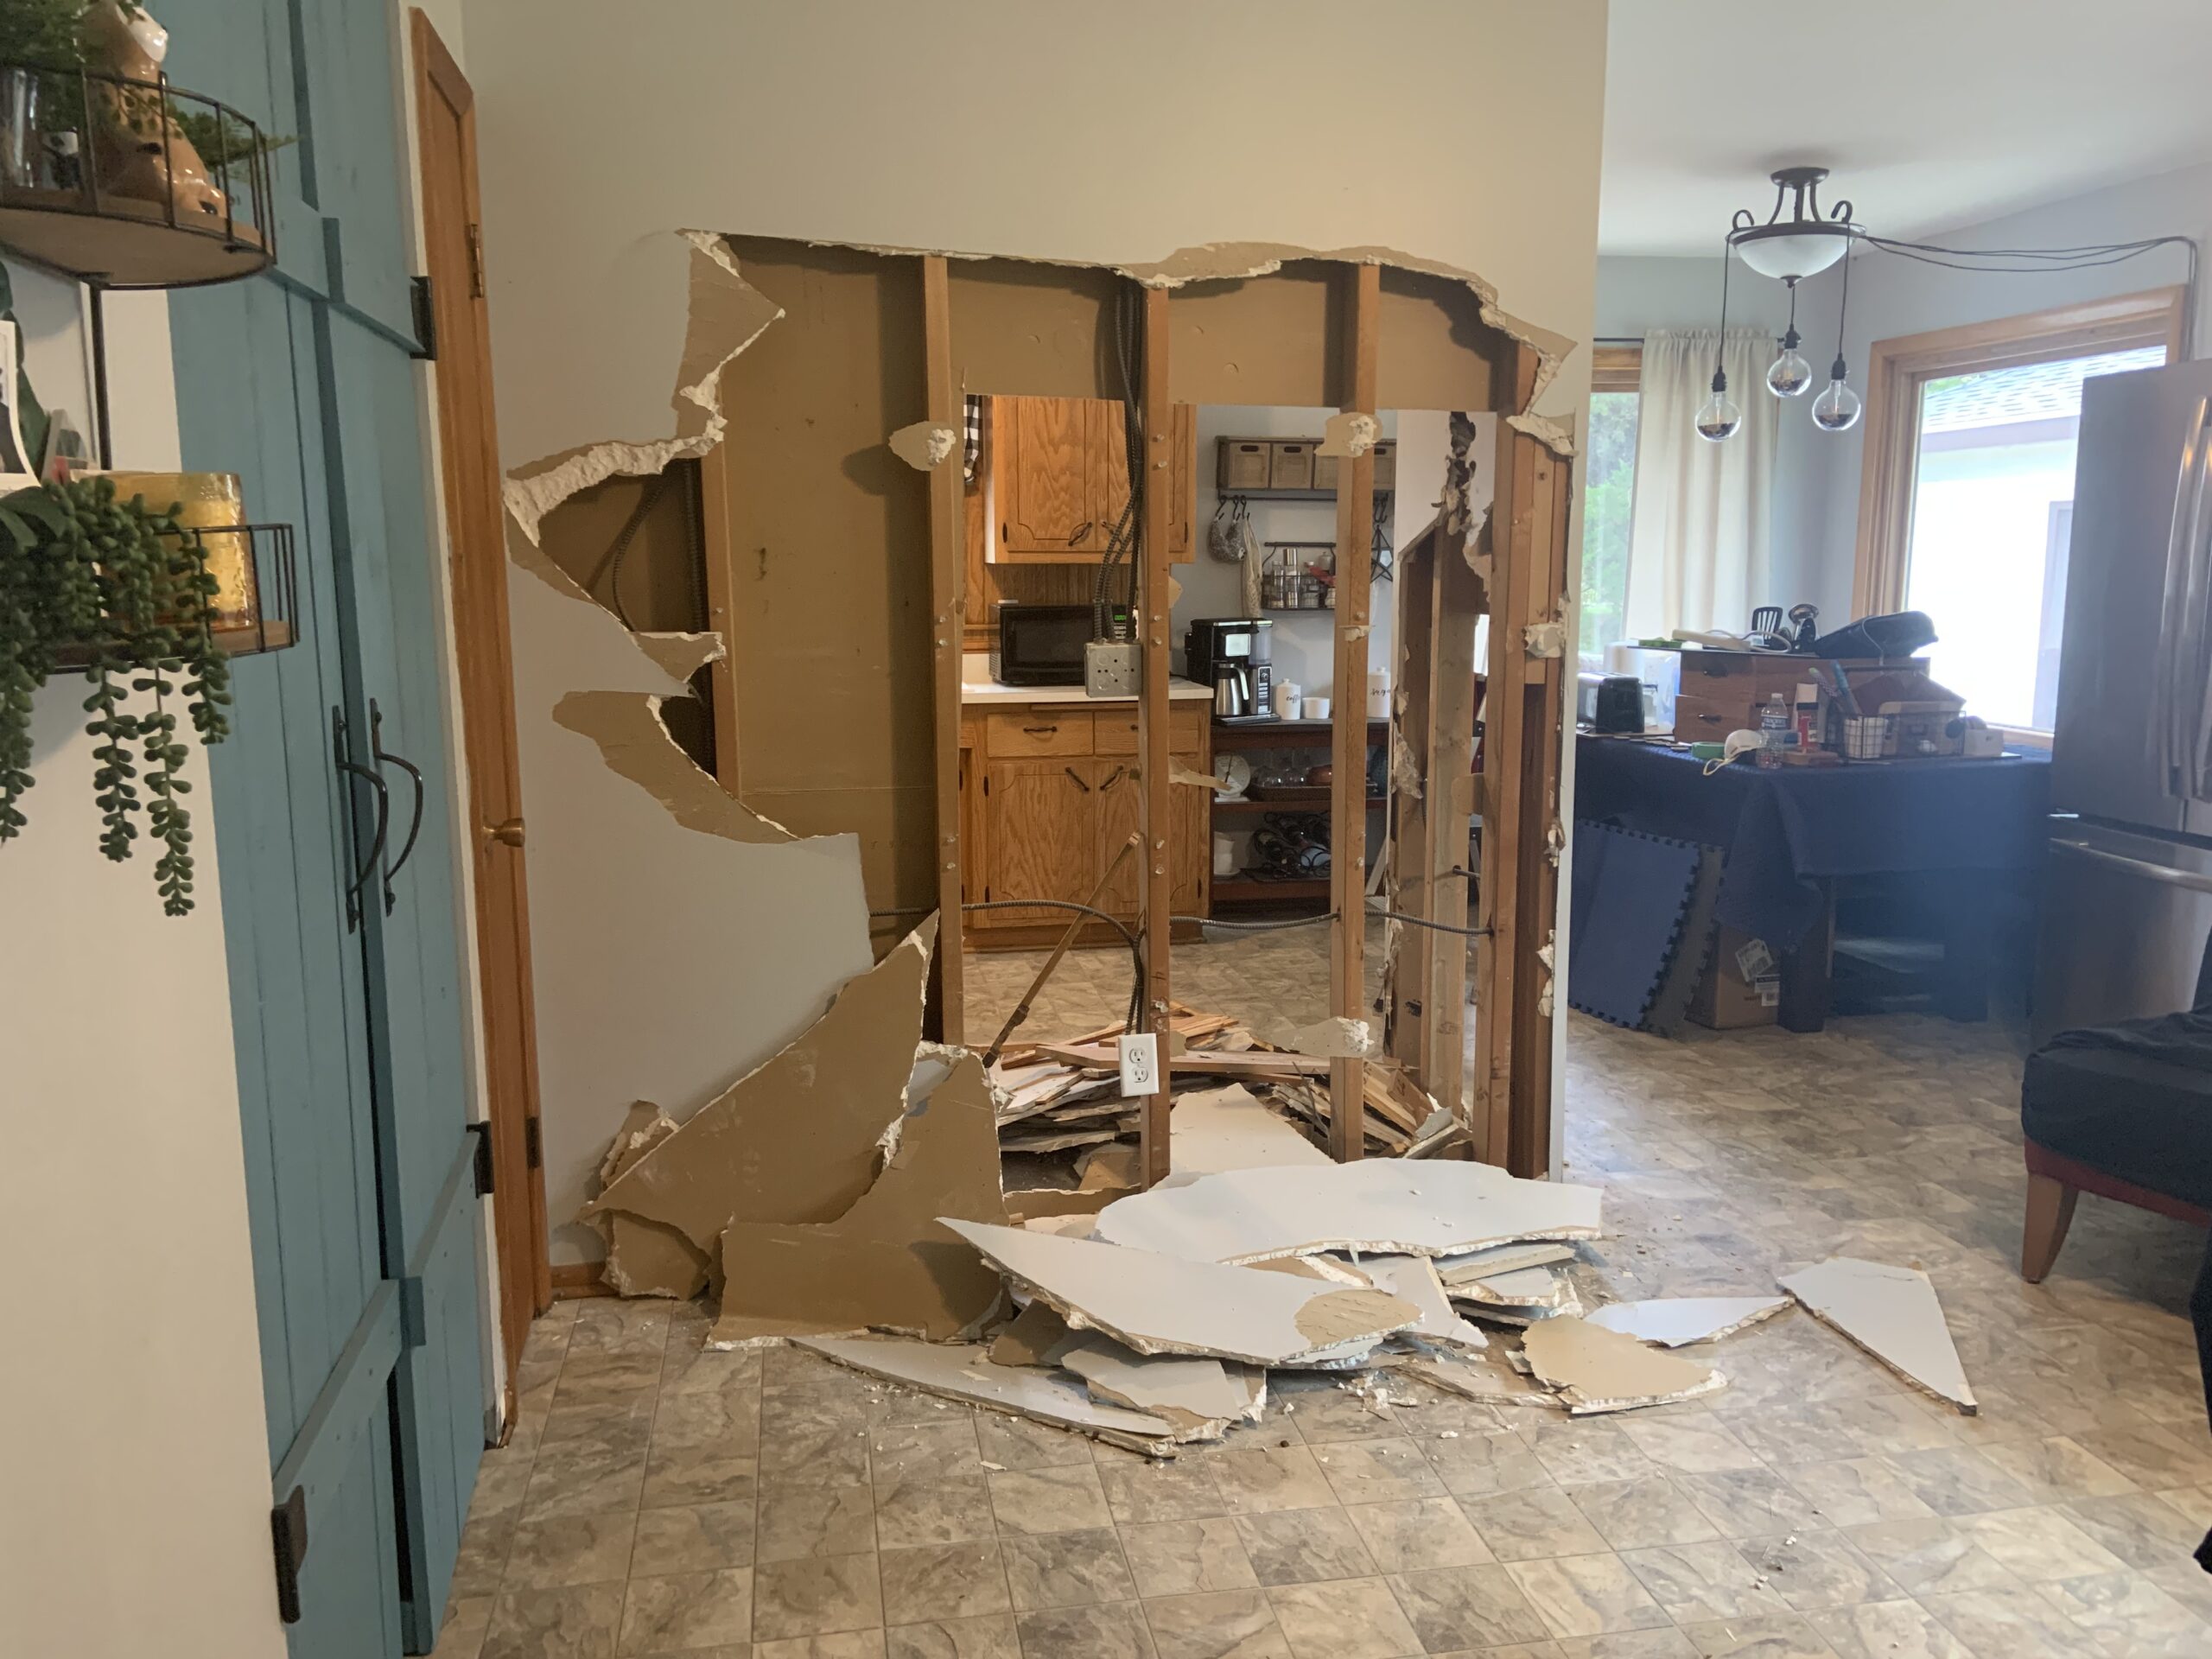
This is the very first picture we took inside the house. It is looking at foyer area, the wall and on the other side of that wall is the kitchen.

First we needed to empty out all the cabinets. In a way this was really fun and refreshing to clean everything out. It allowed me to really see what we had and what we weren’t using.
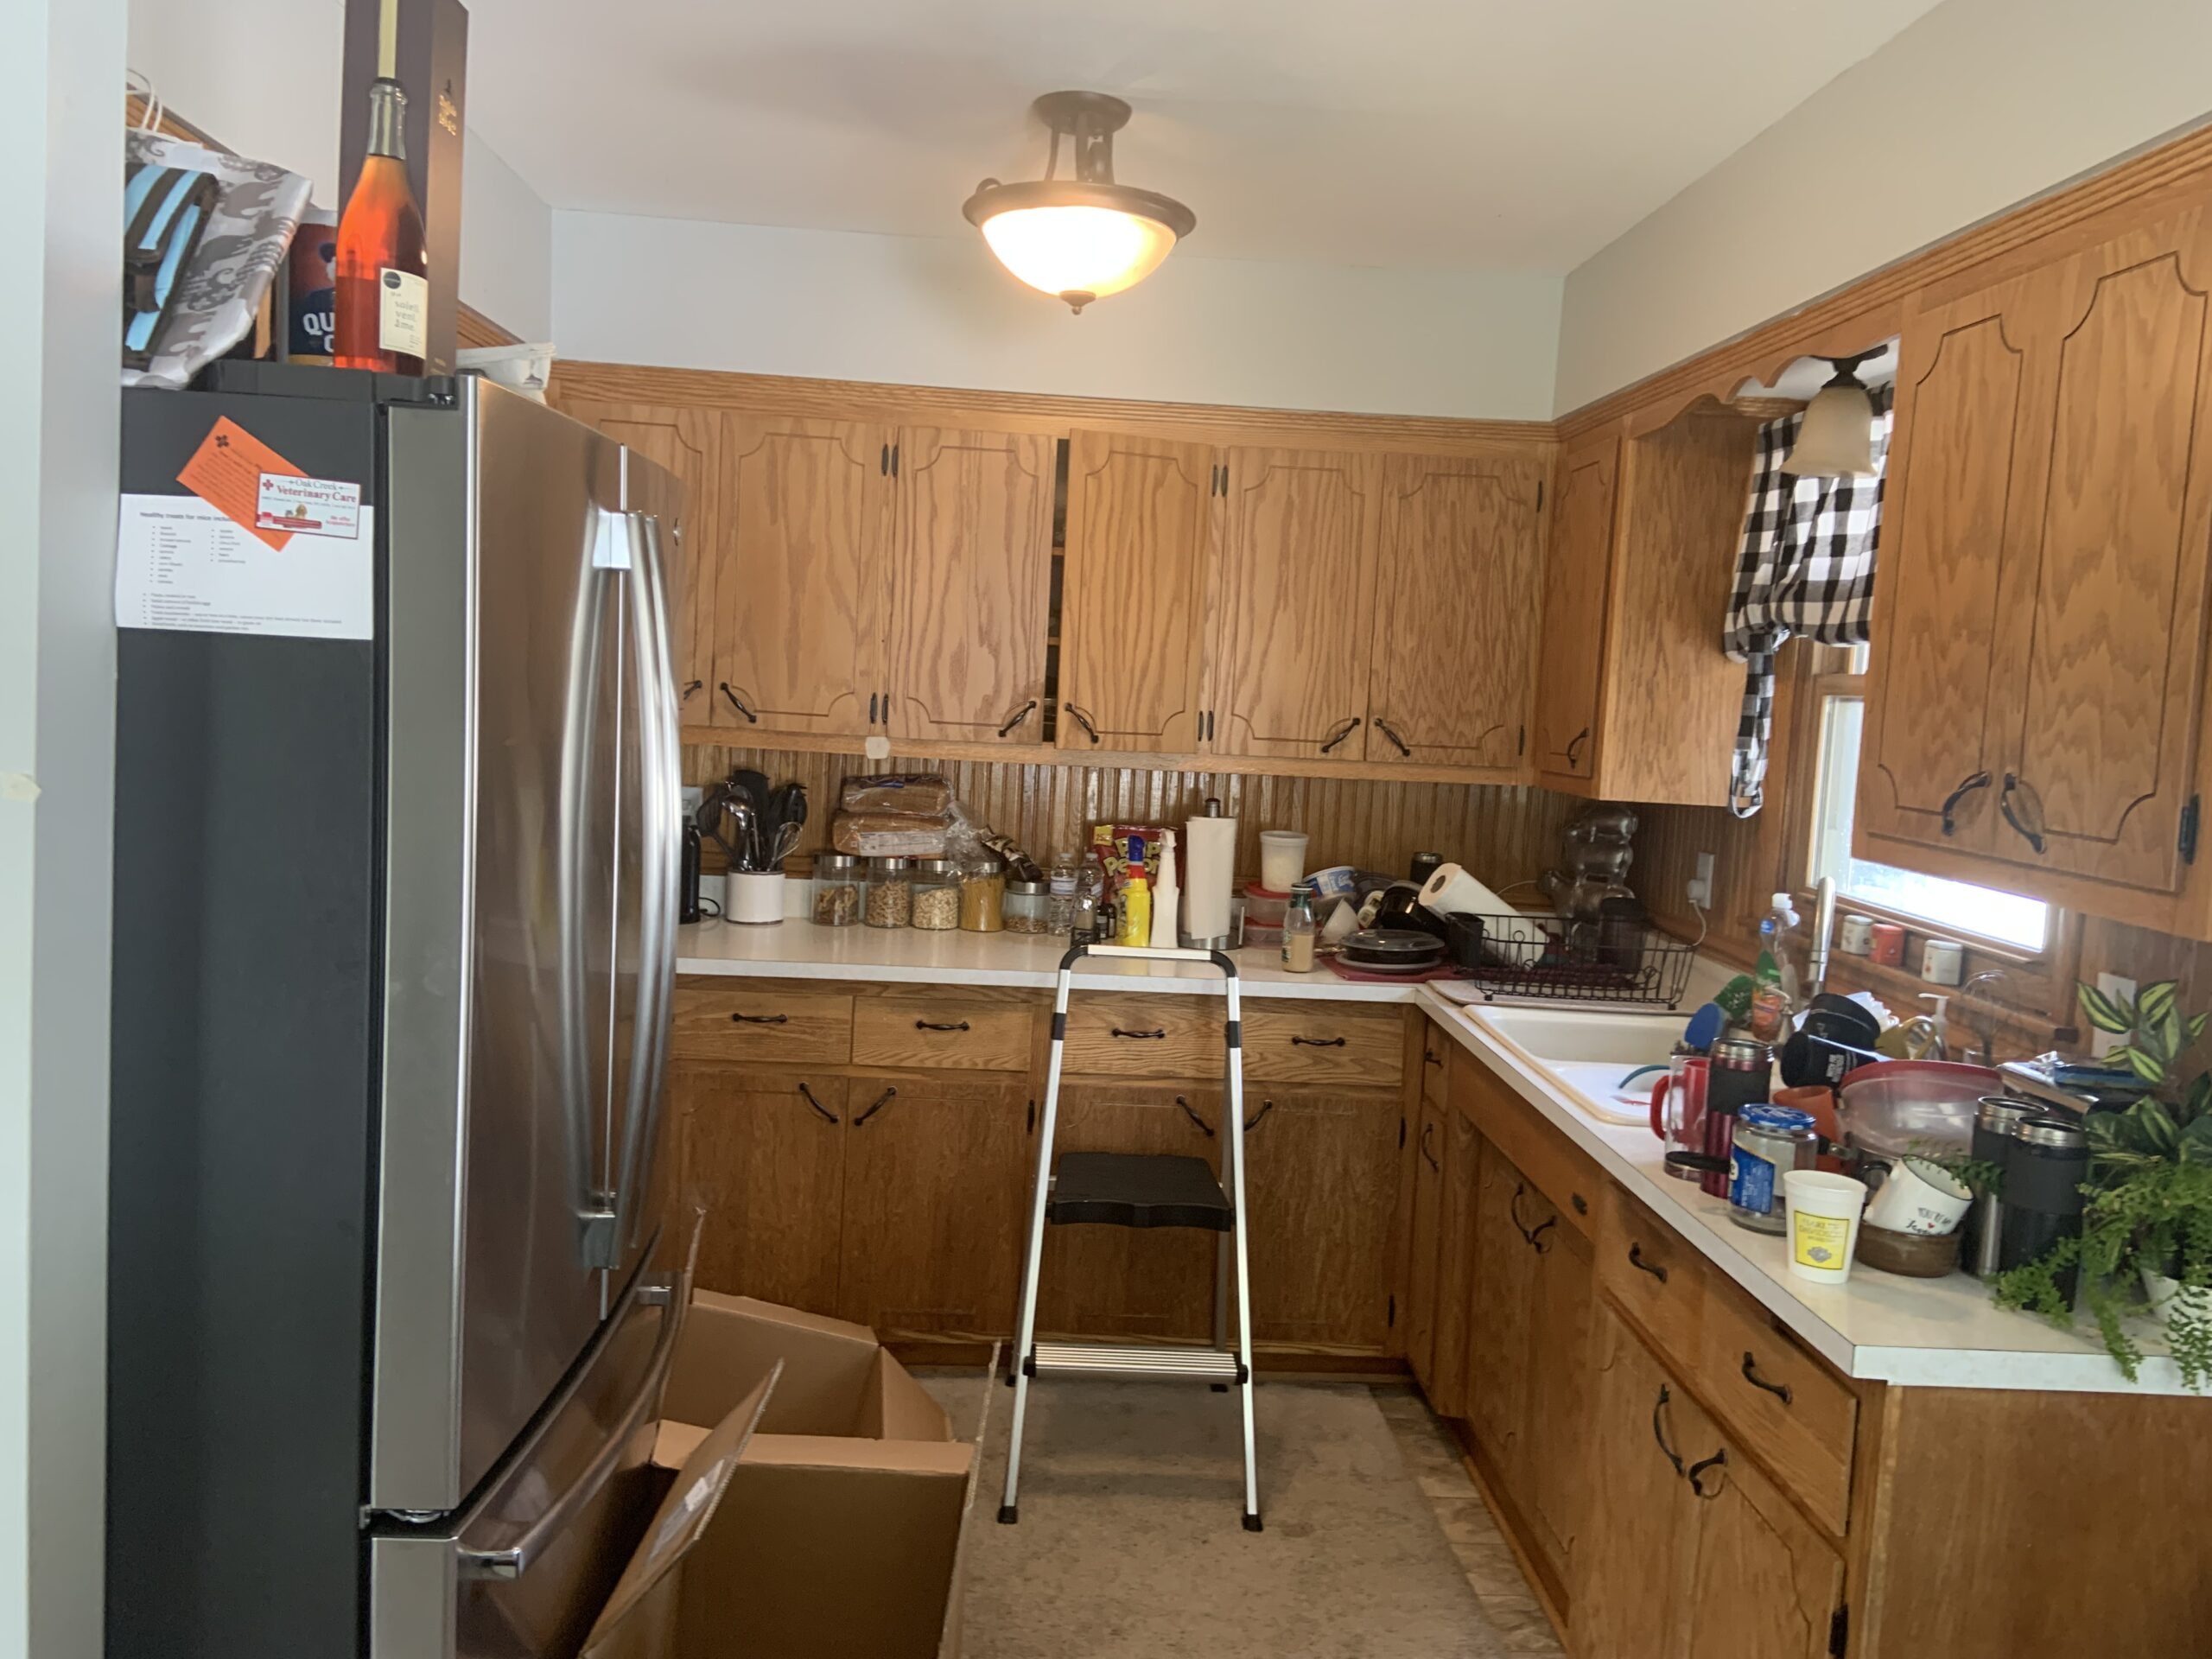
Getting everything out!
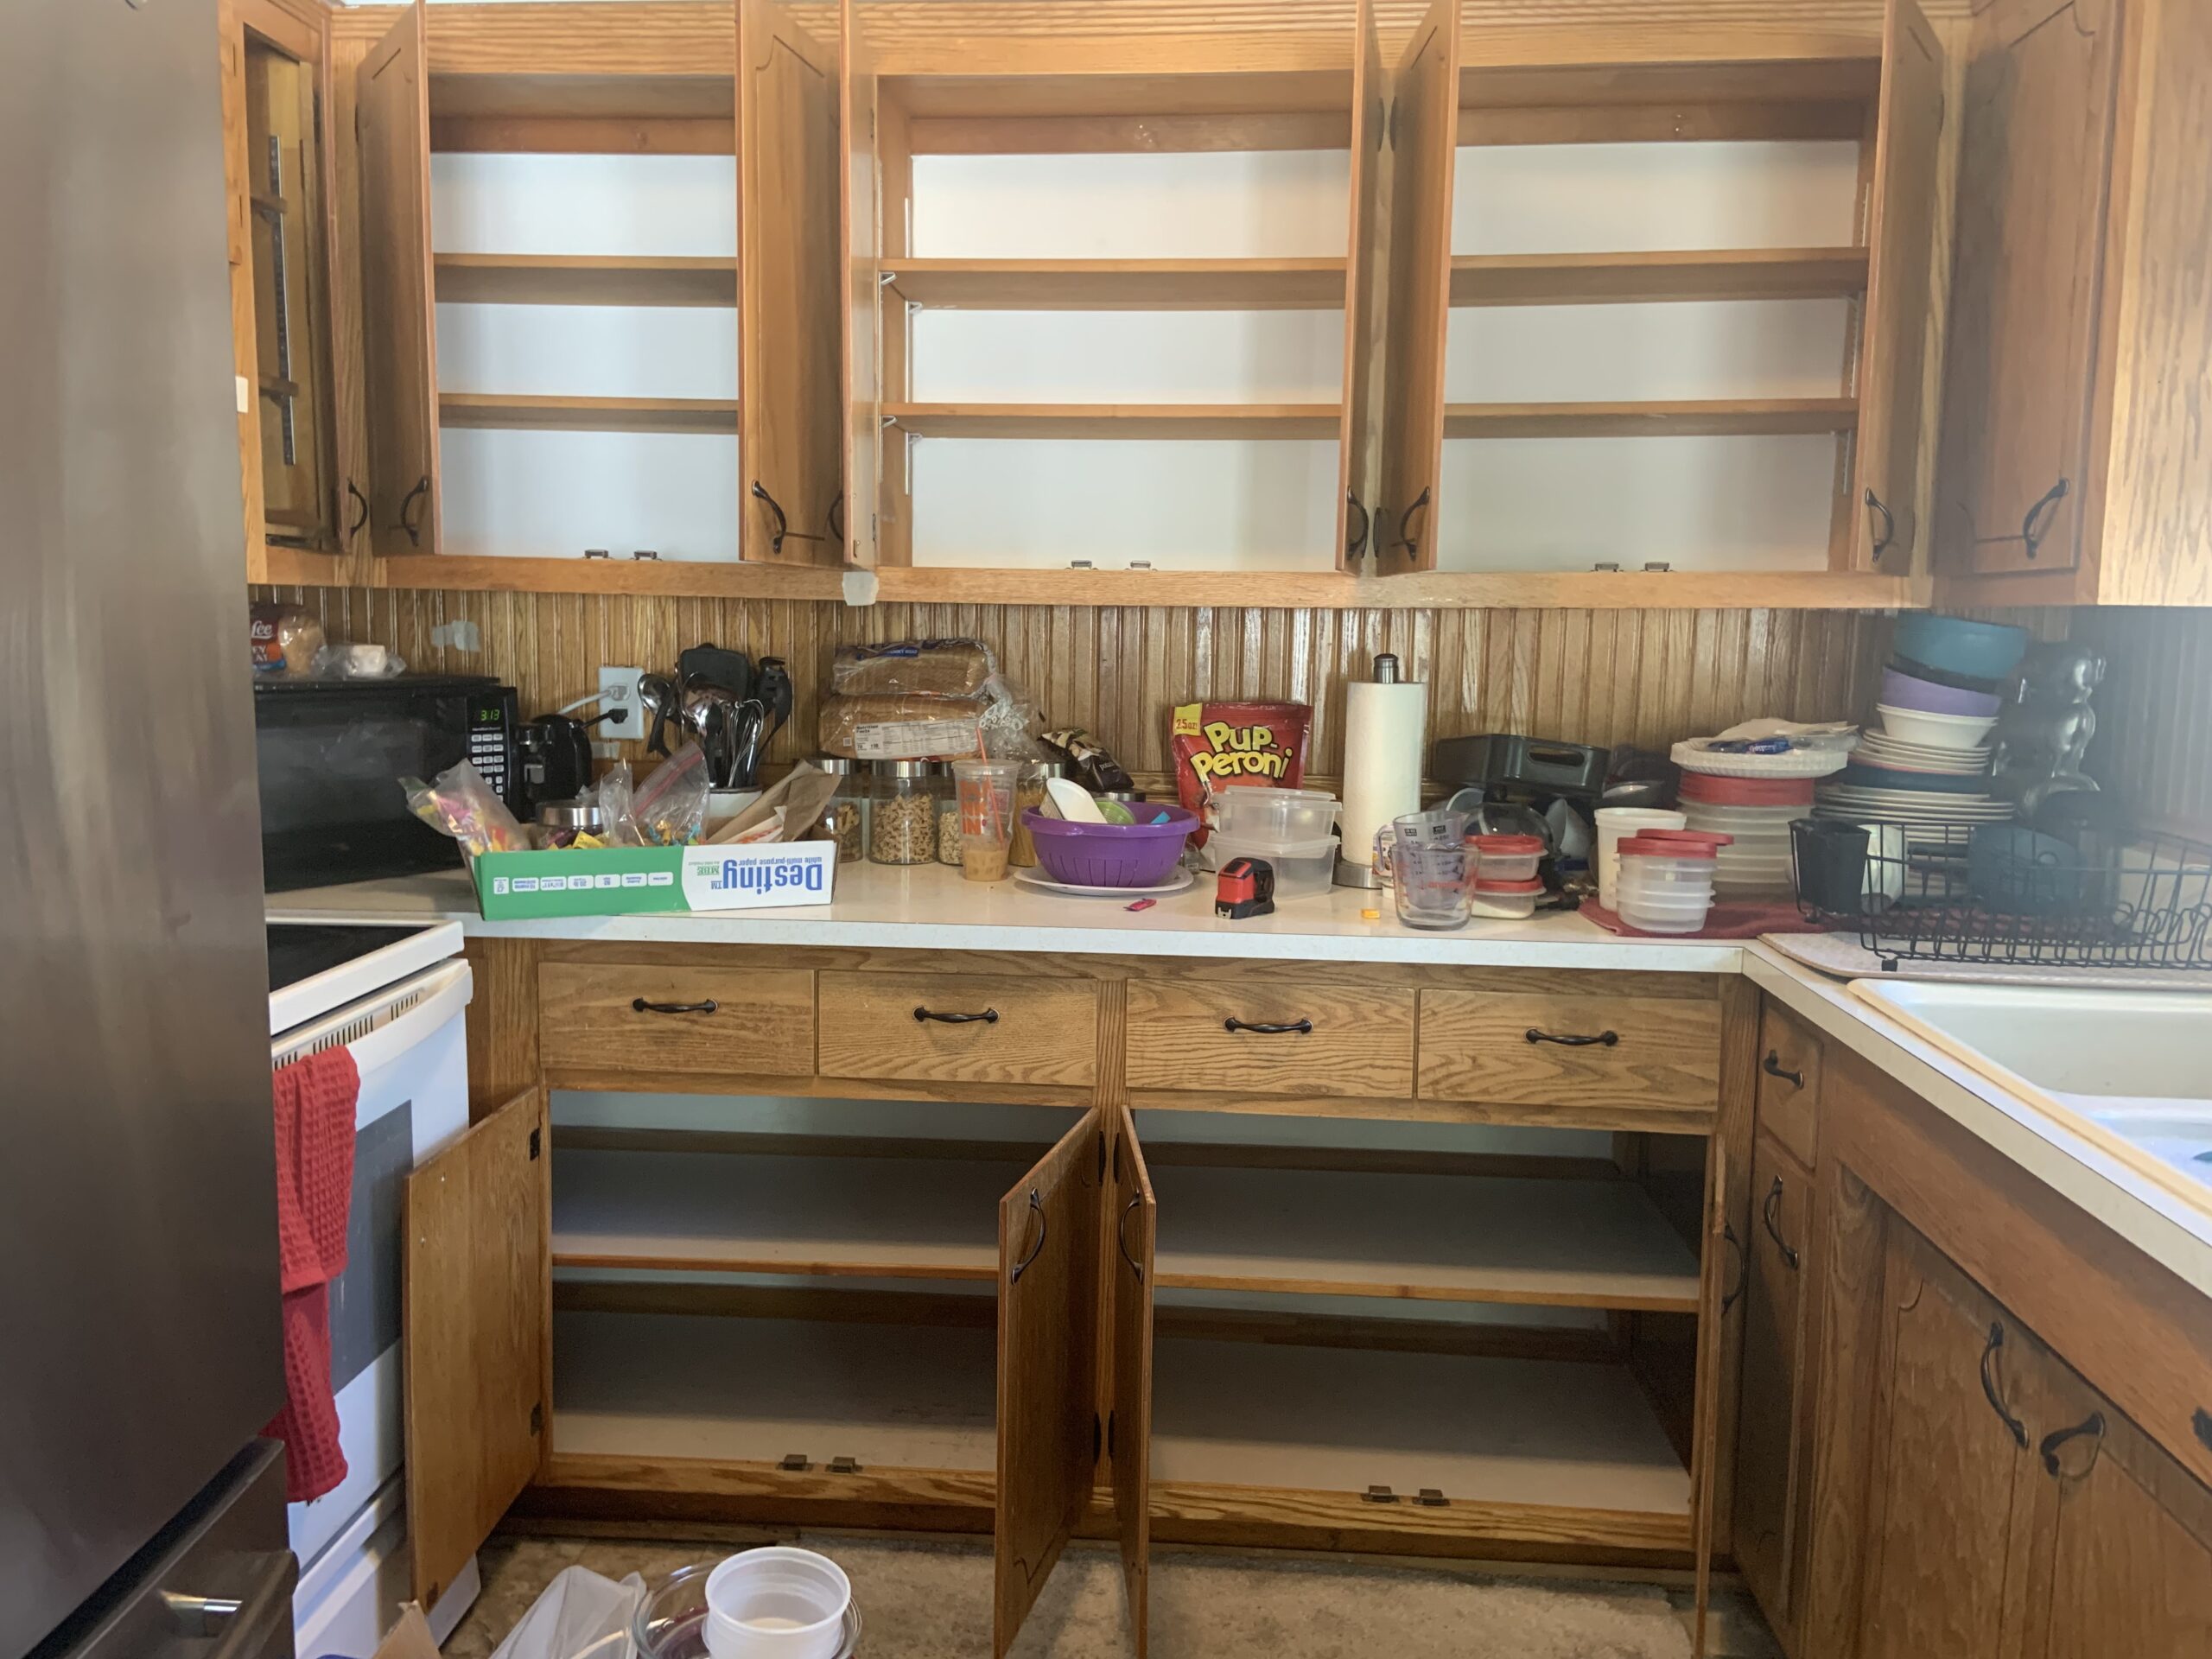
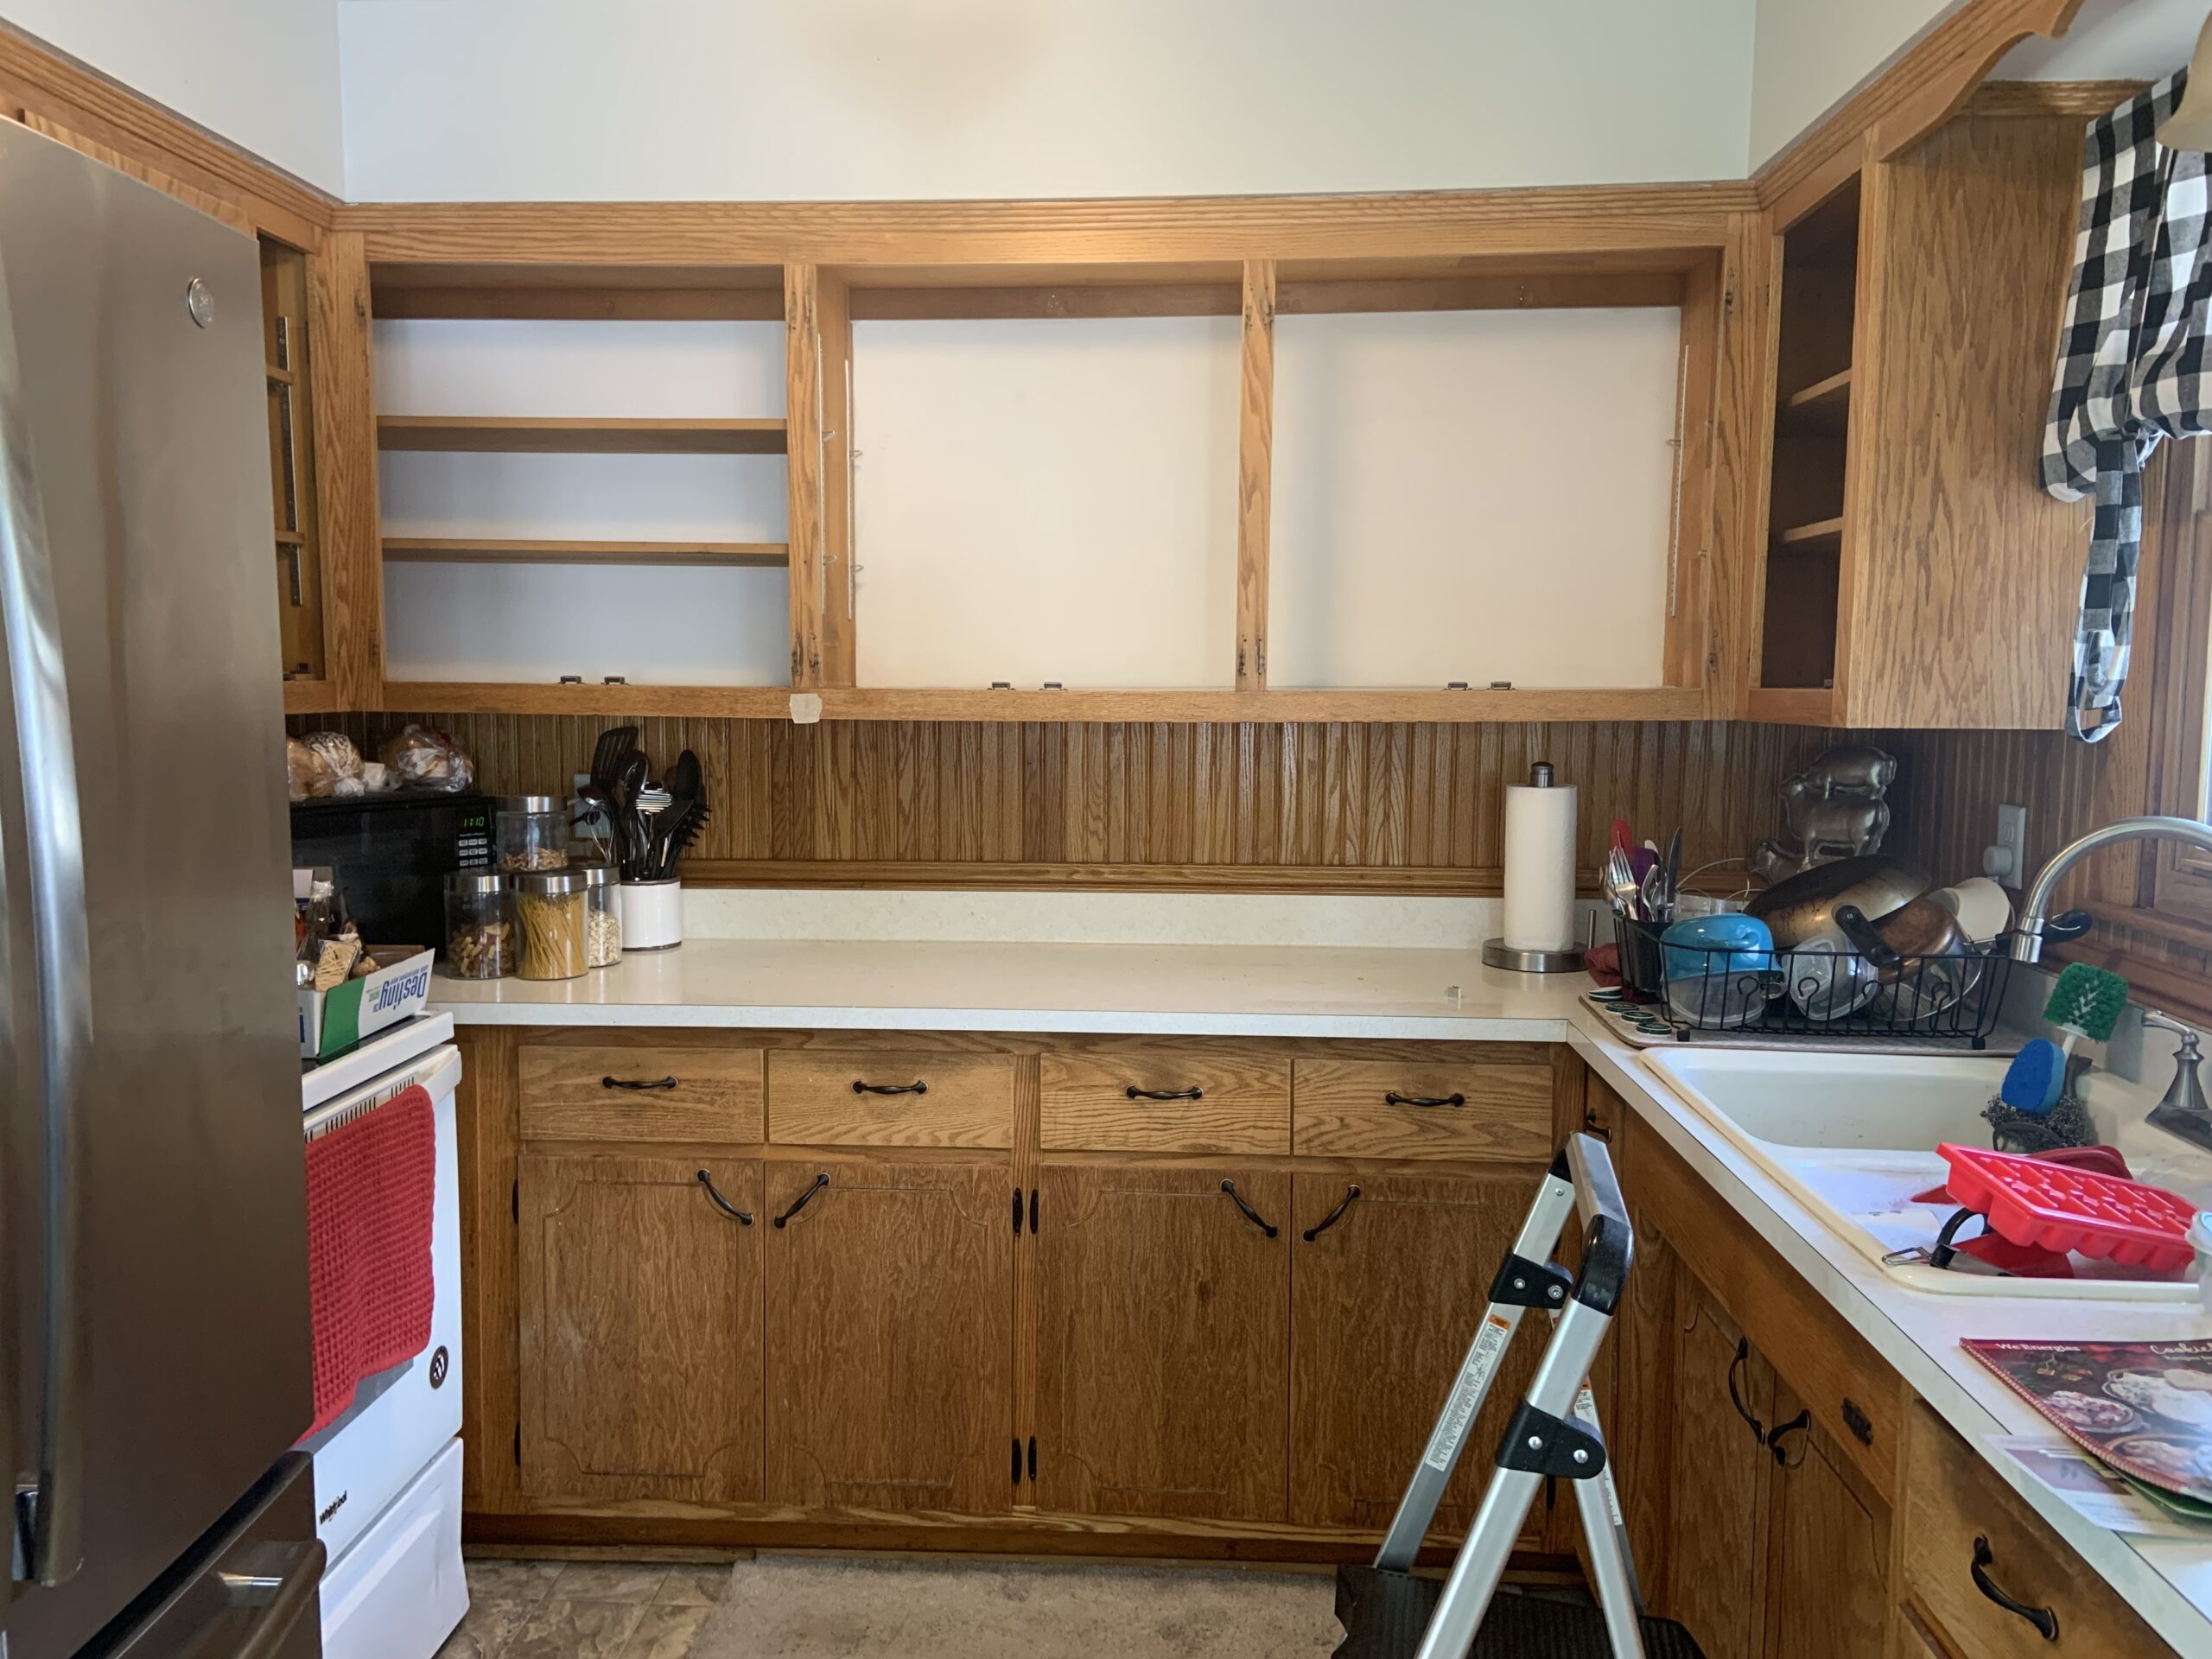
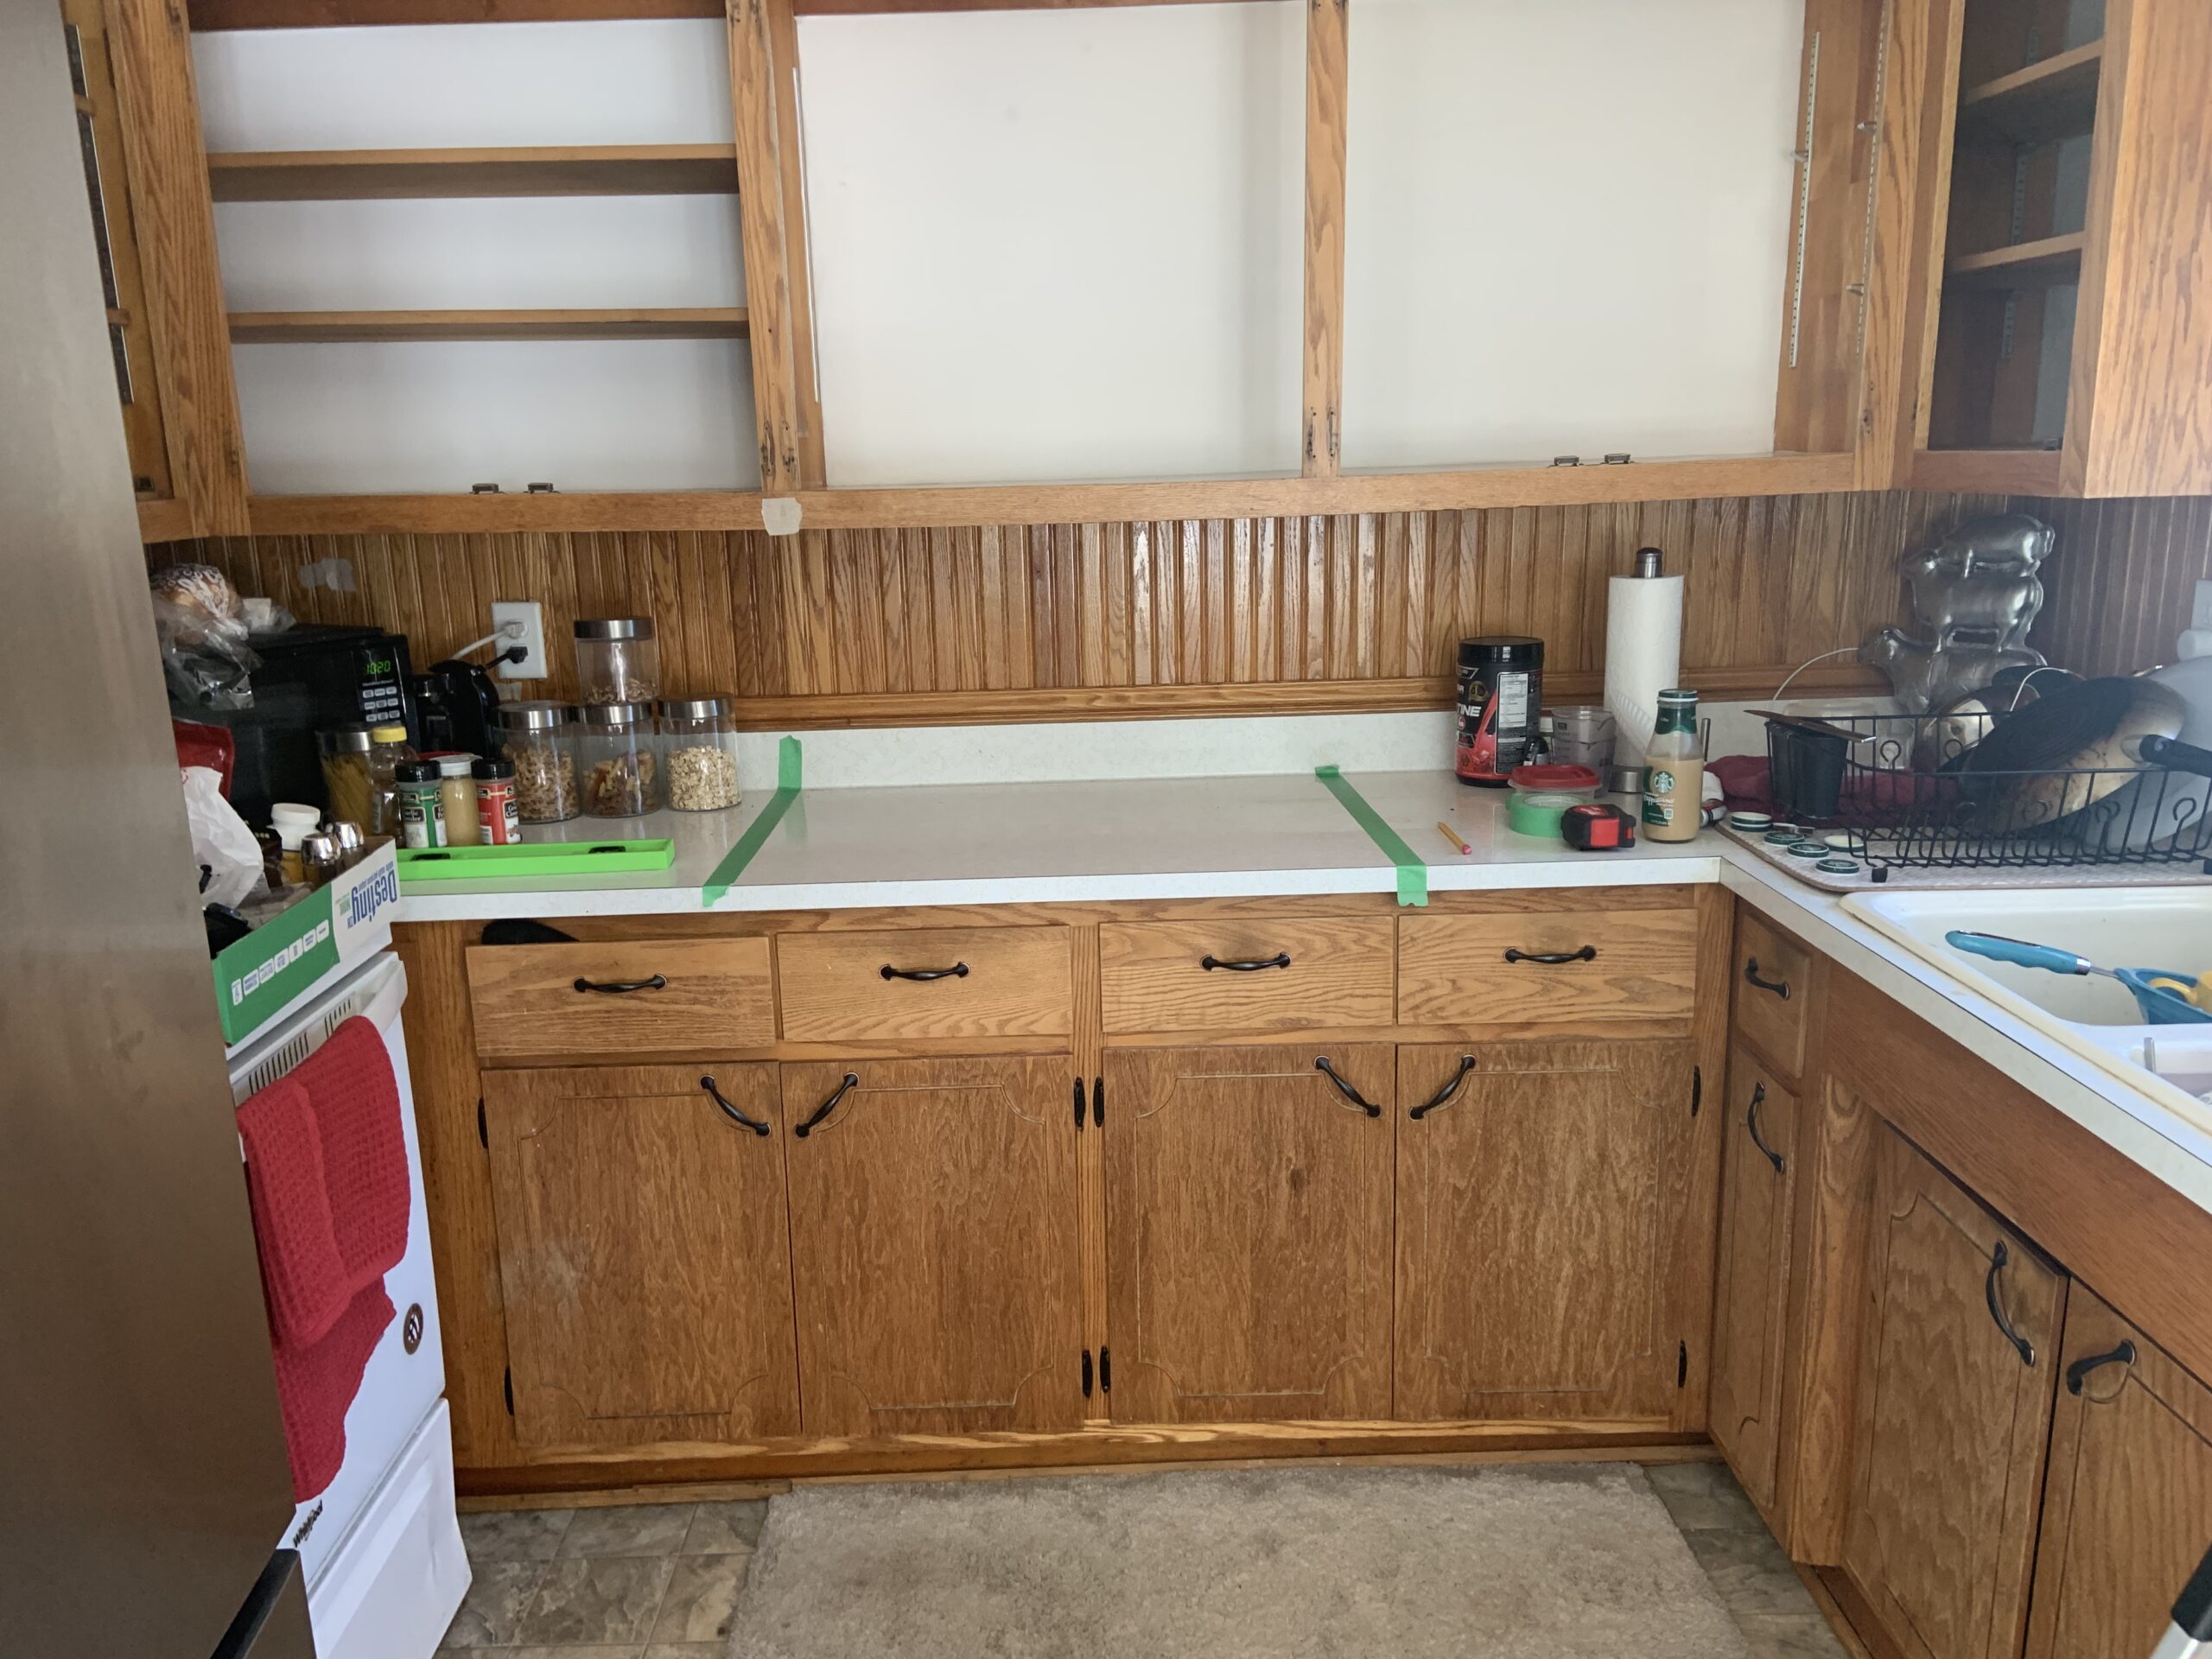
Started removing the doors for all the cabinets, too.
Next step, I knew I wanted the stove to go right in the middle and line up with the uppers by removing the center part of the upper cabinets, but in order to do that, we needed to align with the counter below and adjust all the lower cabinets.
I had the vision in my head and my hubby was able to take that vision and figure out what exactly we needed to remove and move over.
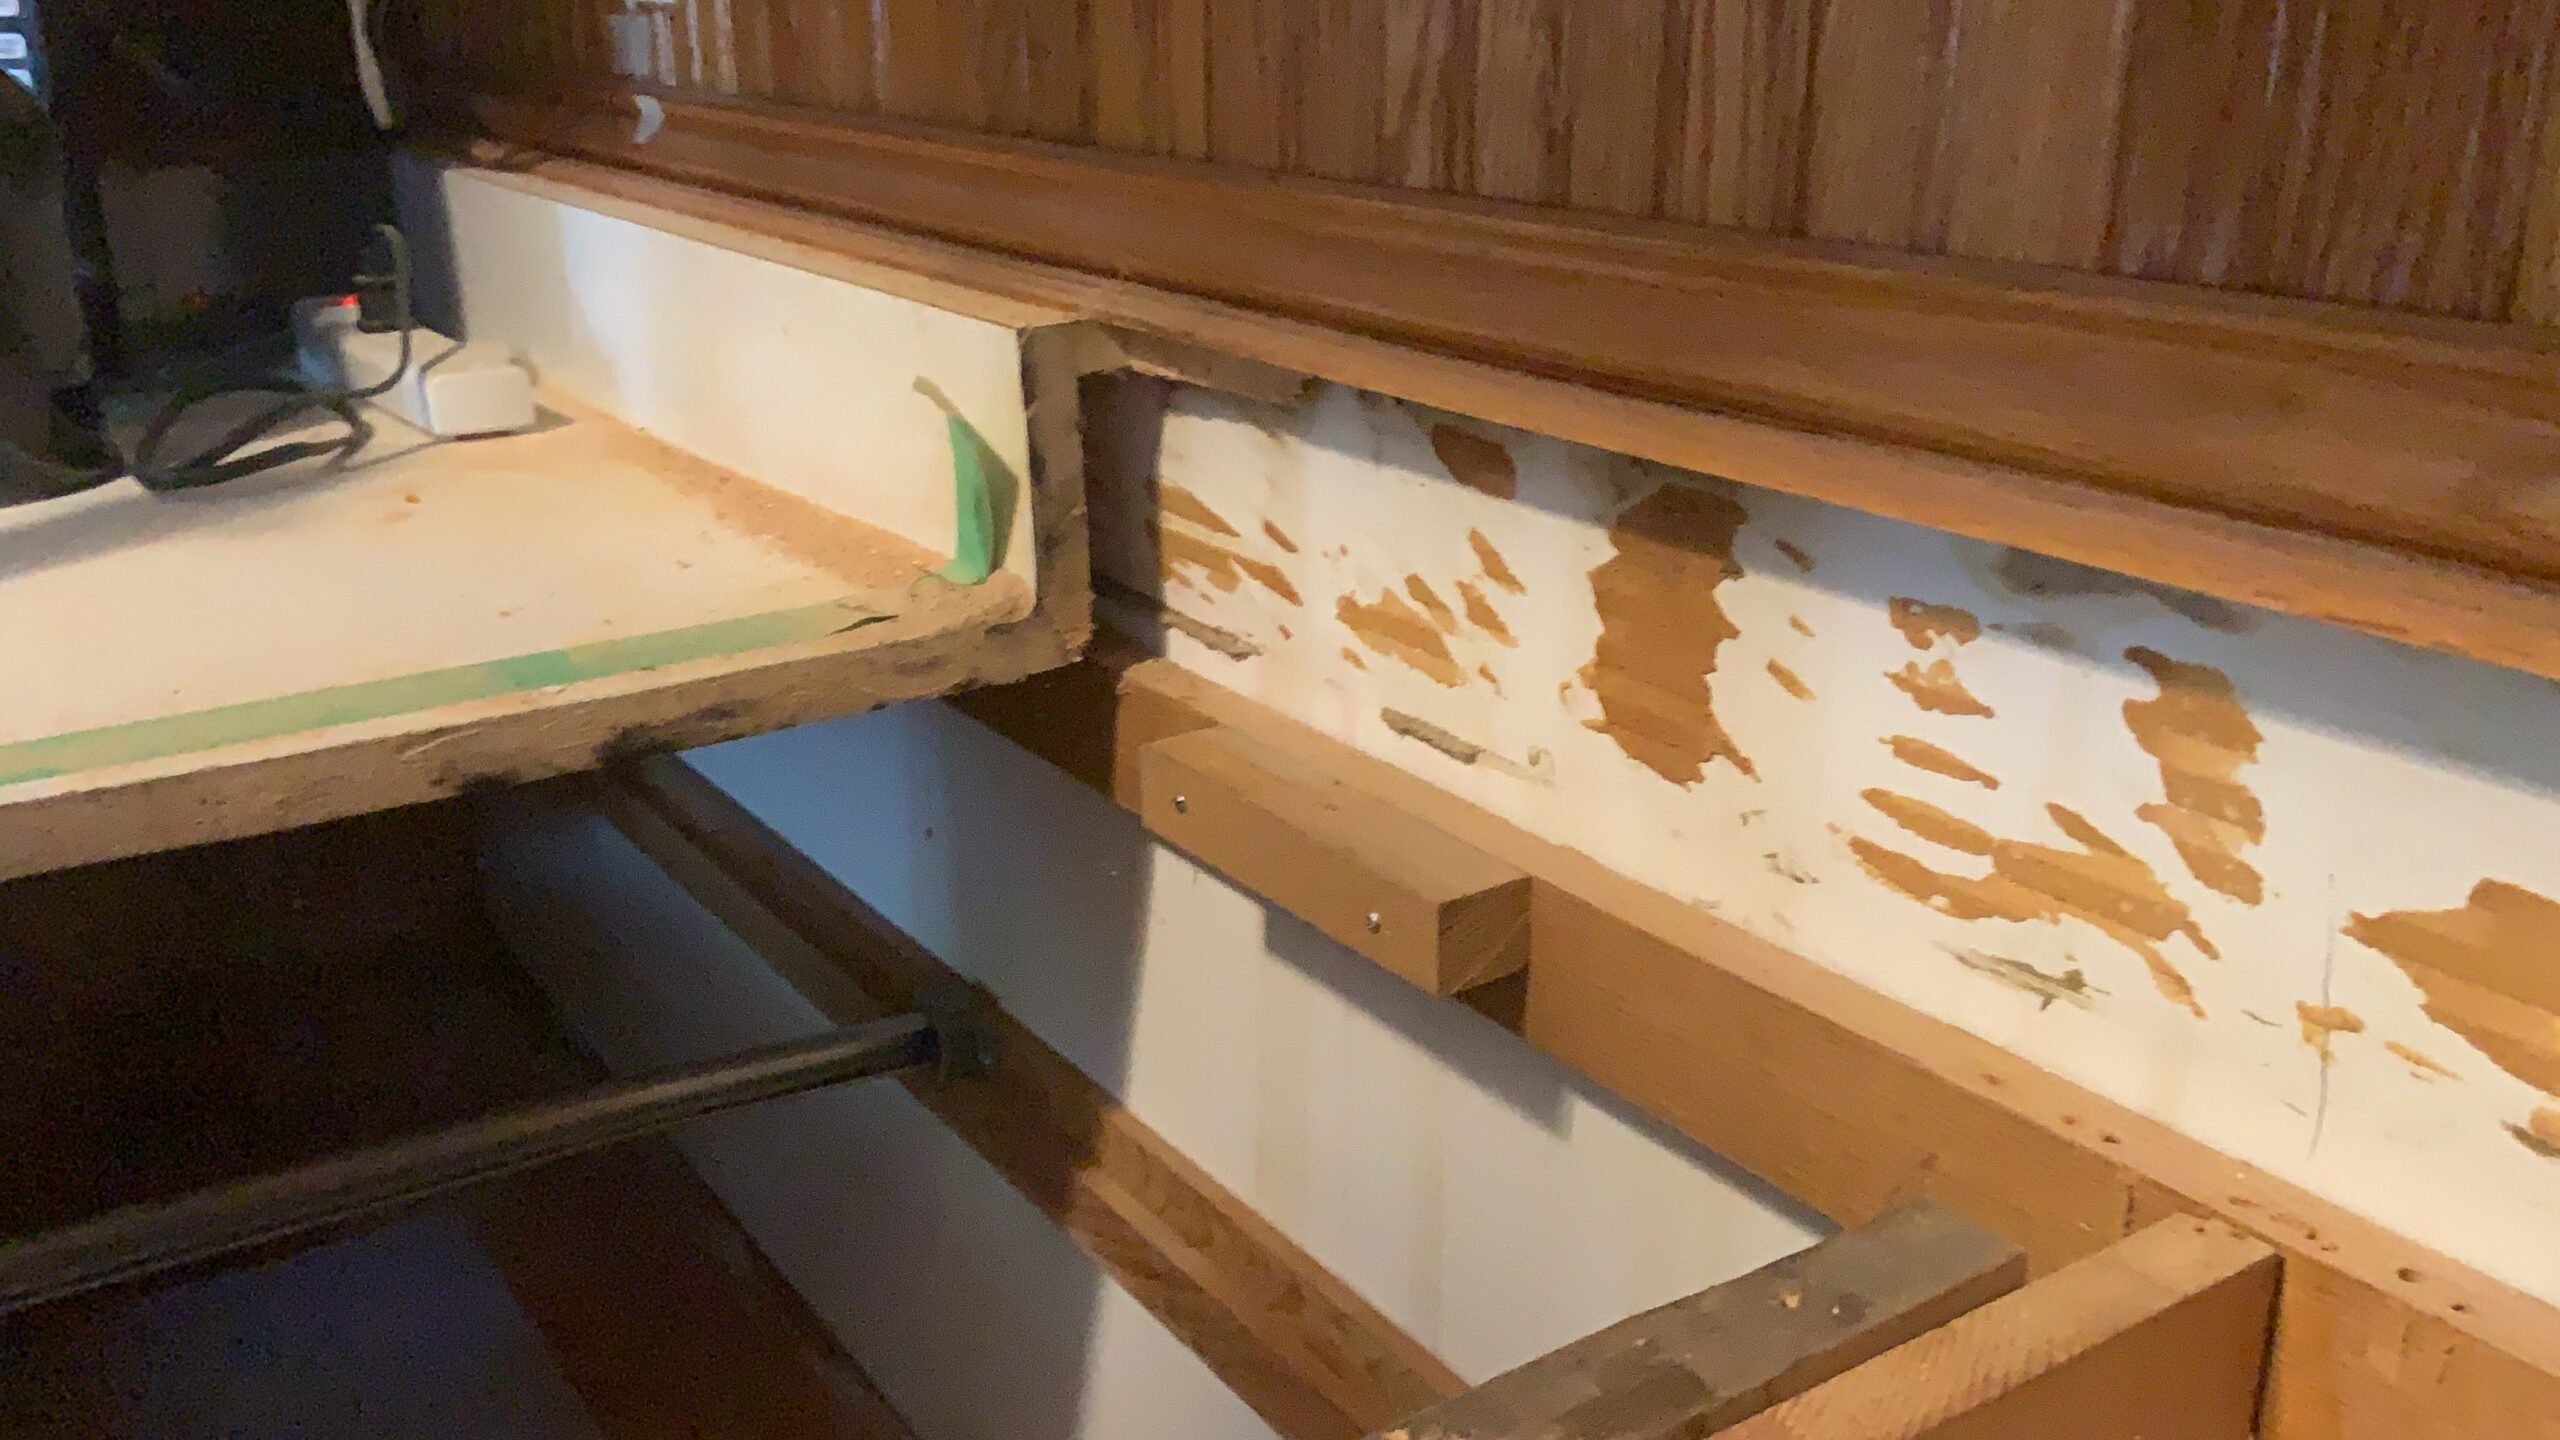
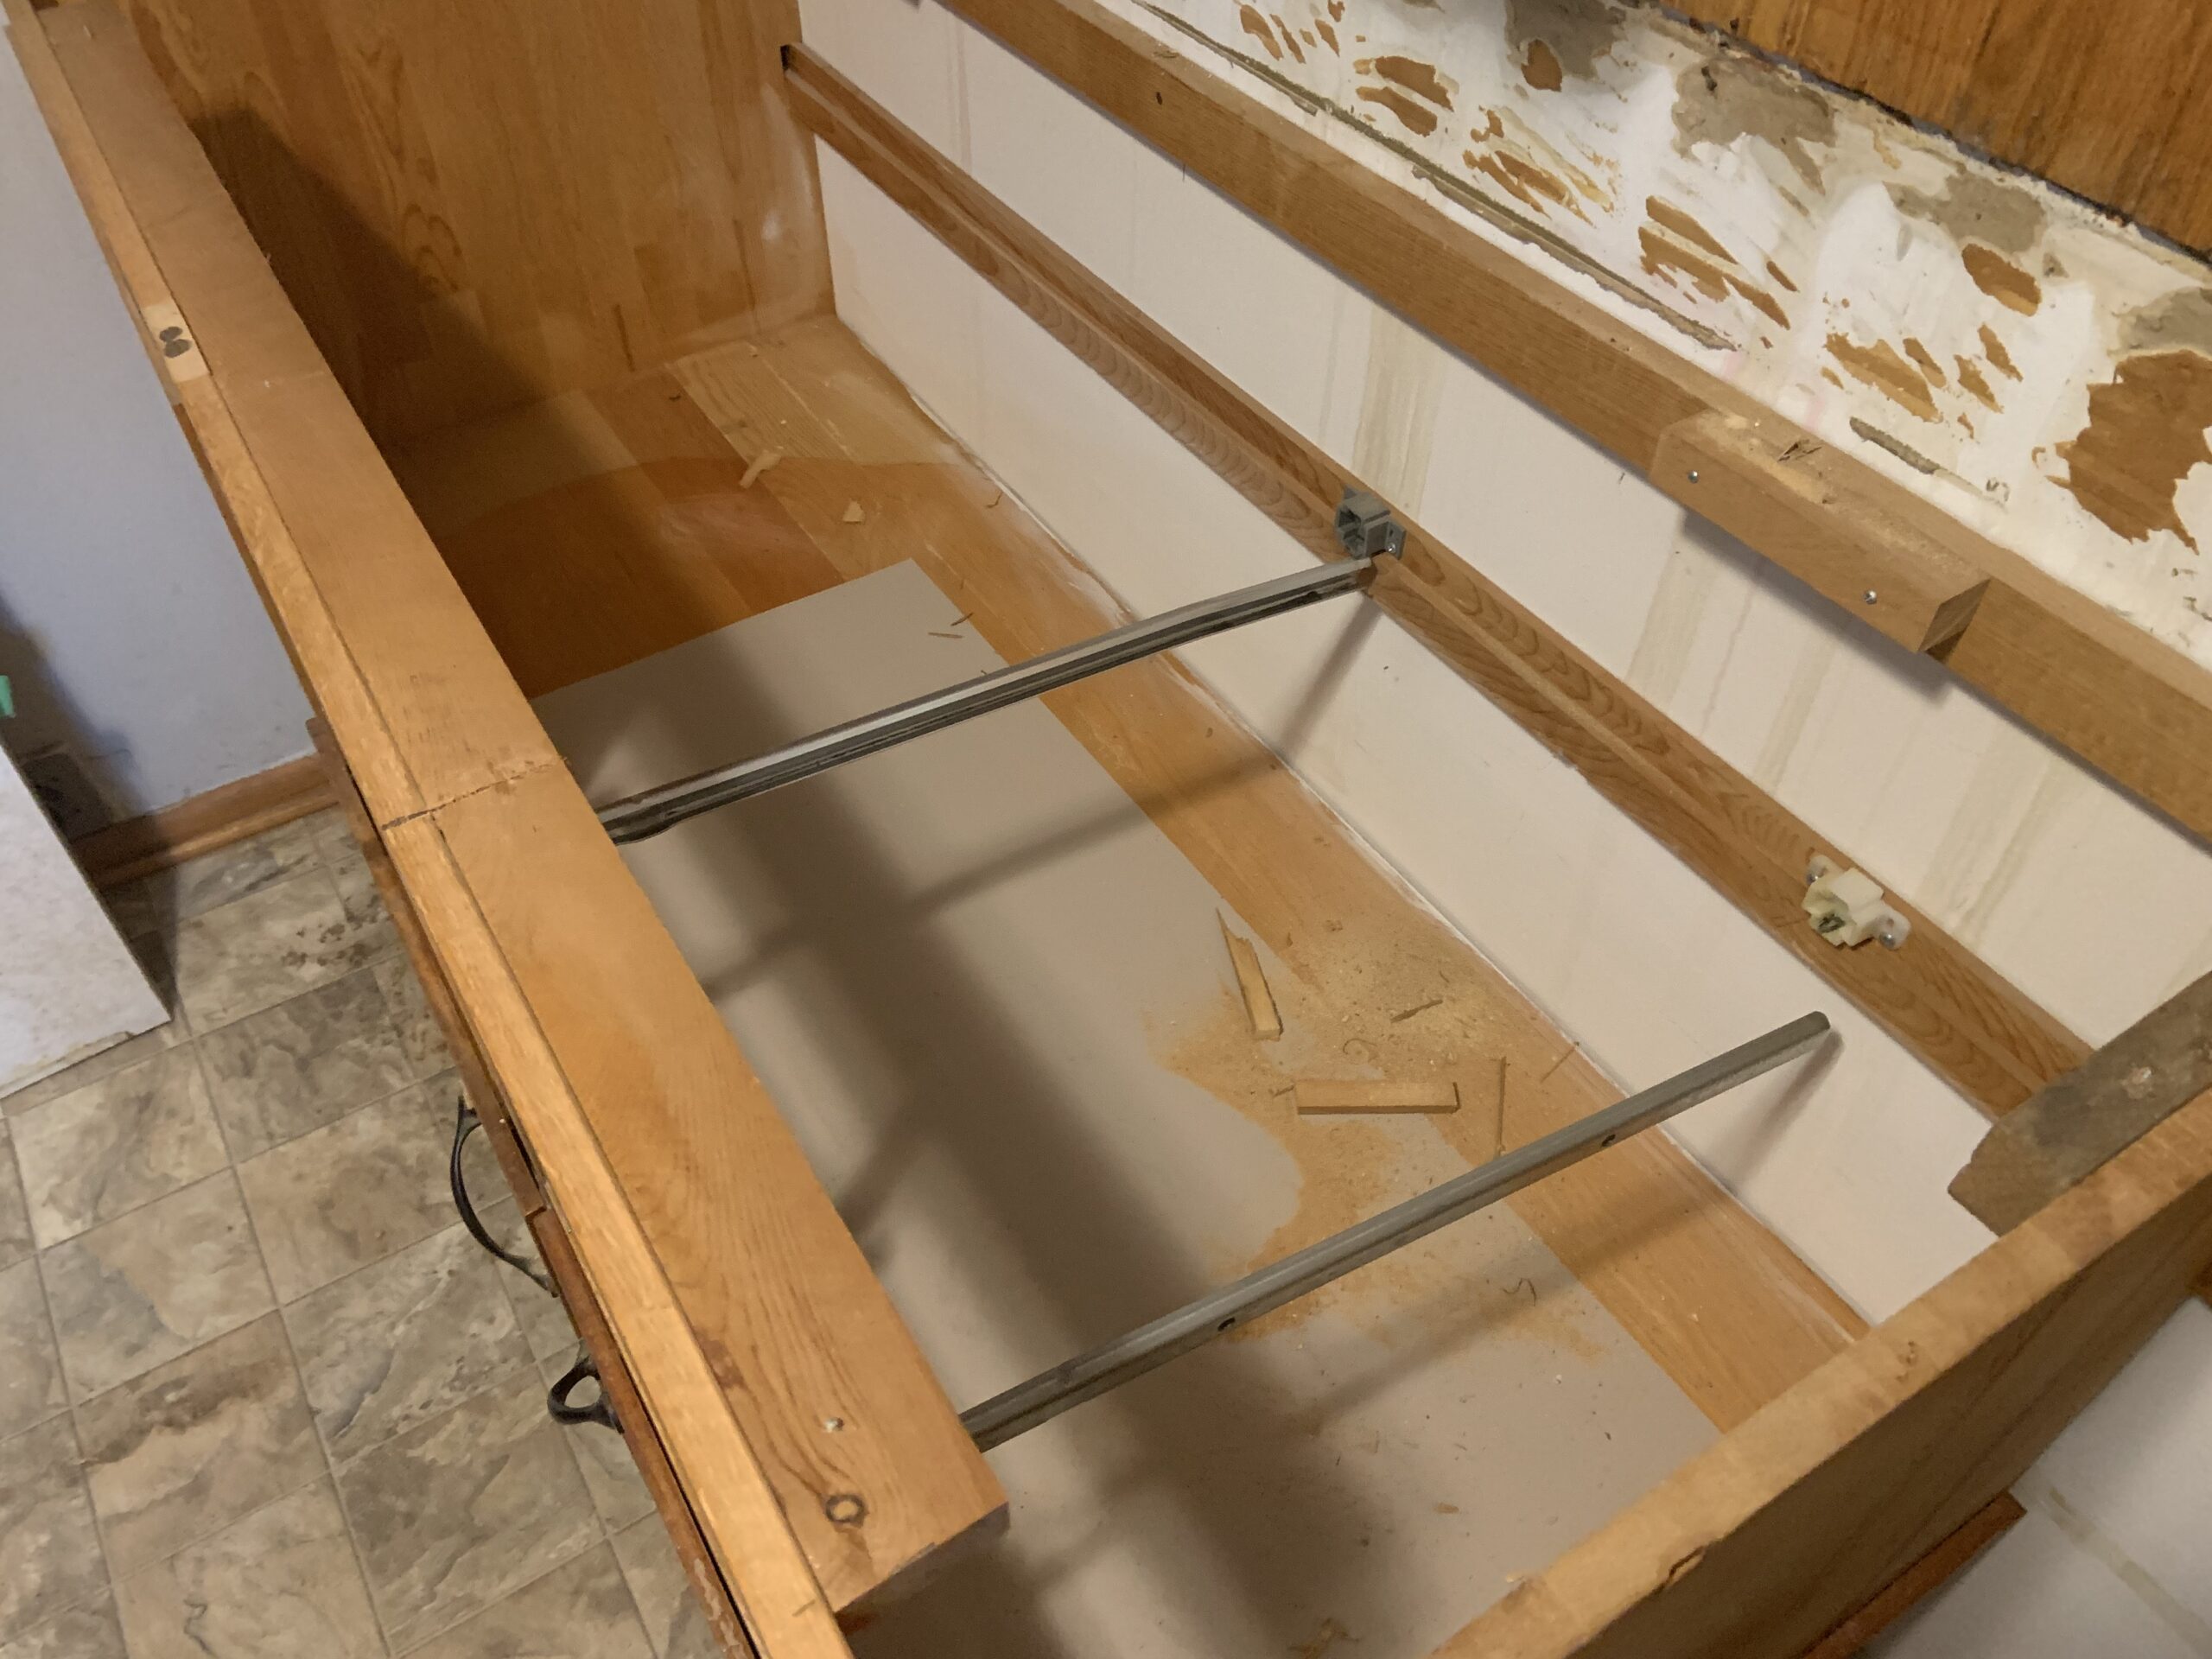
As you can see below, we cut the counter and removed the portion to the left so that we could cut that and move the lower cabinets to the left.
While doing this, we found that these cabinets were amazingly sturdy and well done. We wanted to try to keep as much of the original cabinet work as possible so everything was placed to the side until we could figure out what was going to be reused.
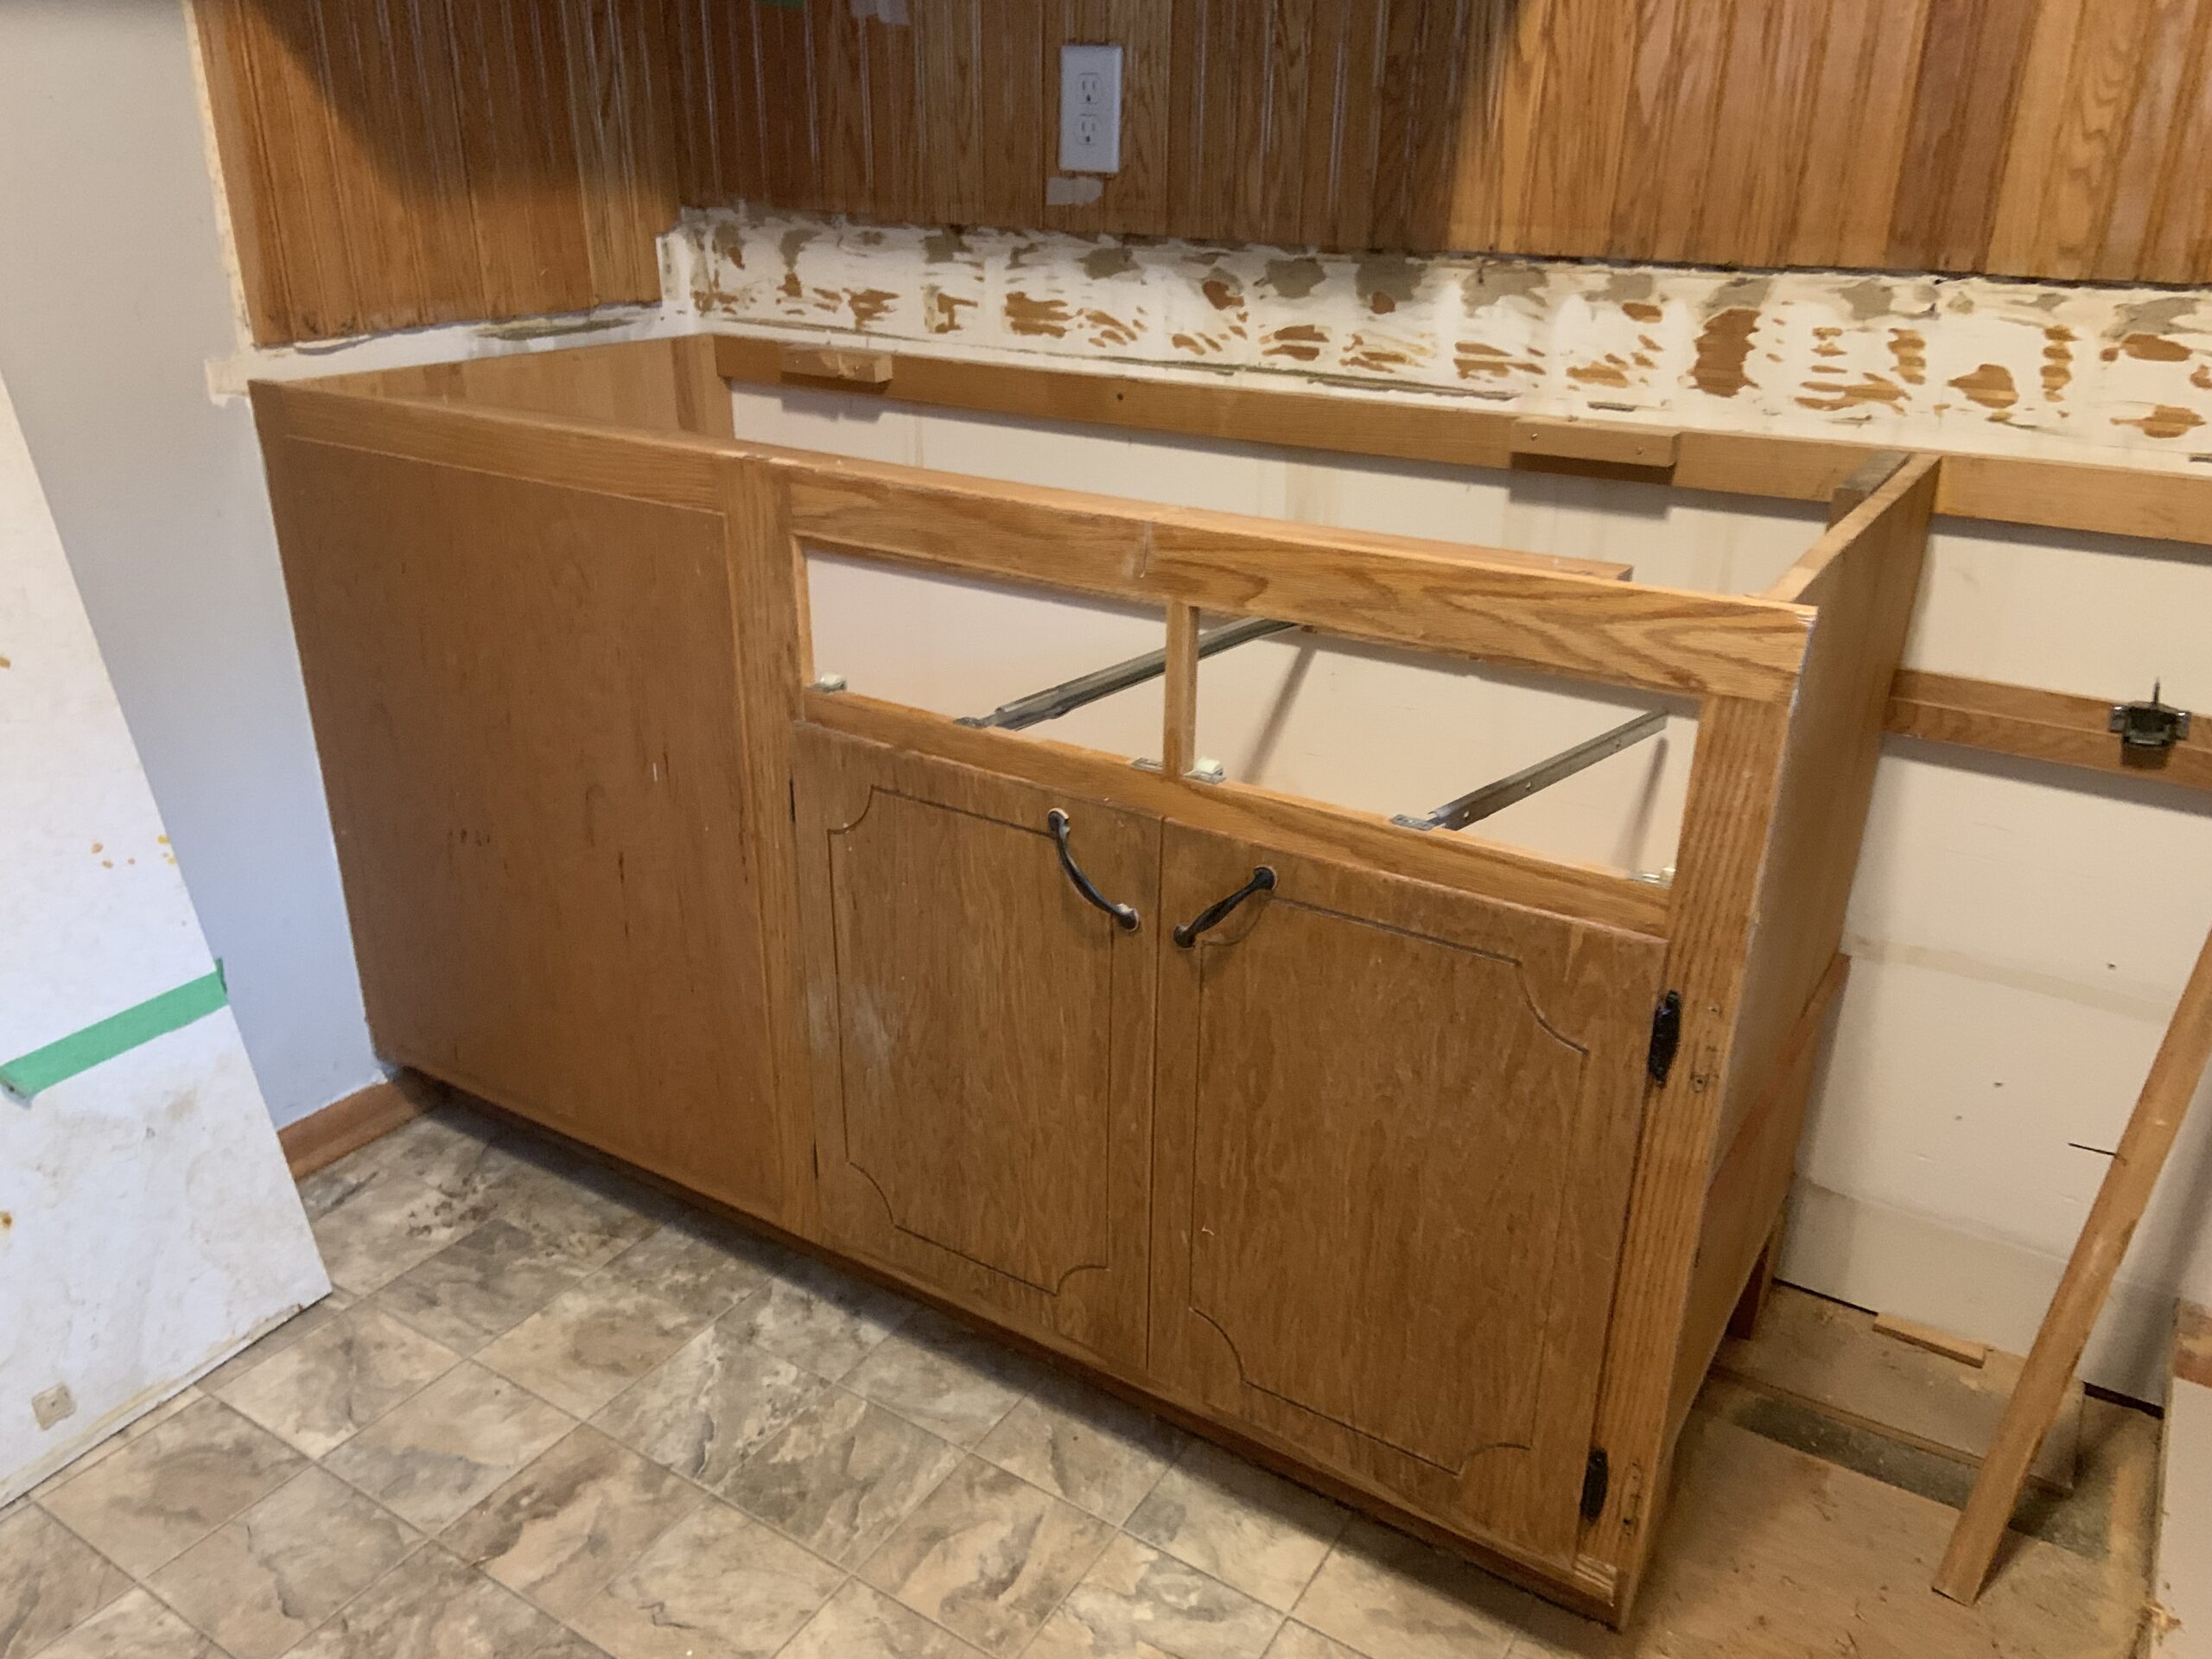
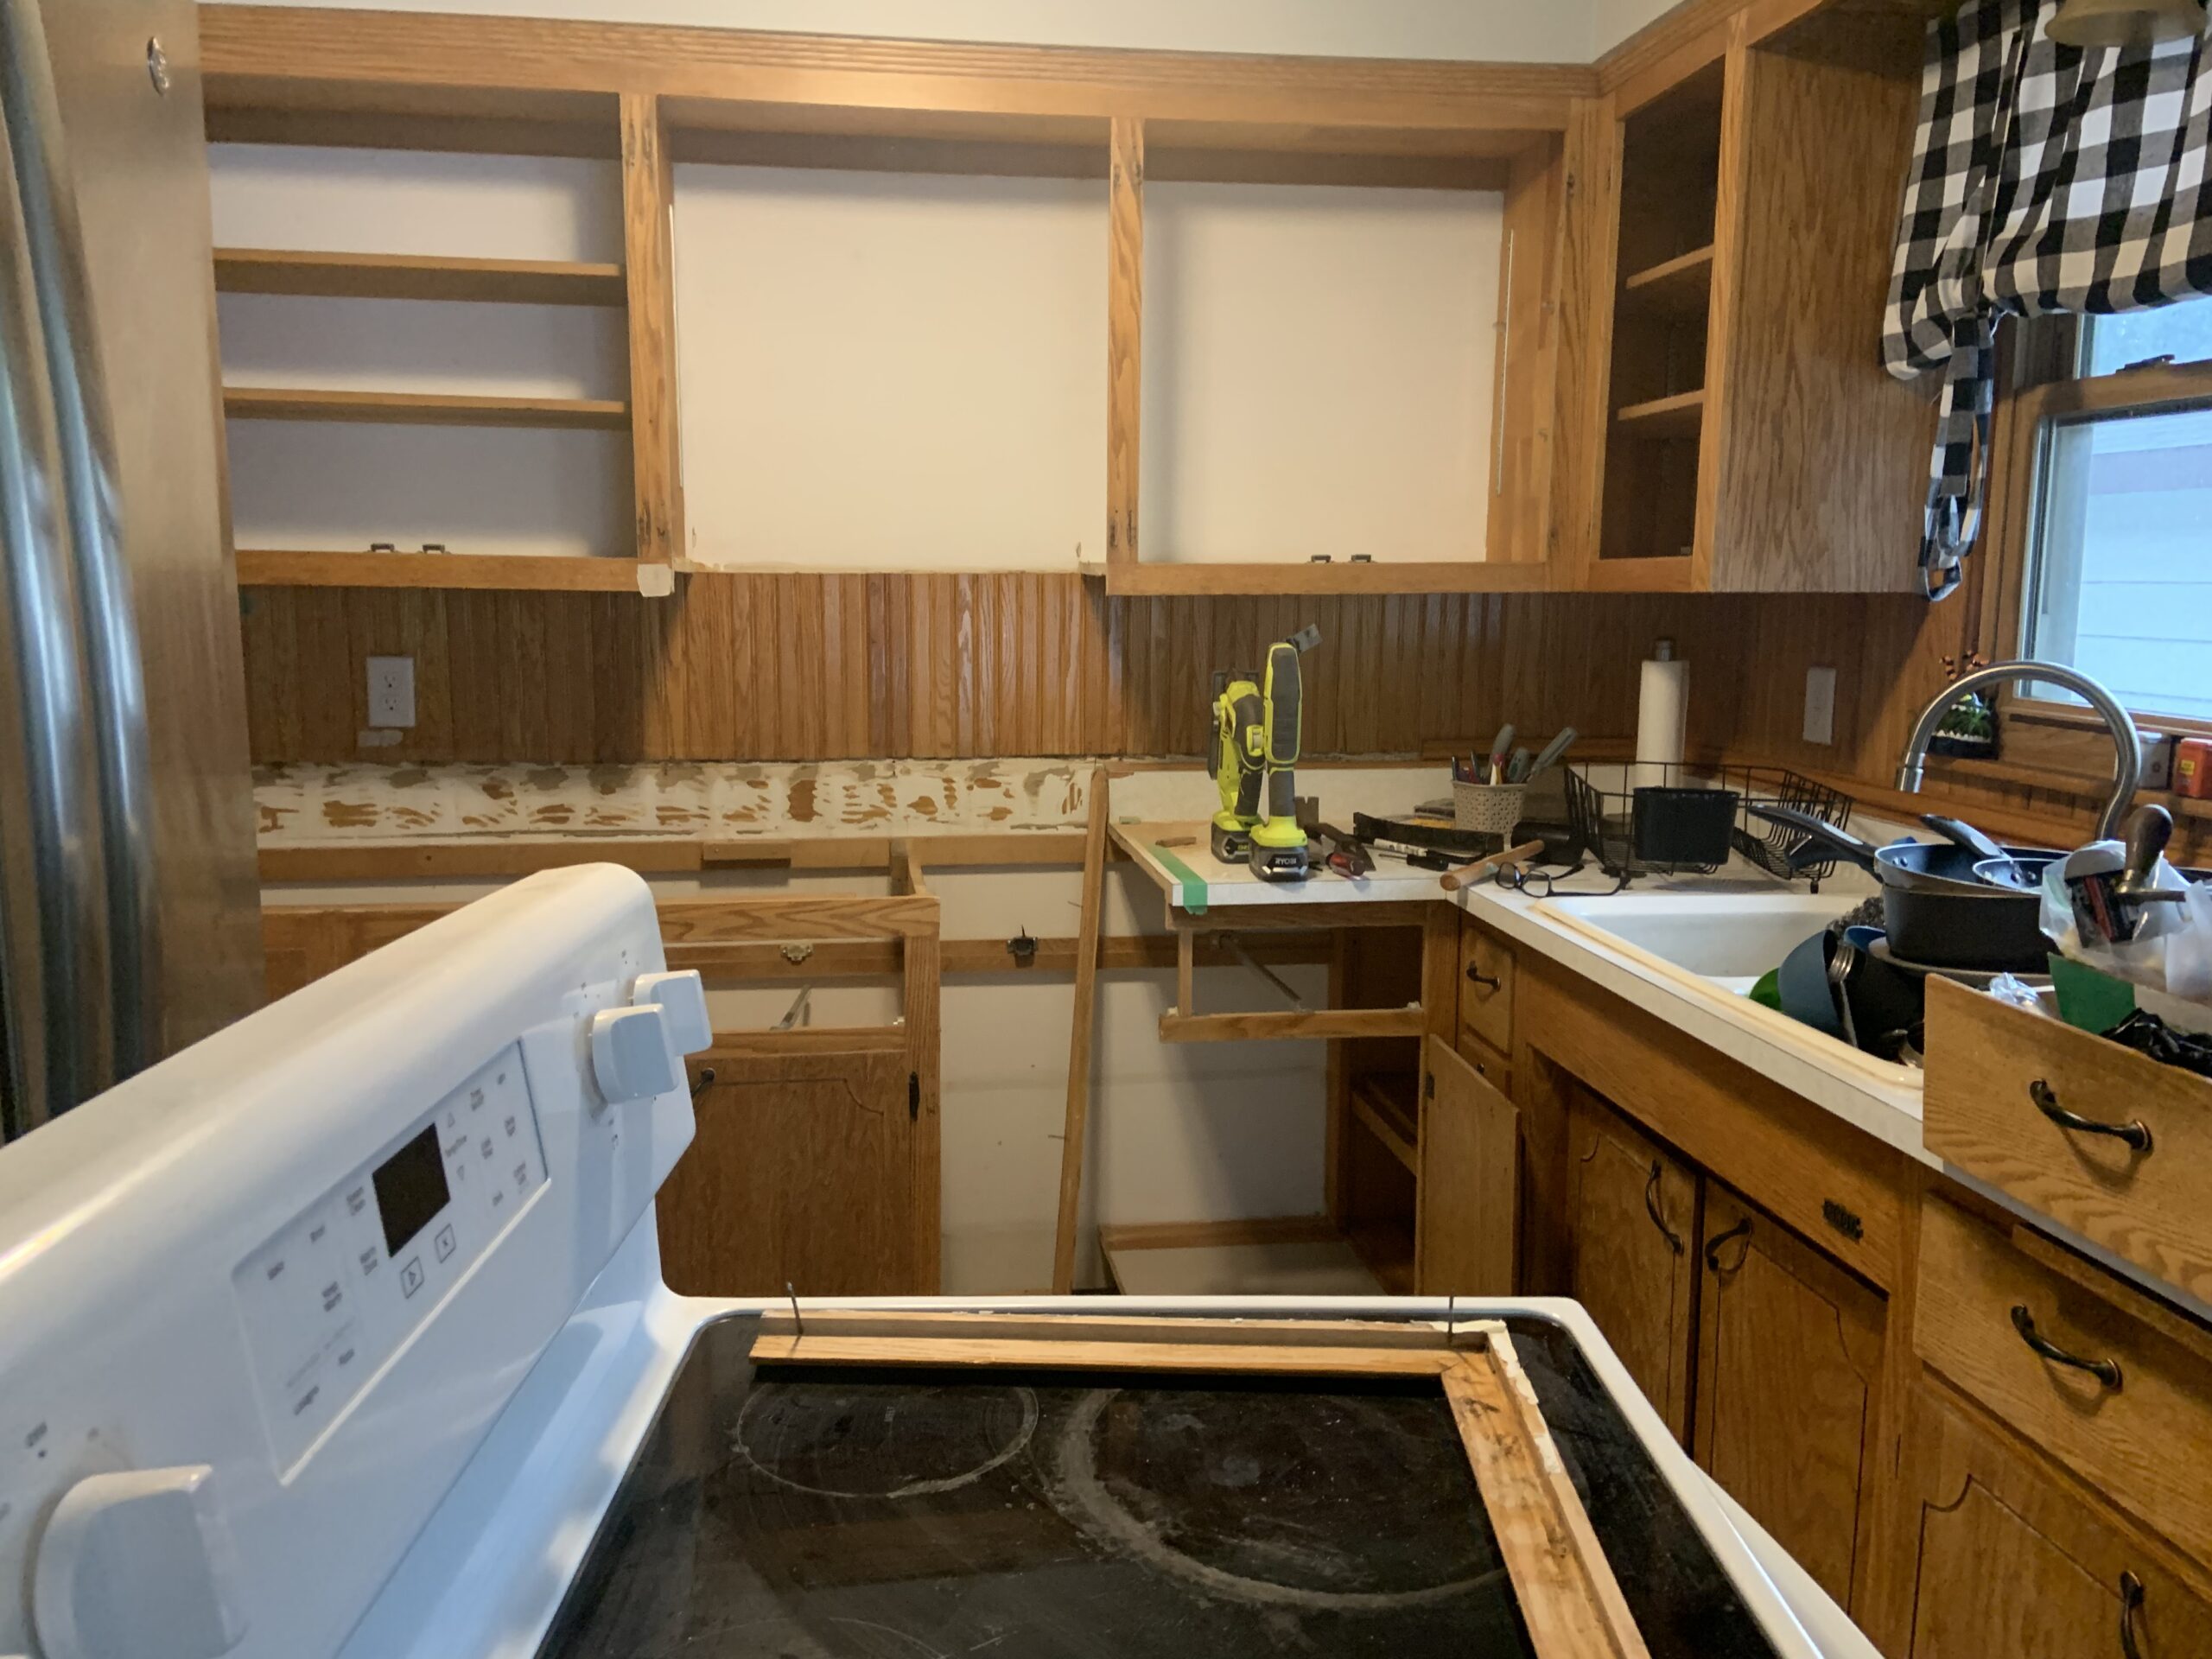
Below you can see we cut and moved the lower cabinets over and now needed to make sure there was a proper open space evenly below the upper area. This is where the stove will be going. At this time, there was only electric in the house, but we had a gas stove already out in our storage and needed to get a gas line hooked up (which was done a few weeks later).

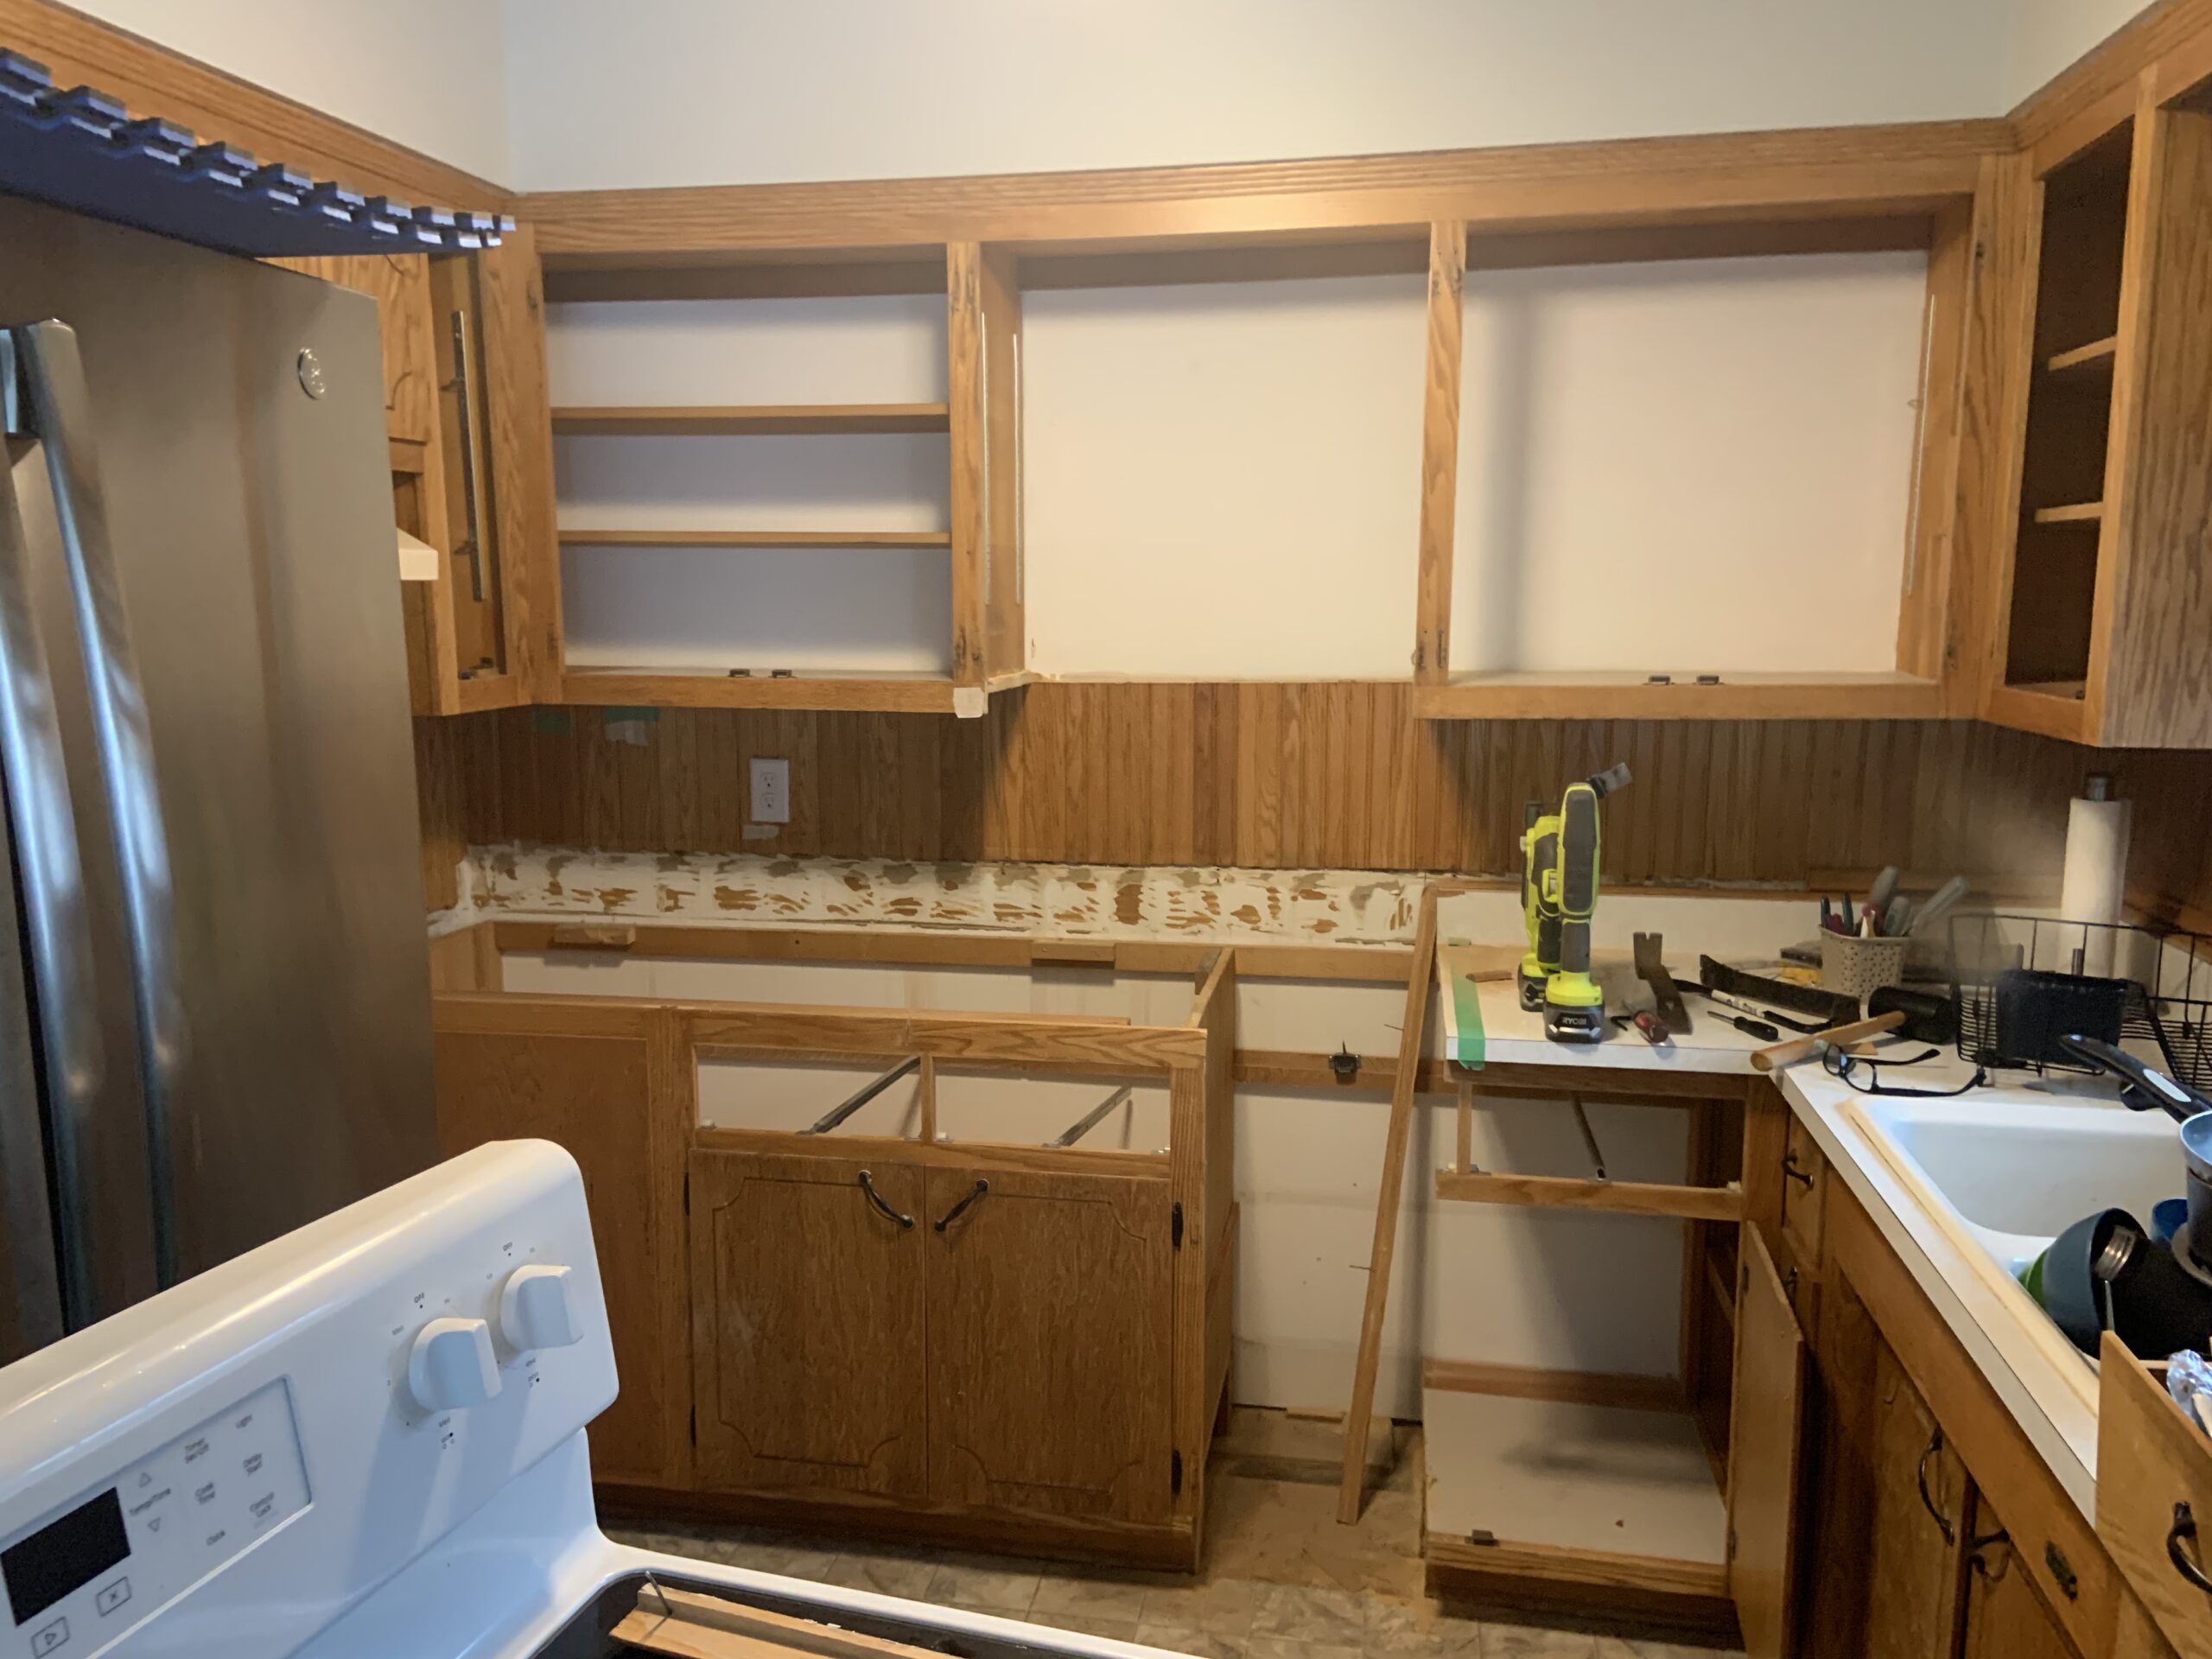
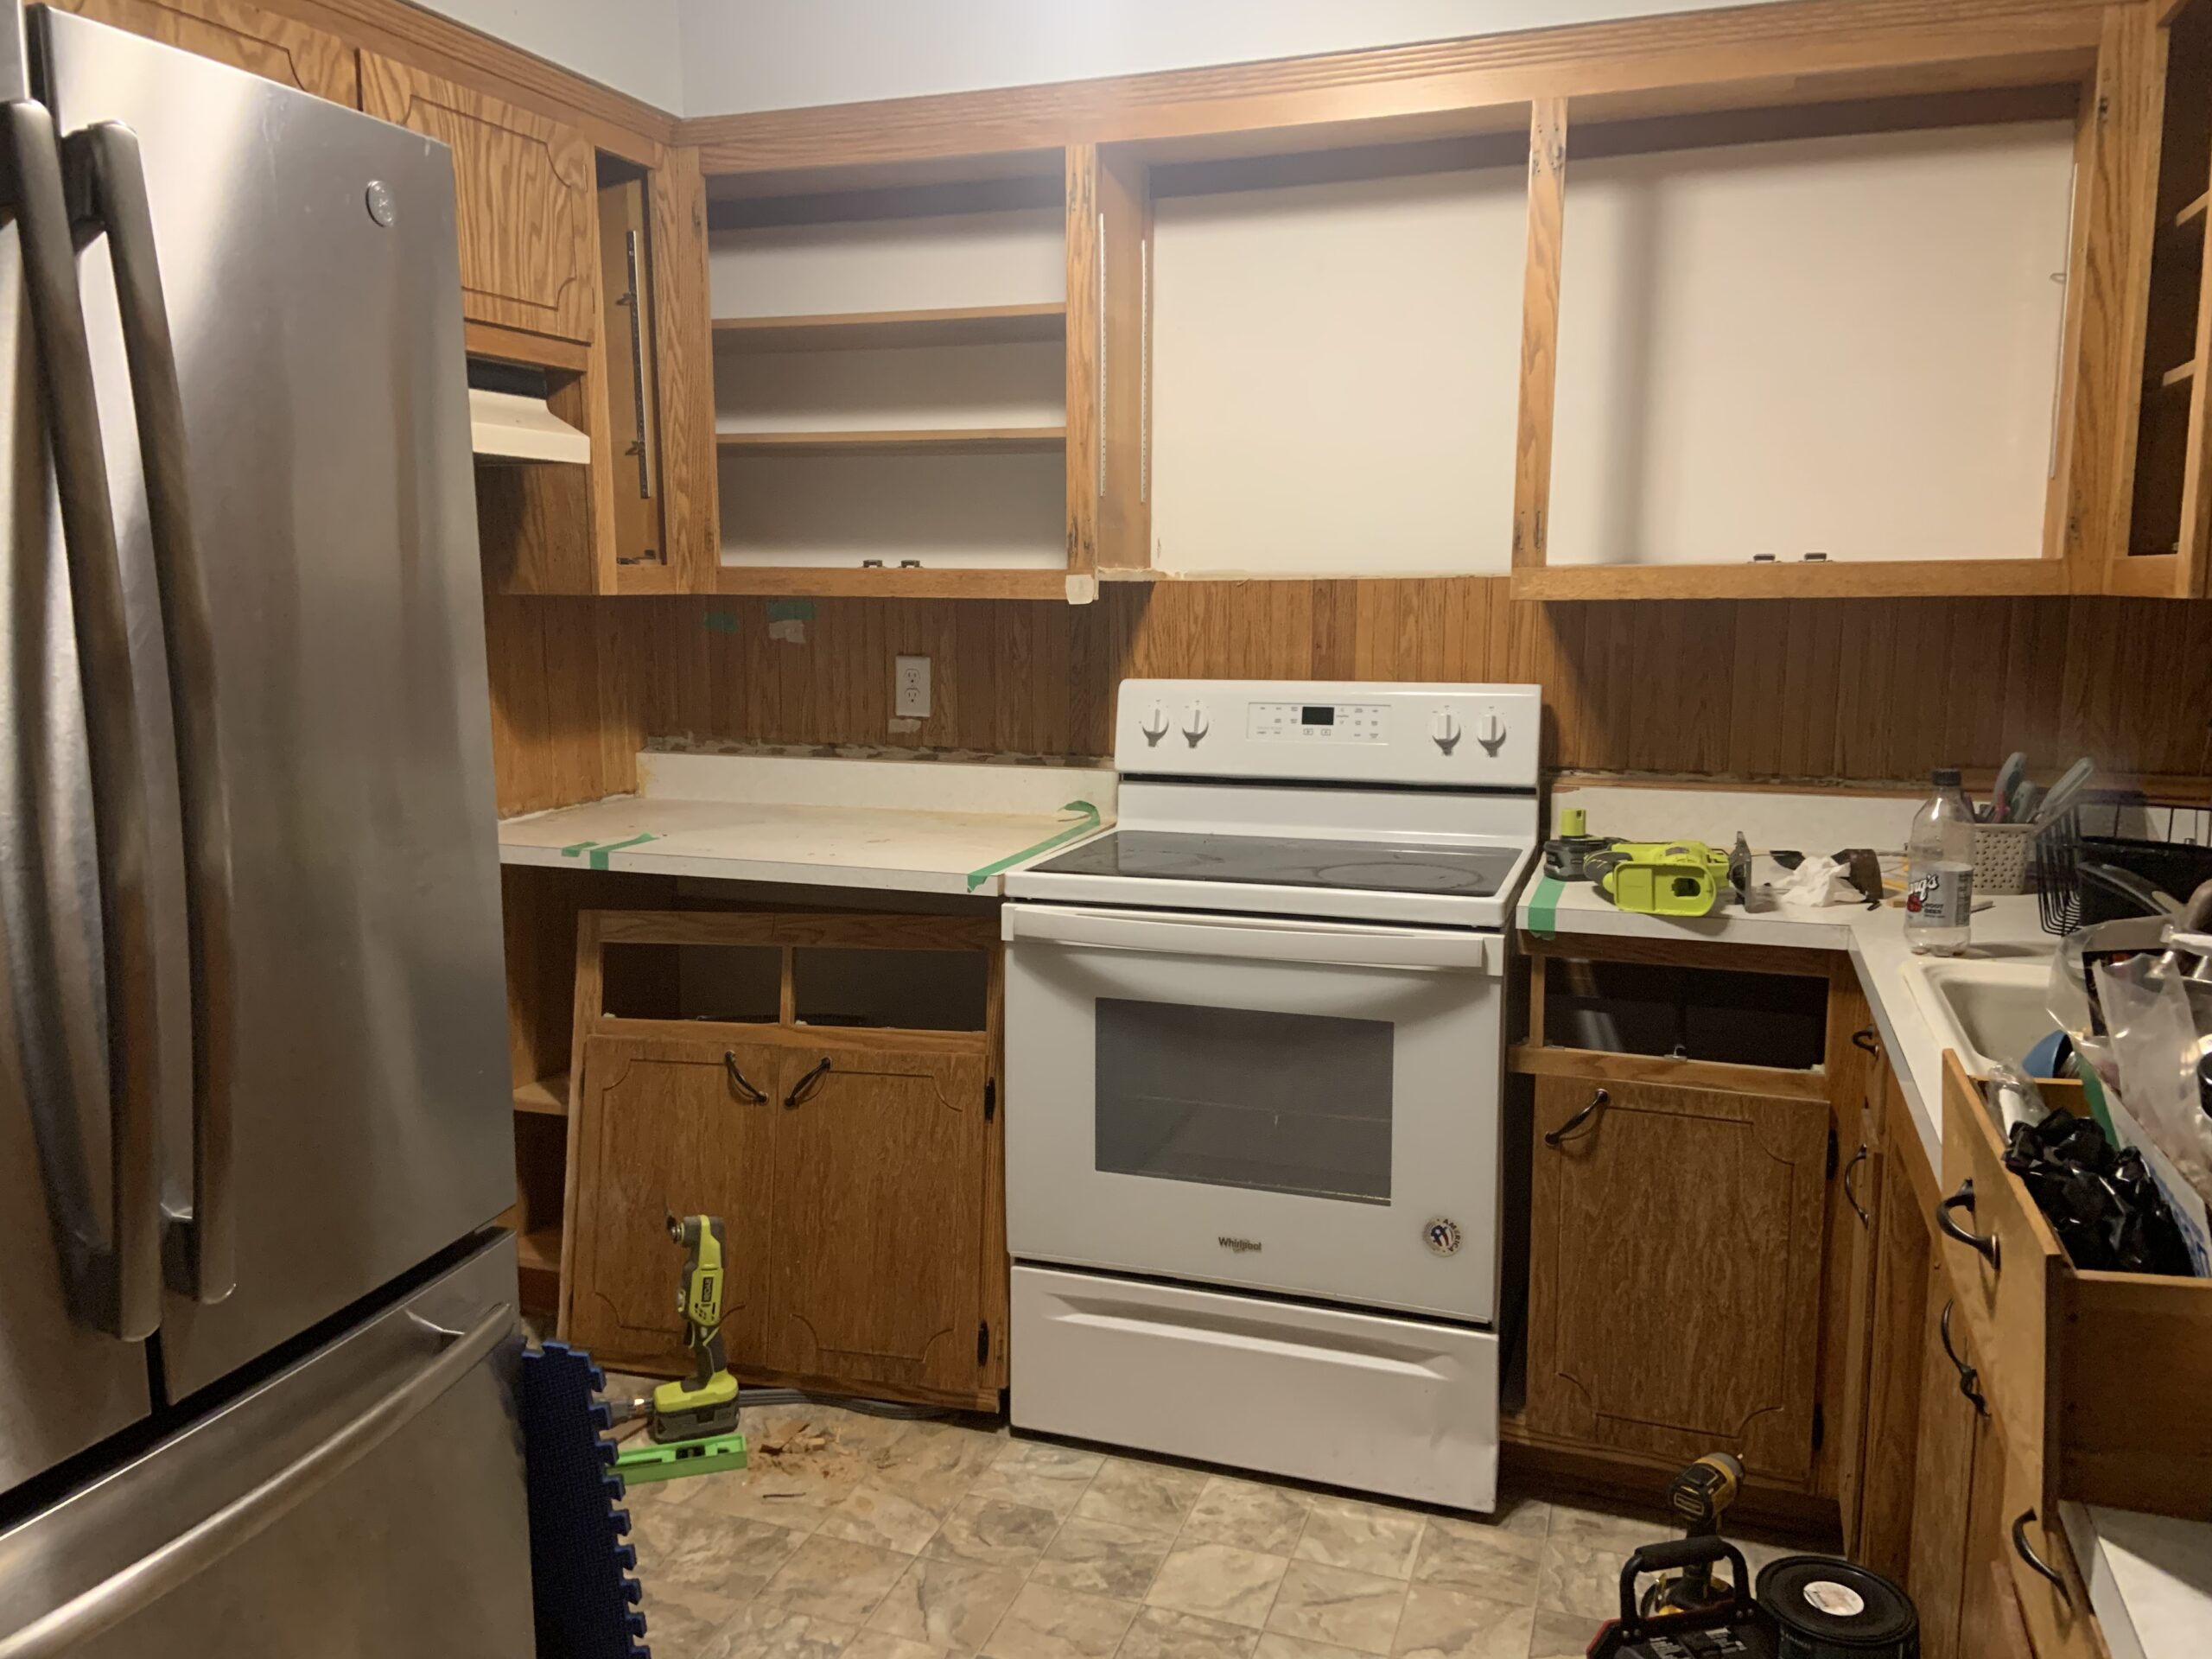
And there you have it!
We opened up the space in the top cabinets and measured and had a space directly below and centered for the stove (and we measured the gas stove to make sure it was at least 32″ wide to accomodate.
Temporarily we have the electric stove in place for cooking during the remodel.
I did immediately miss the really long counter space. It was so nice to be able to spread out items while cooking, but I’m getting an island that will have the counter space so that will be just as good.
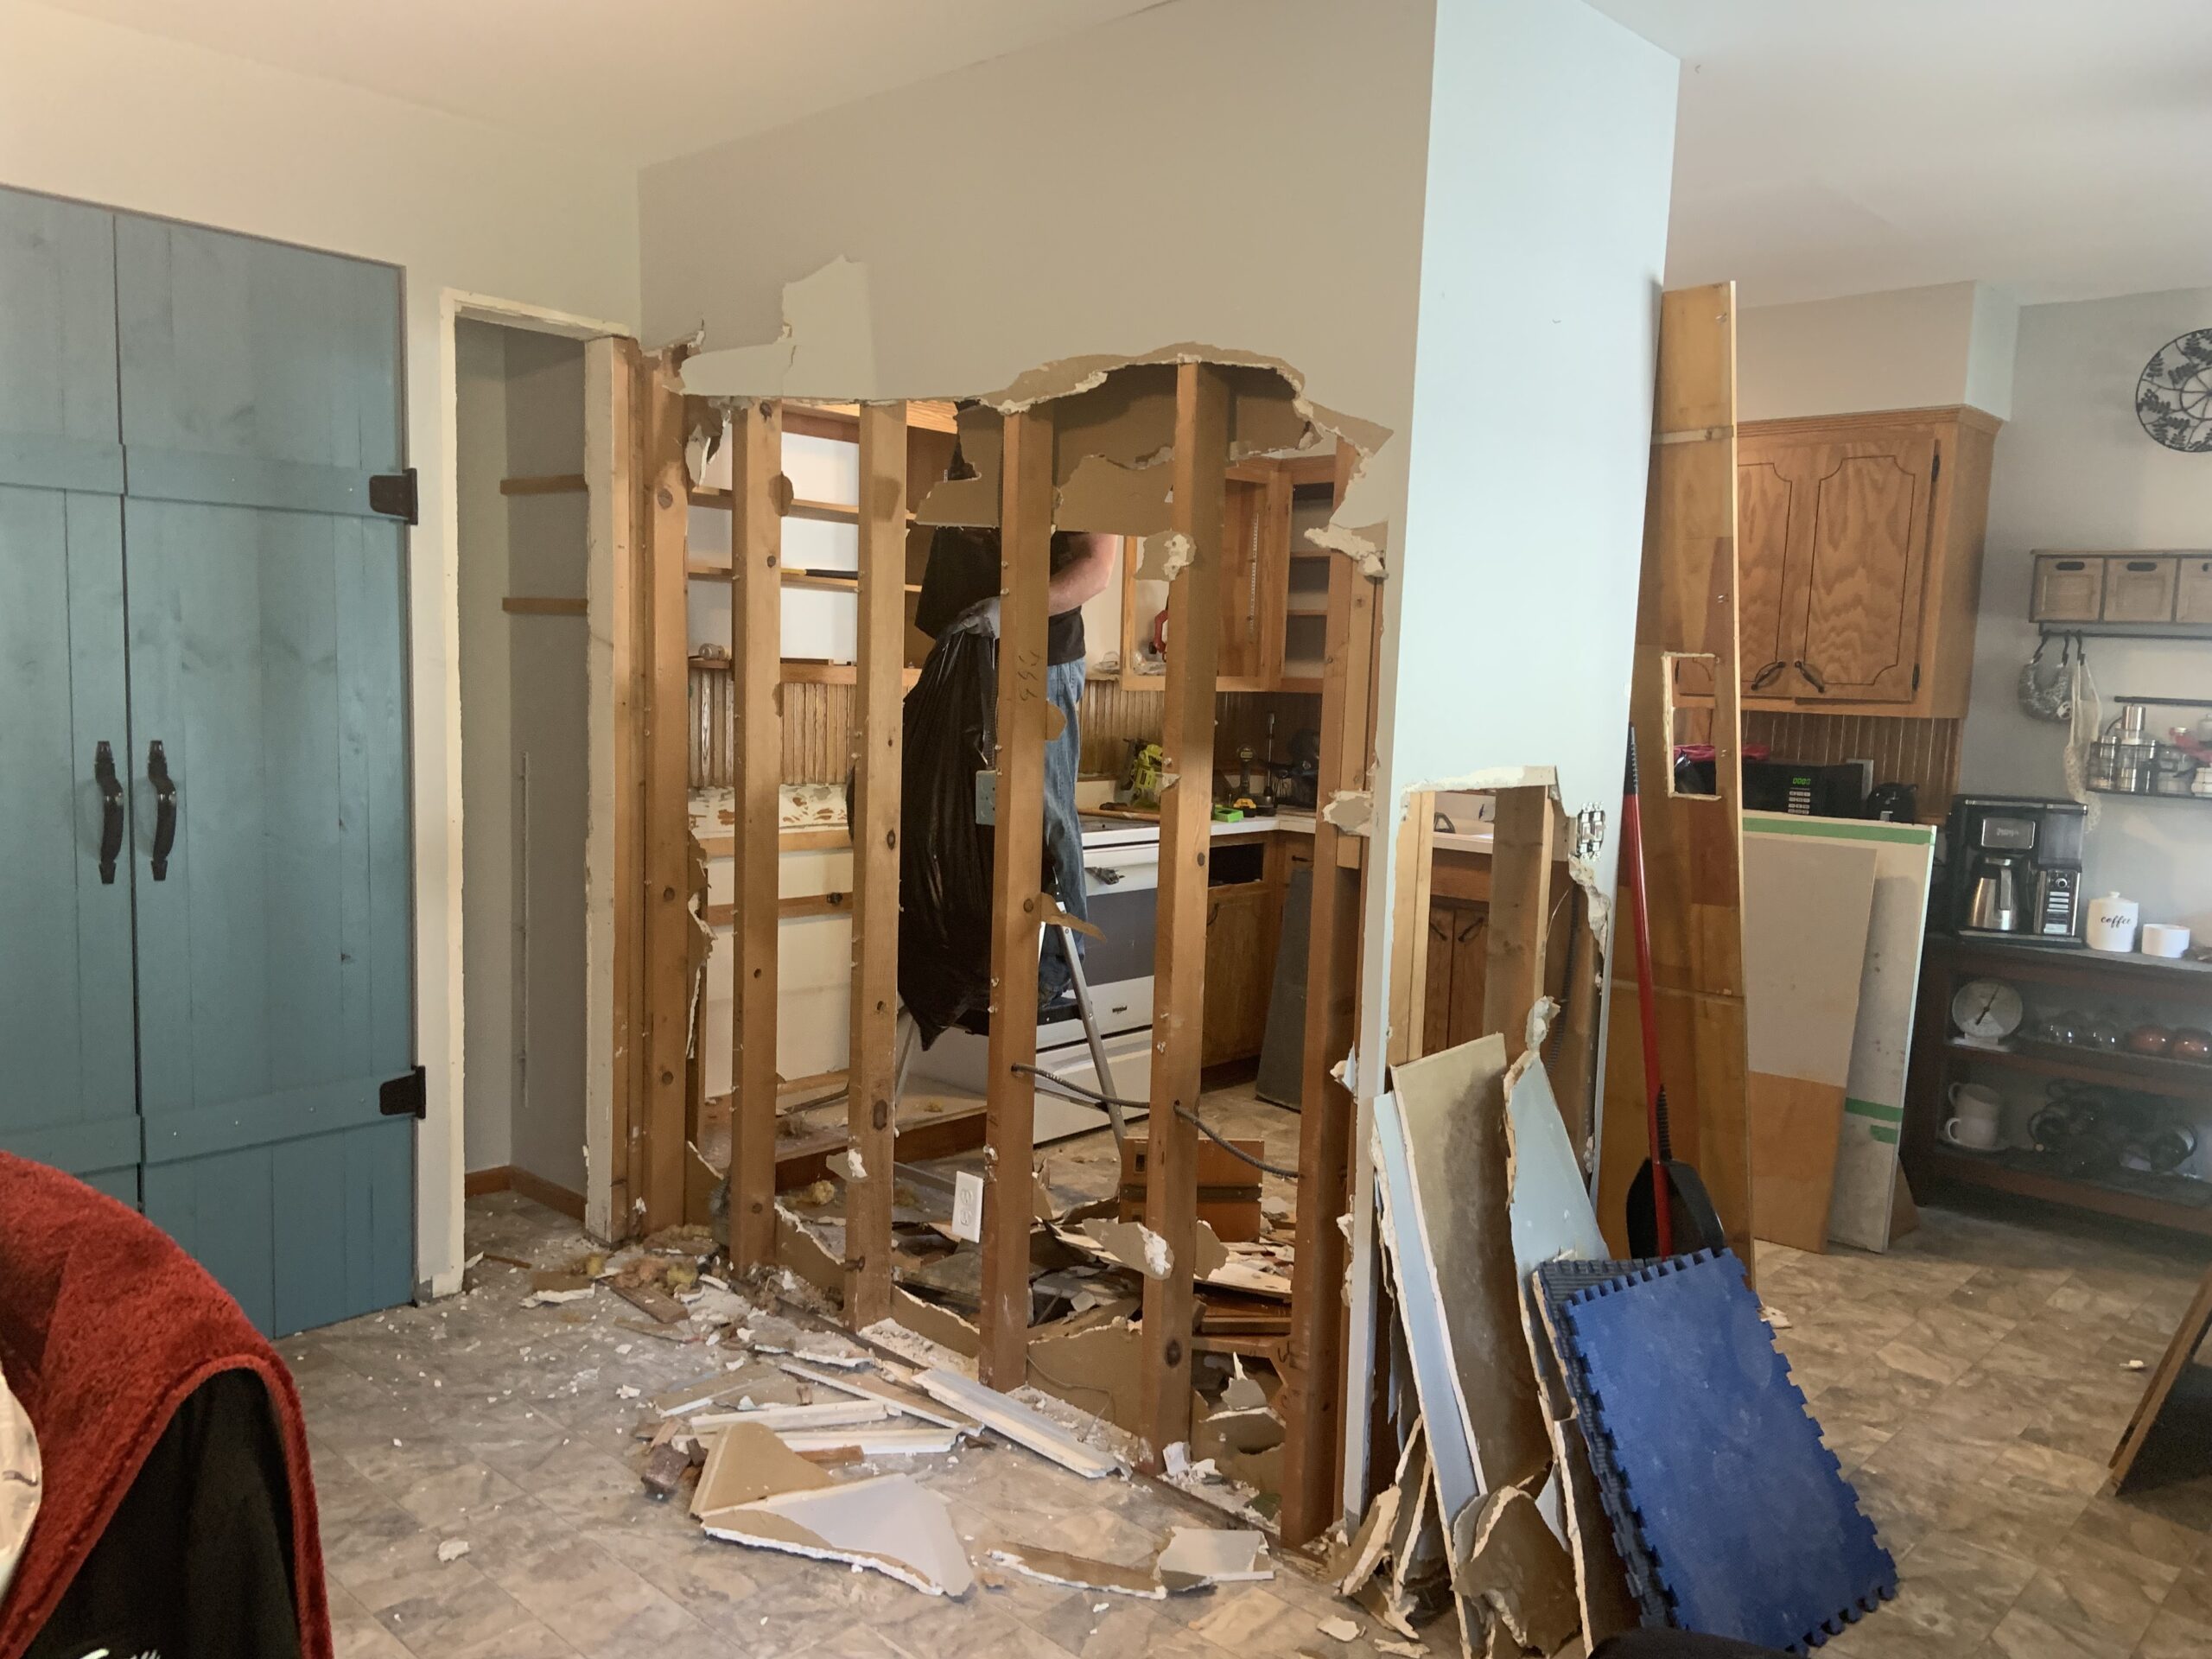
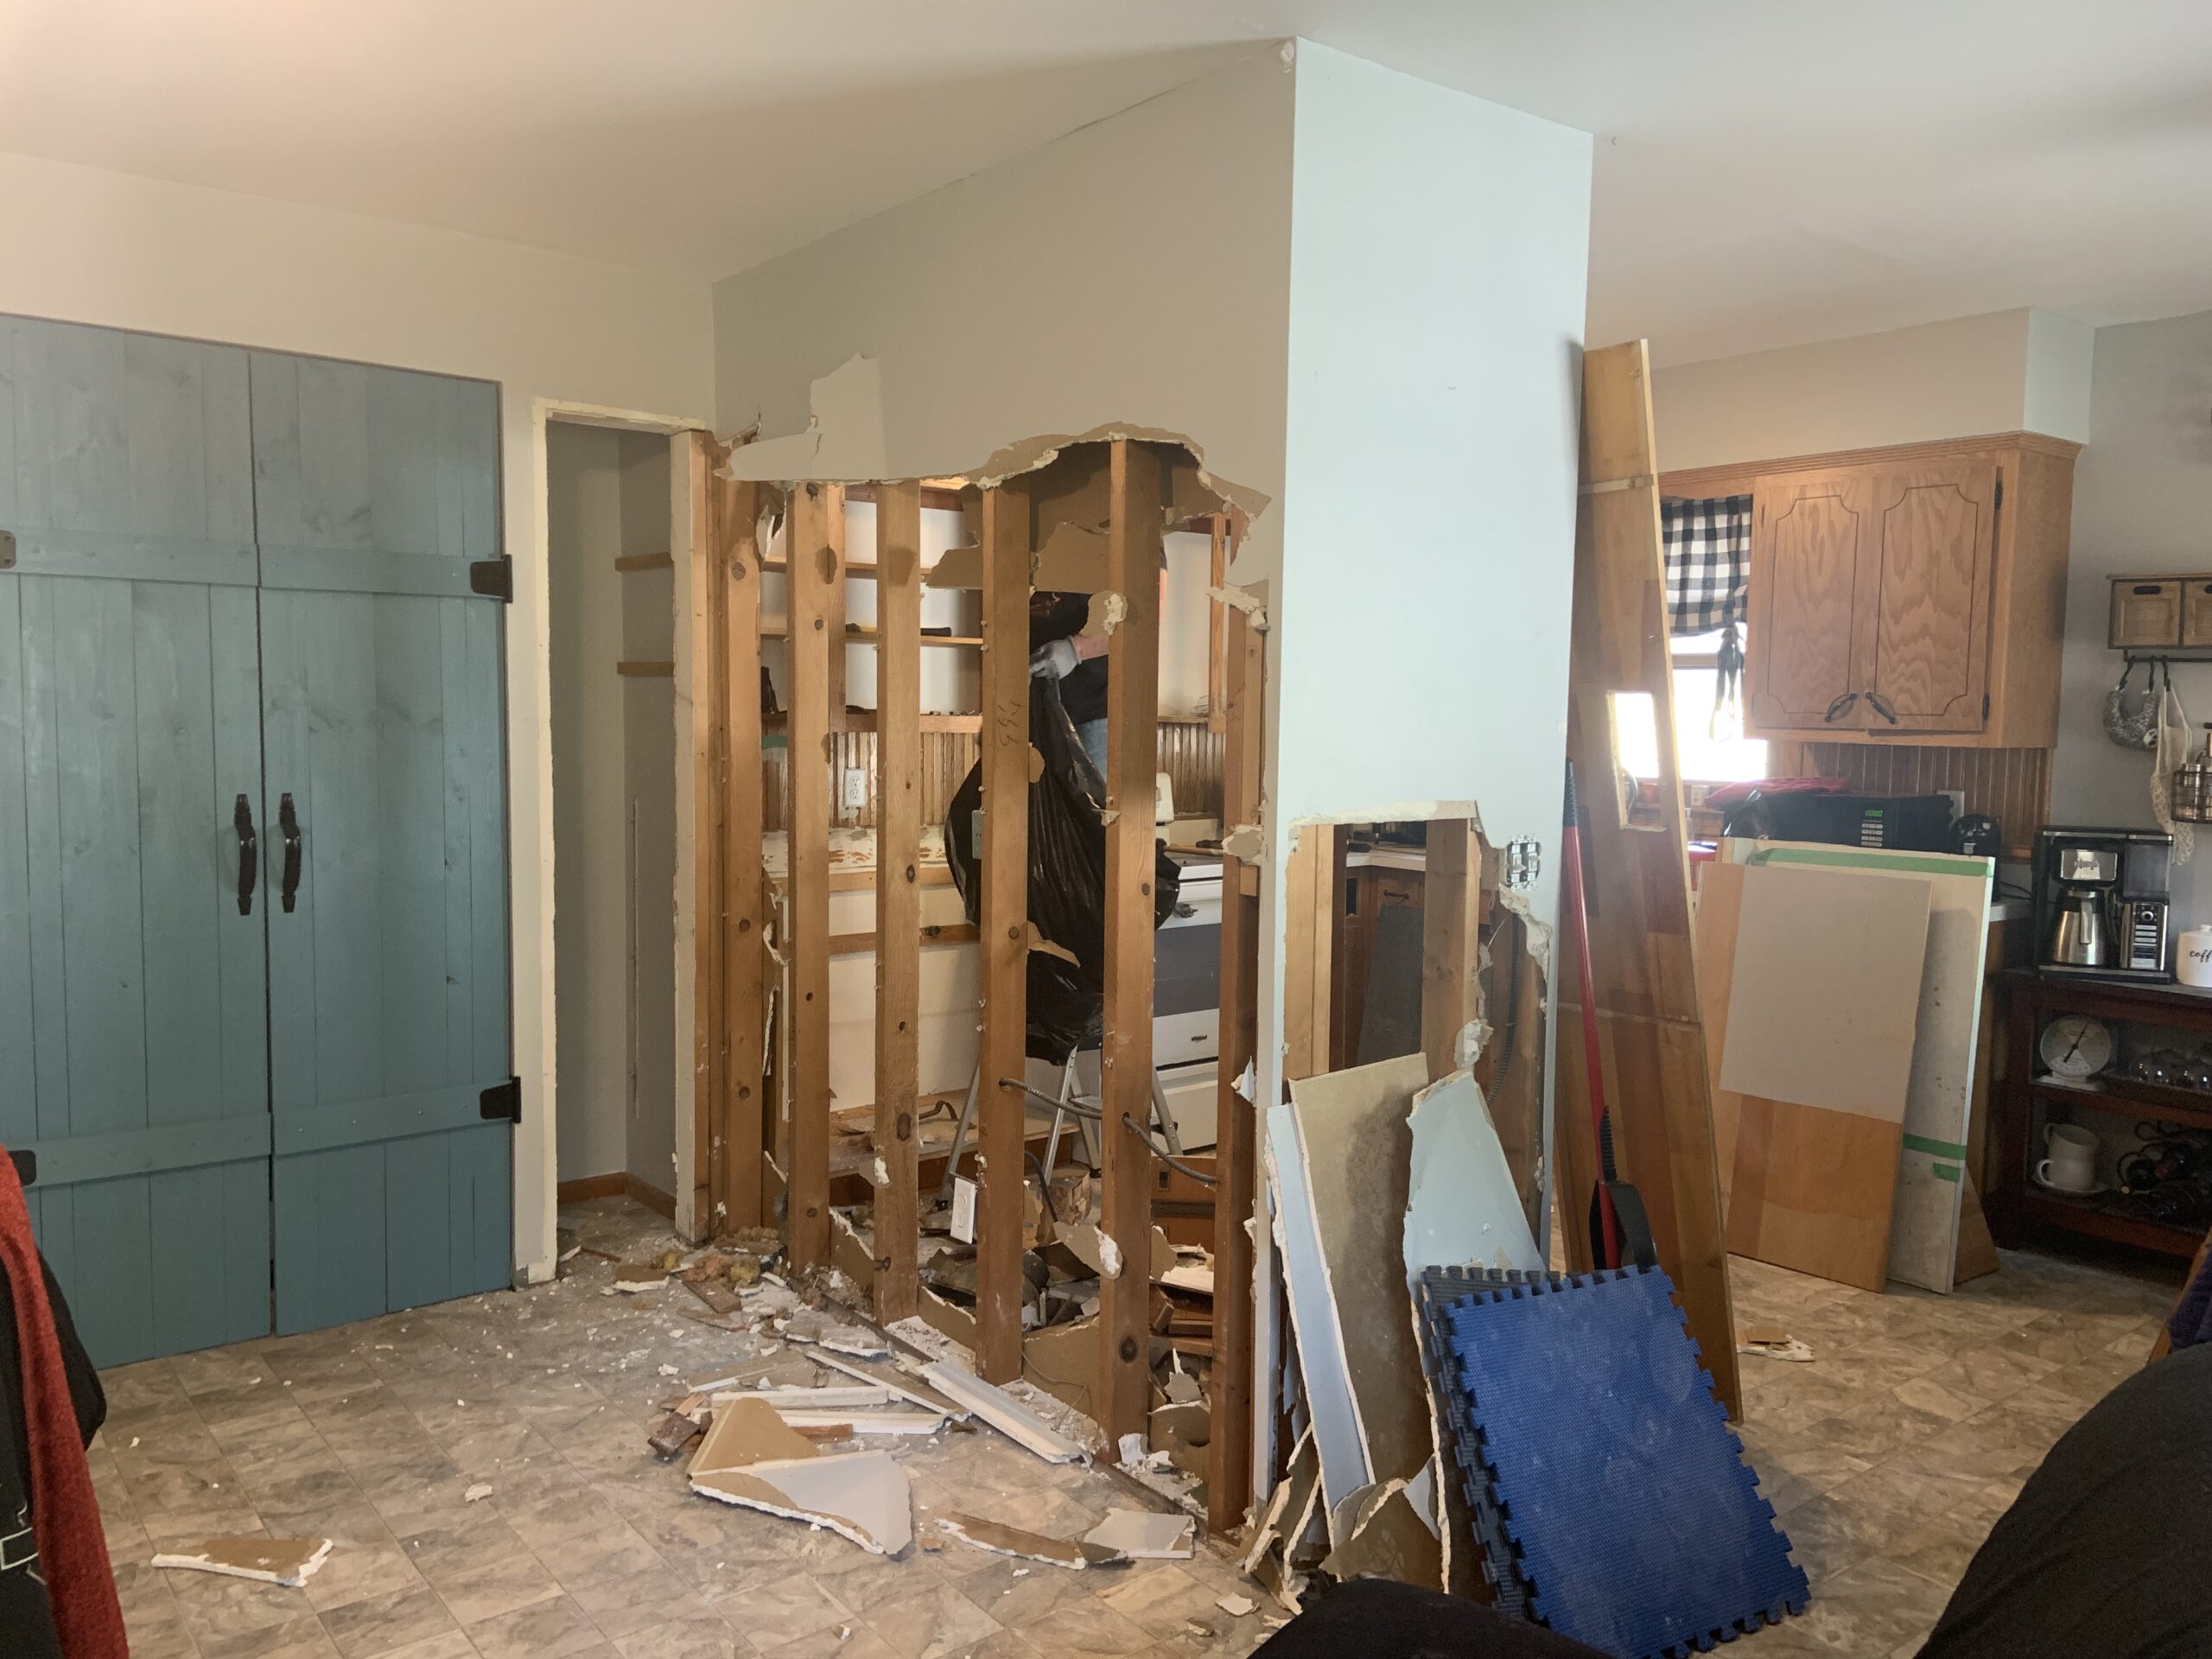
Now we were ready to start removing the drywall off the wall – this is the first kick. Then he had a bit more fun kicking, I think trying to be a little bit like Chip Gaines from HGTV’s Fixer Upper.
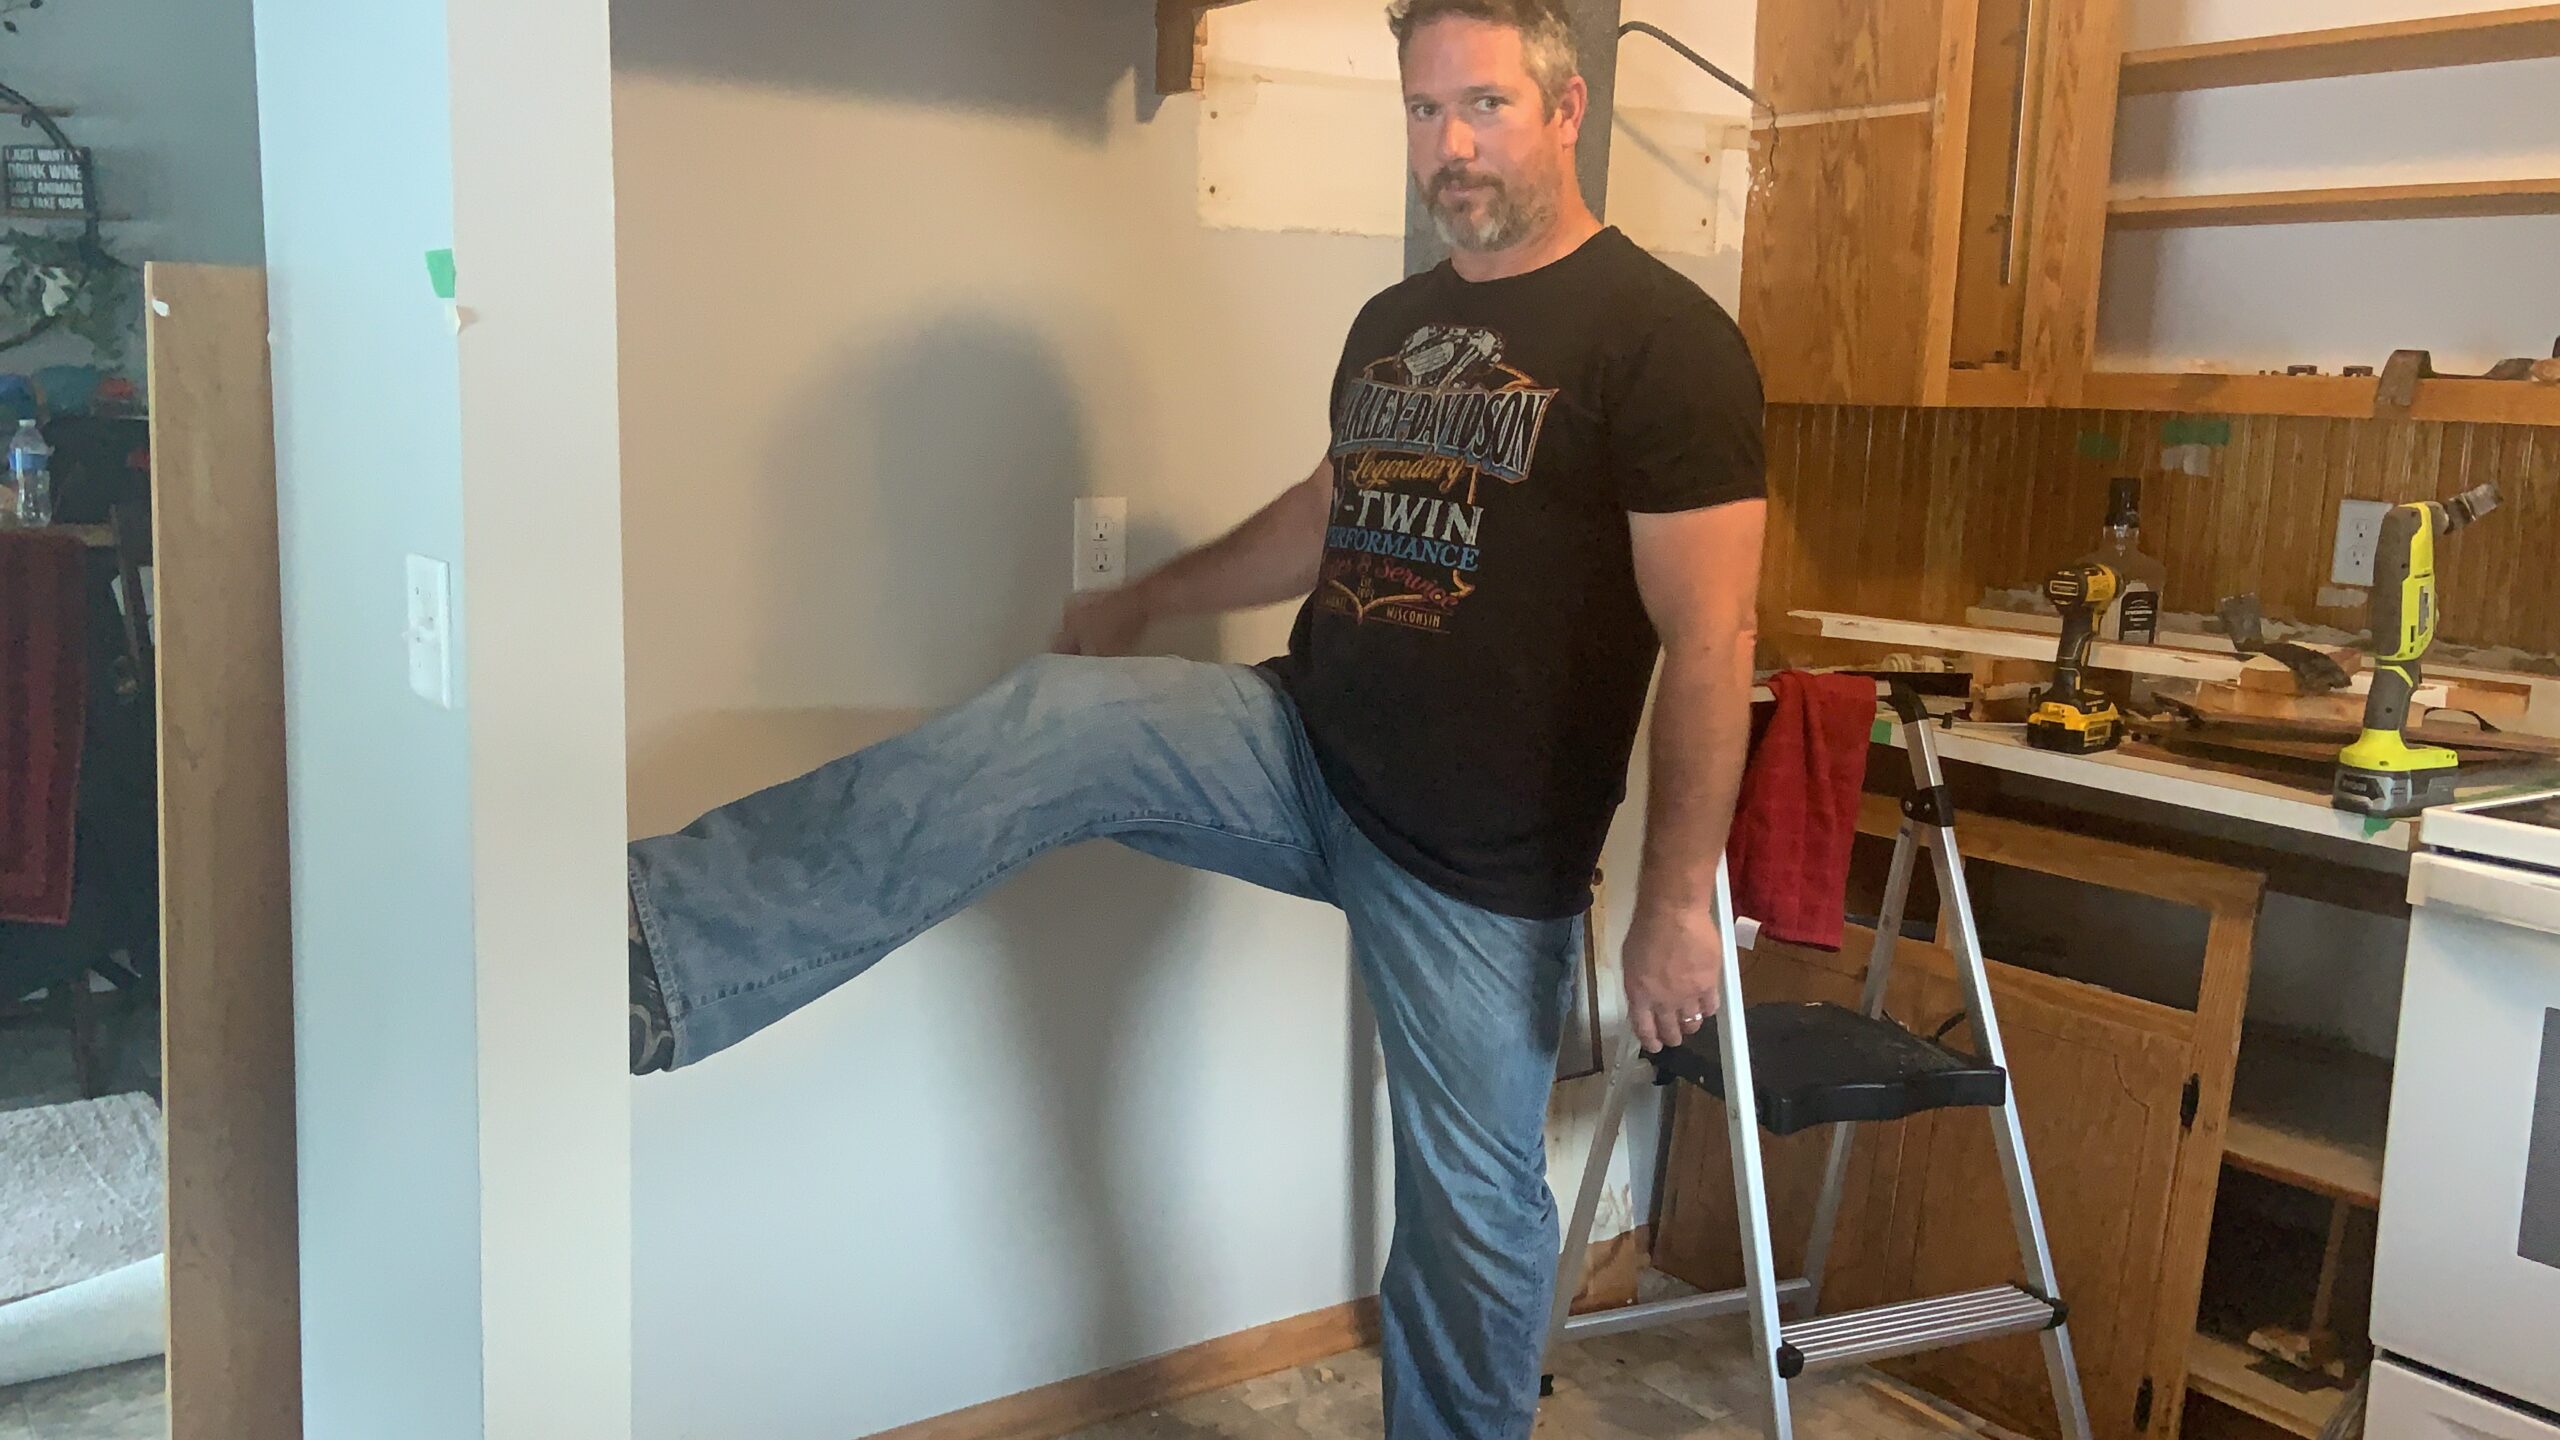
Here’s an “after” a few kicks.
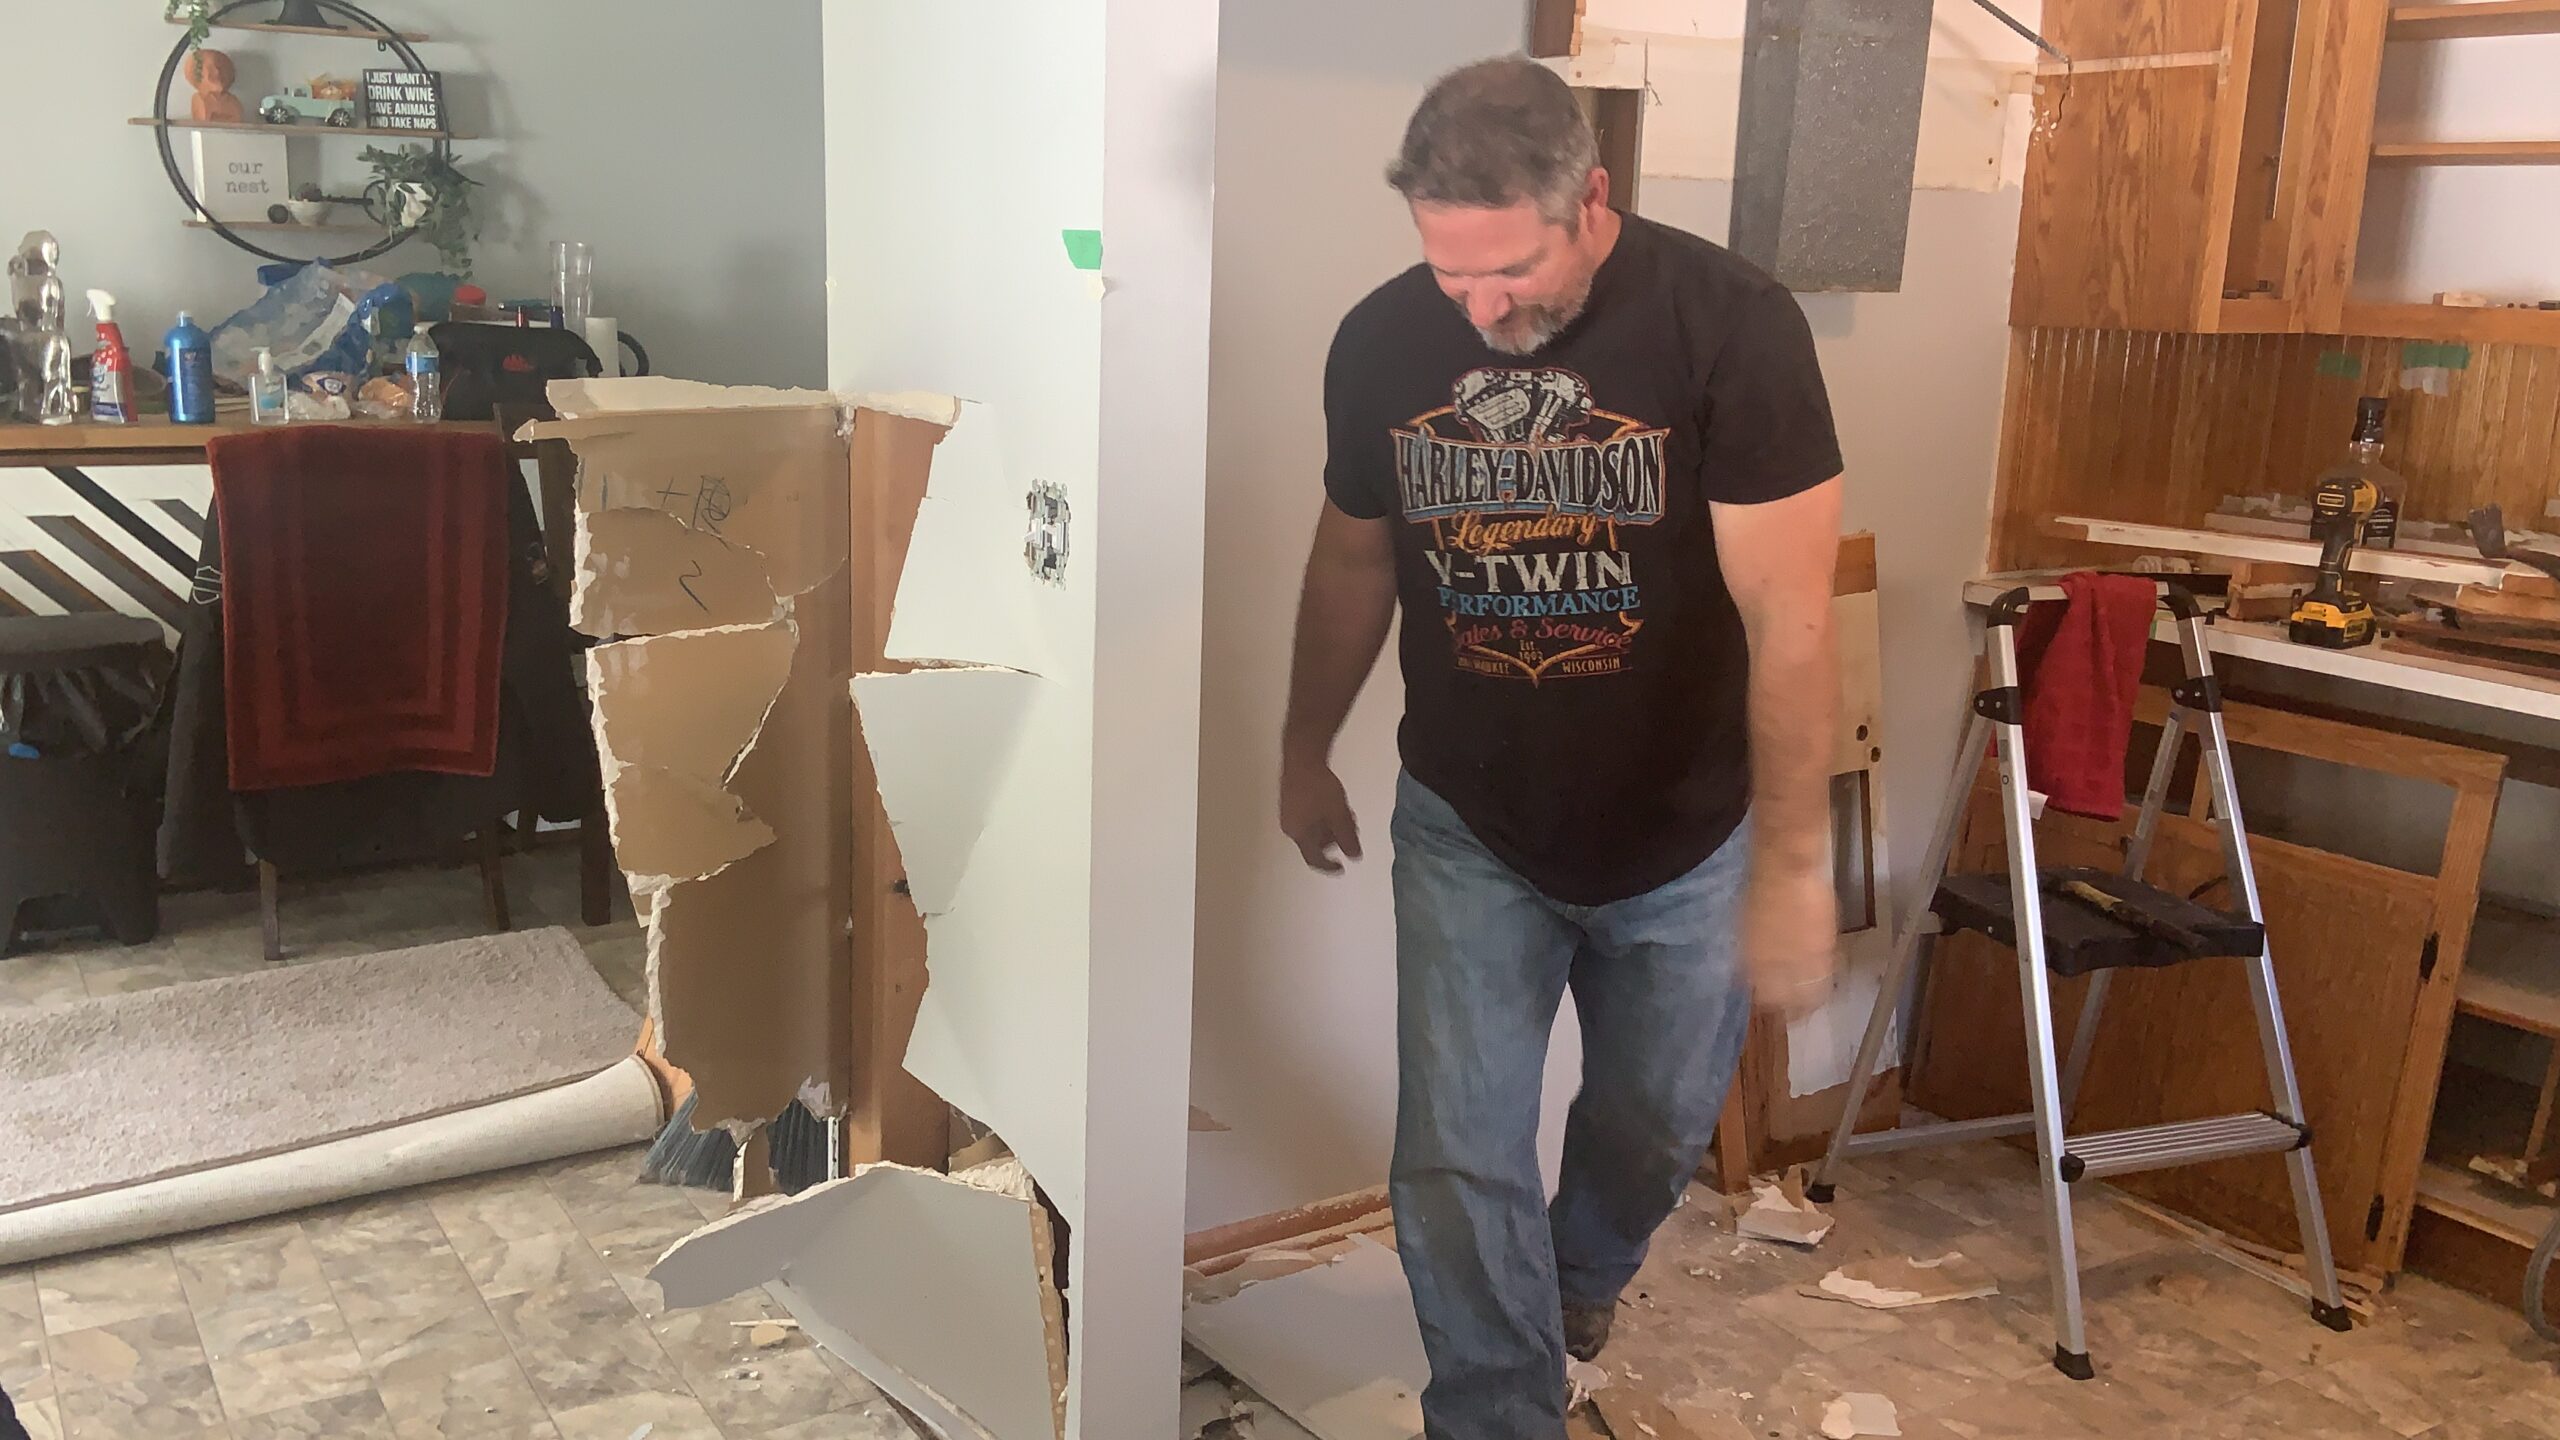
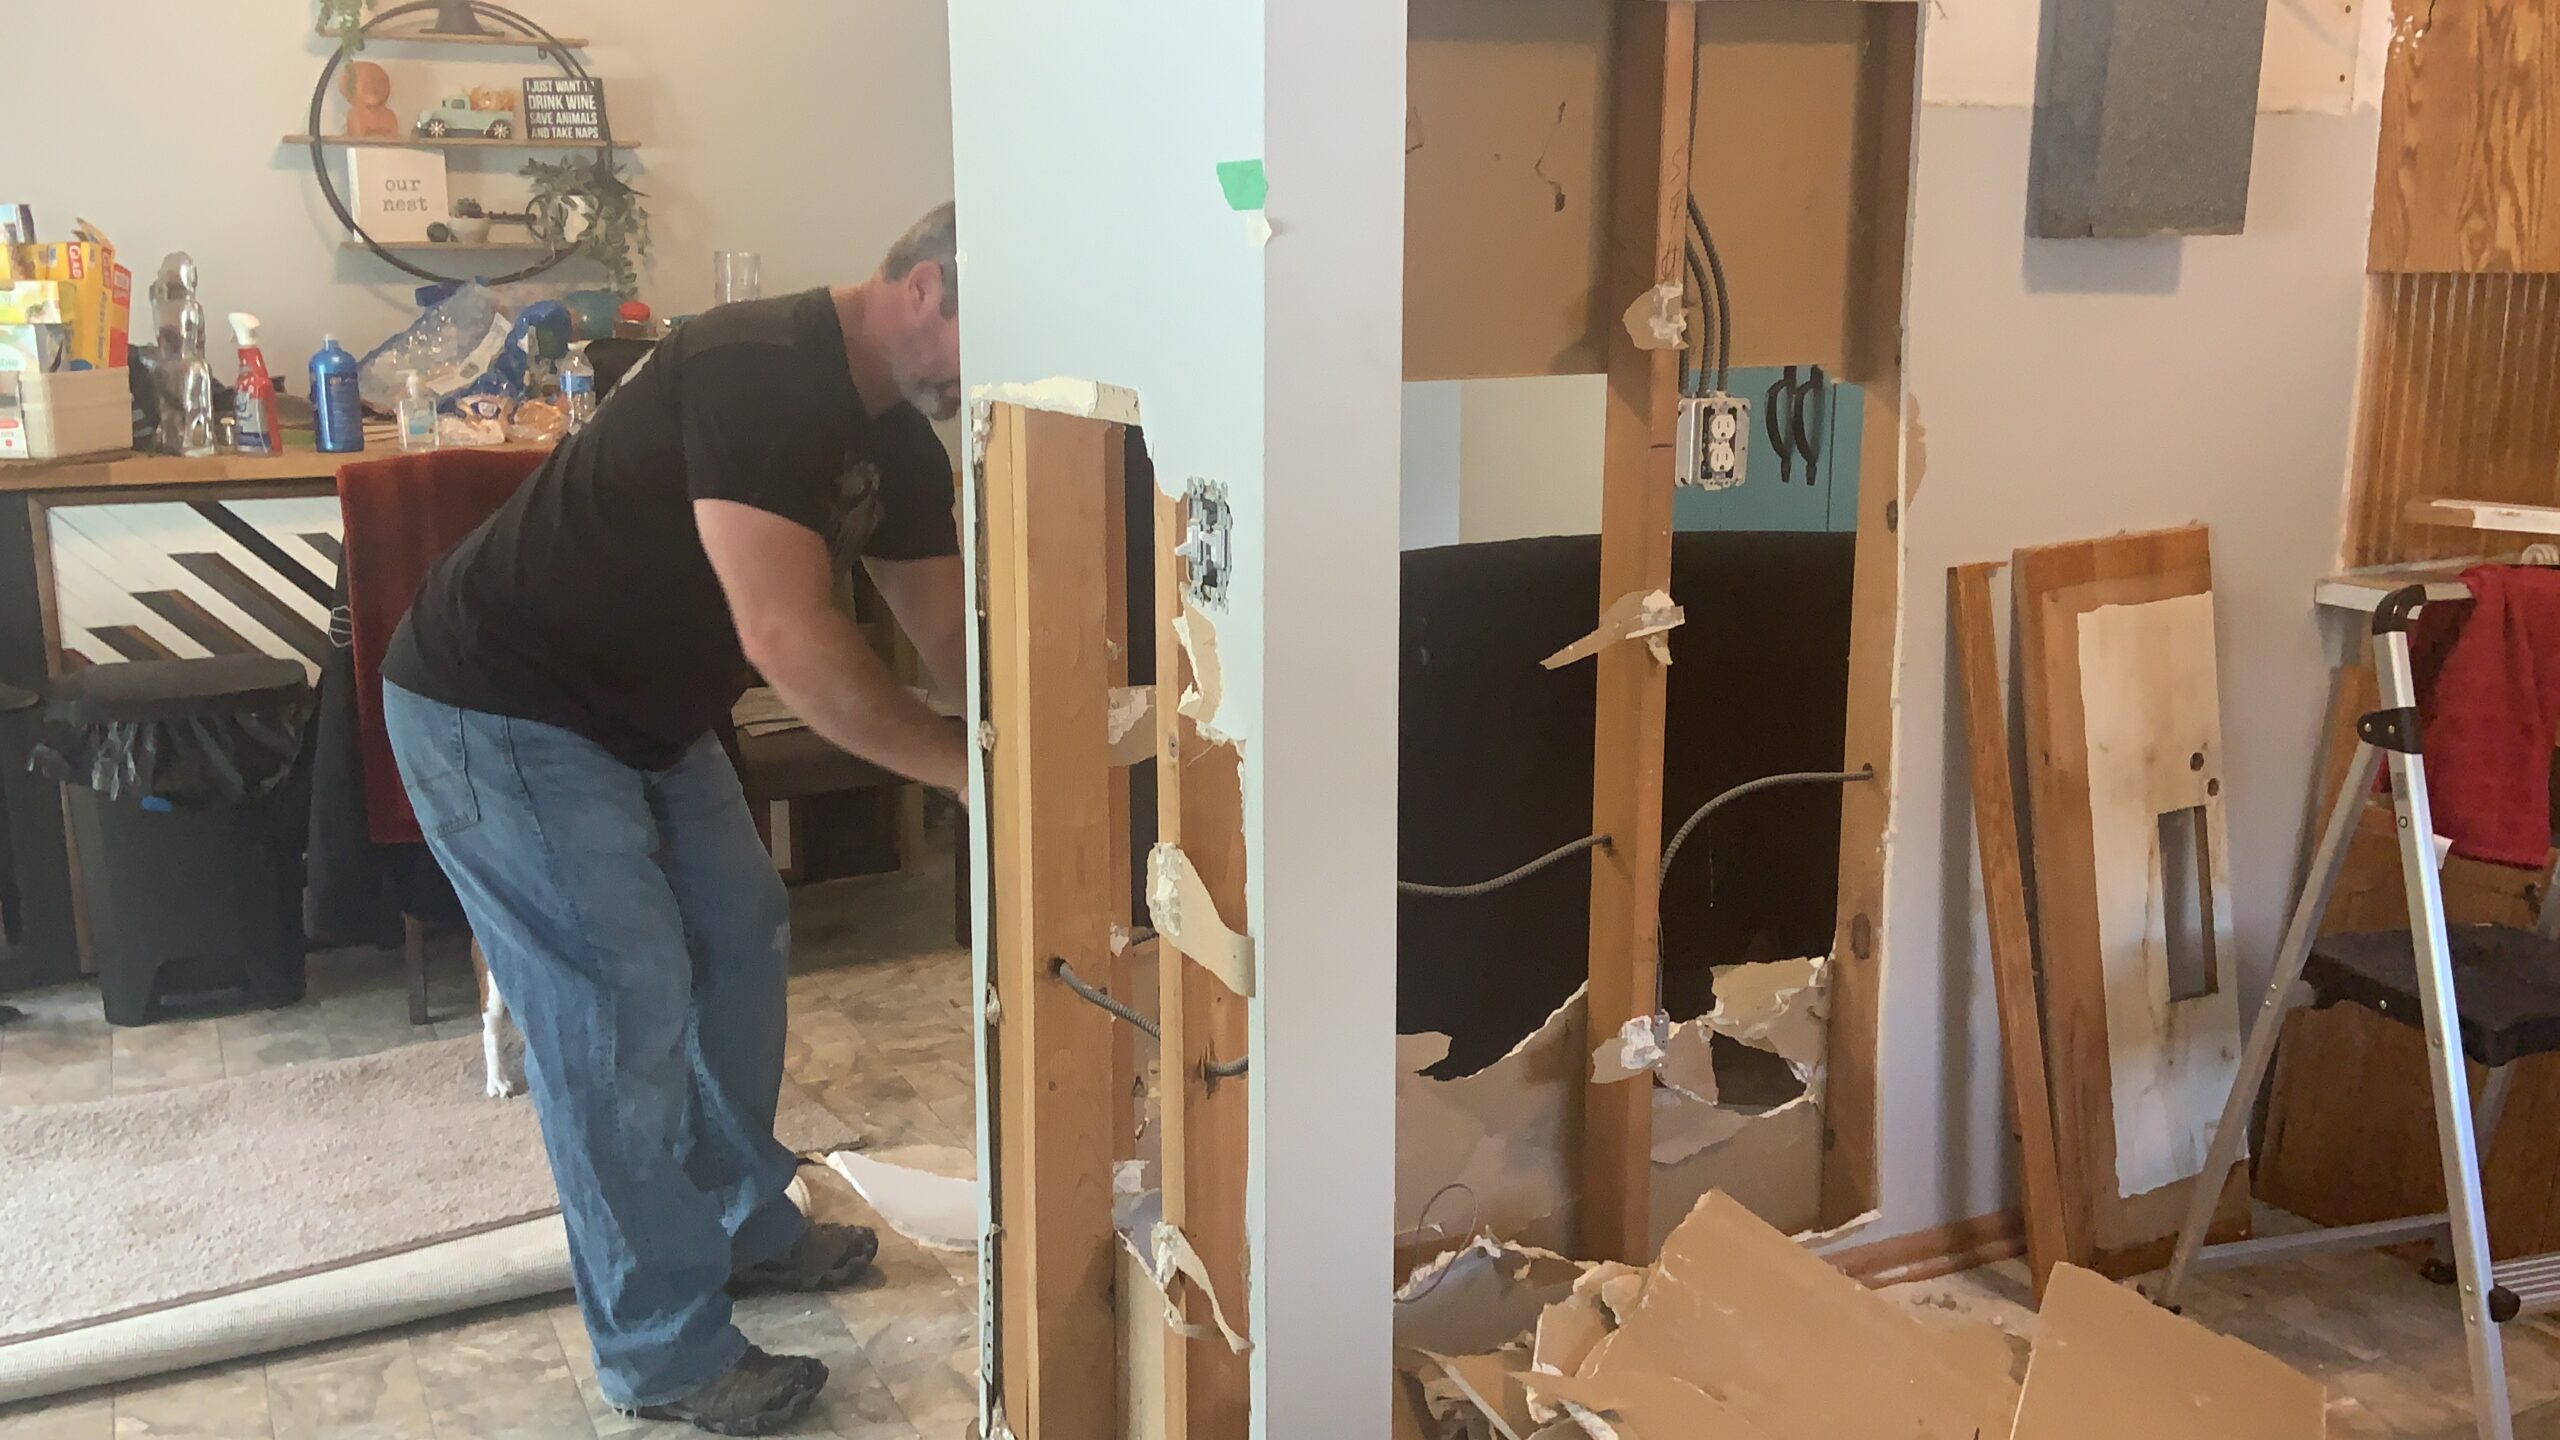
From here we just started using hammers, the front and back side to hammer in and out from both sides of the wall. It was quite the mess.
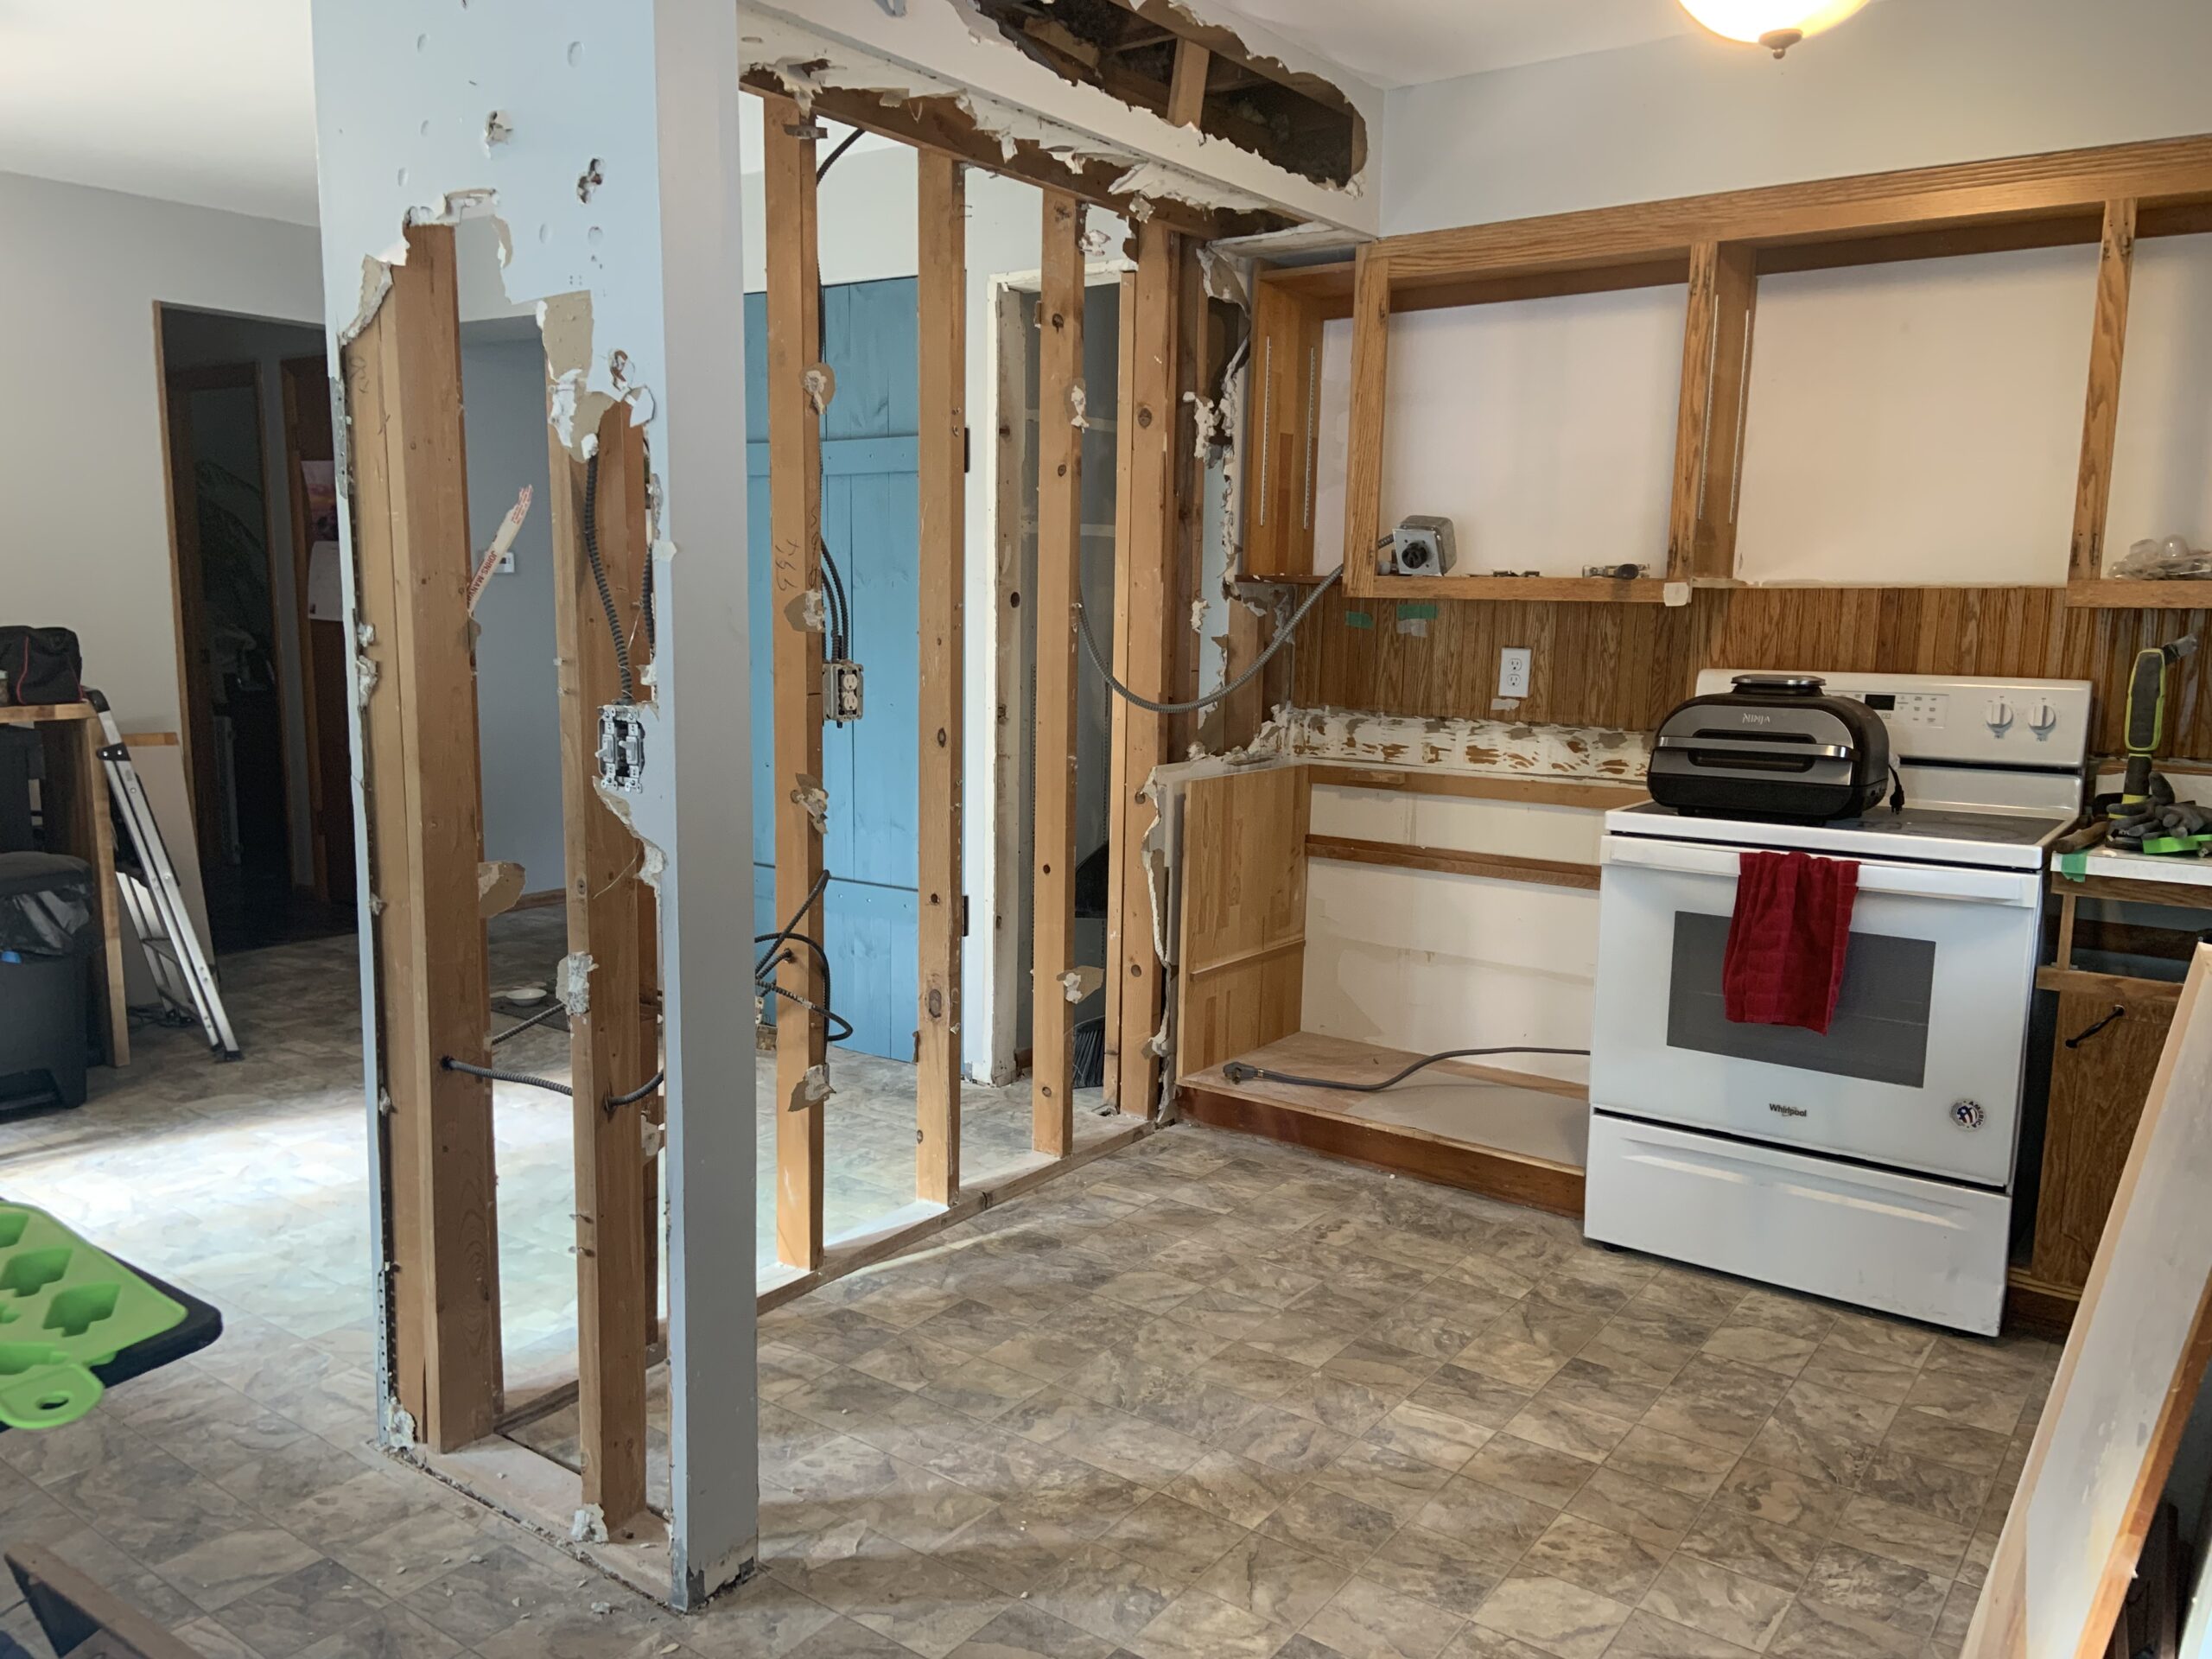
One thing I’m very happy that we did was clean up before we went to bed. This made it so nice waking up and not having to clean it all up right away – we were able to enjoy the fact that for the first time we could see from down the hall all the way through the wall into the kitchen and to the window over the sink.
And just that made so much difference as far as light coming in and through the kitchen area.
We were in love already.


I was so impatient – the next day I had to put the island in where it was going to go (kindof) just to see what it looked like.
I took it out for a couple weeks again after we continued to remove the remainder of the wall and up above as well as the side closet next to the pantry. This was where the refridgerater was going to be going so we needed to figure out how we can hold up the inside, remove some of the beams and get the fridge in there before the main beam went up.
Stay tuned for Part 2 where we will continue our home kitchen remodel and show the update of the fridge in it’s spot, the gas stove and refacing the current cabinets to update with a shaker style as well as painting them!
So much coming! Can’t wait to share it with you!

DIY Kitchen Remodel Home Remodeling Project
- Part 1 Kitchen Remodel – Demolition & Relocation
- Part 2 Kitchen Remodel – Clearing, Creating New Structure, Painting
- Part 3 Kitchen Remodel – Finishing Touches & Final! – coming soon!


